Balance id, Balance options, Cal test – Rice Lake Ohaus Explorer Pro High Capacity Instuction Manual User Manual
Page 45: Calibration masses, Contrast, Date, Date format, Display date/time, Glp print options, Languages
Explorer
Pro
EN-41
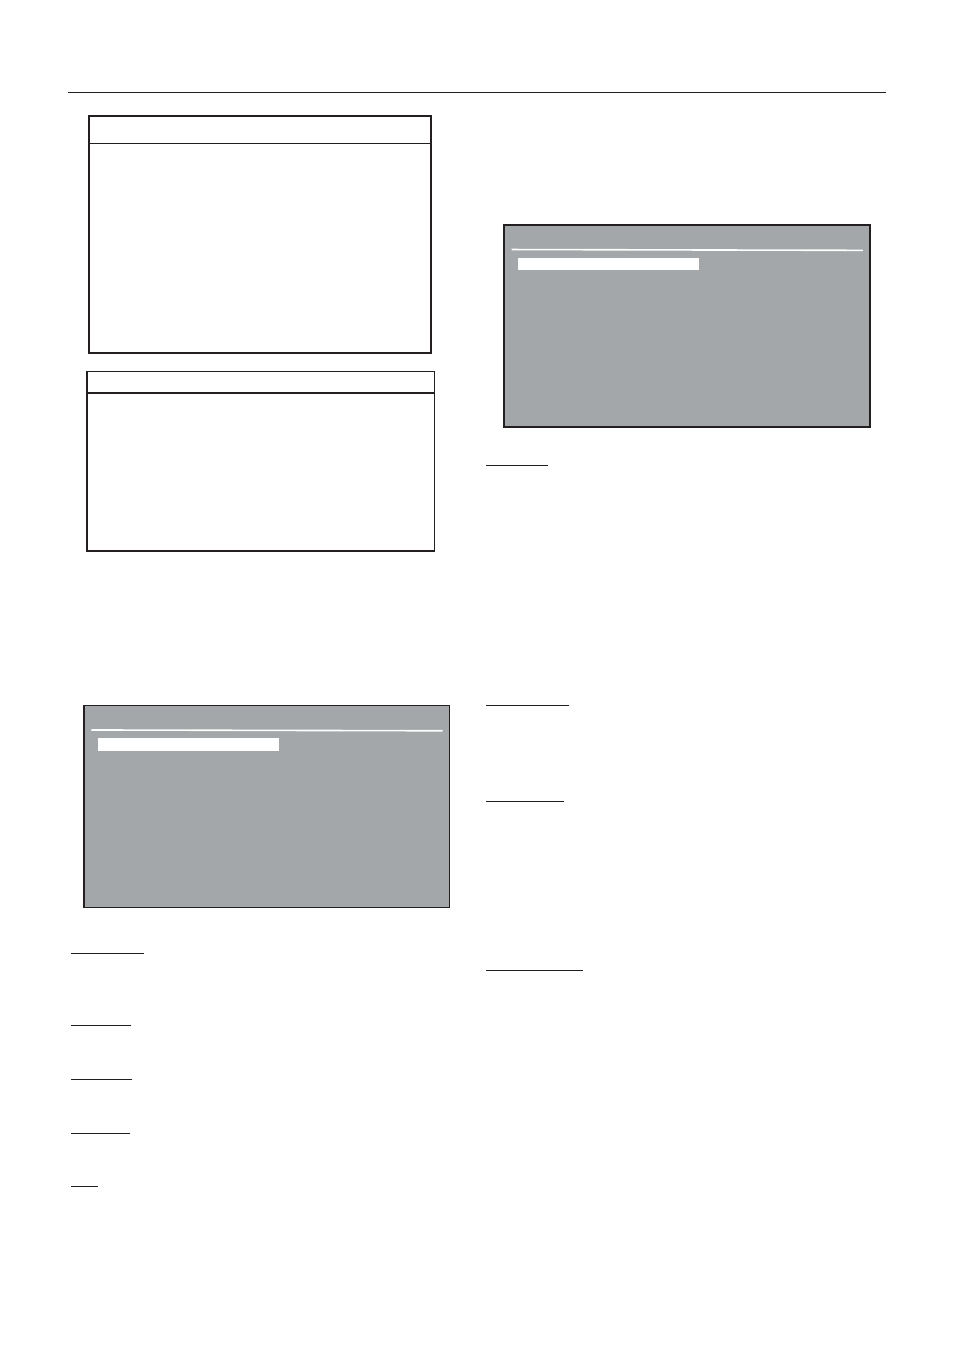
3.5.6 Interface
Press the Menu button, and select Interface.
Press the Enter button, The INTERFACE screen is displayed.
INTERFACE
Baud Rate
:
2400
Parity
: None
Data Bits
: 7
Stop Bits
: 2
Exit
Baud Rate: 300, 1200, etc...(default is 2400)
Baud Rate is selectable between 300, 1200, 2400, 4800 or
9600 BPS.
Parity Bit: None, Odd, Even (default is None)
Parity Bit is selectable between None, Odd or Even.
Data Bits: 7, 8 (default is 7)
Data Bits is selectable between 7 or 8 data bits.
Stop Bits: 1, 2 (default is 2)
Stop Bits is selectable between 1 or 2 stop bits.
Exit:
Will return to previous display.
3.5.7 Print Options
Press the Menu button, and select Print Options.
Press the Enter button PRINT OPTIONS screen is displayed.
PRINT OPTIONS
Auto Print
:
Off
Print Interval
: Off
Stable Data
: Off
Numeric Data
: Off
Exit
Auto Print: Off, interval, etc... (default is Off)
When enabled, the Auto Print feature causes the balance to
automatically output display data in one of three ways:
continuously, at user specified time intervals, or upon stability.
OFF
Turns off the auto print feature.
Interval
Provides a user specified printing interval
Stable
Provides printed data each time a stable
reading is achieved.
Continuous
Outputs data continuously.
Print Interval: 1-3600 (default is 1)
When Auto Print is set to Interval, a specified printing interval
between 1 and 3600 seconds can be set.
Stable Data: Load, Load & Zero (default is Load)
When Auto Print is set to Stable, an option of Load or Load &
Zero can be set.
Load
Will print stable load data only.
Load & Zero
Will print stable load data and stable zero
data.
Numeric Data: On, Off (default is Off)
When set On, will print numeric data.
3.5.8 GLP Print Options
GLP stands for Good Laboratory Practice. The GLP Print Options
enables the printing of a Date & Time, Balance ID, Project Name,
User Name, Calibration, Reference, Application Mode and Result
lines. Press the Menu button, and select GLP Print Options.
Press the Enter button GLP PRINT OPTIONS screen is displayed.
E X P O N E N T S
E X P O N E N T S
E X P O N E N T S
E X P O N E N T S
E X P O N E N T S
E-3
Moves decimal point 3 places to the left.
E-2
Moves decimal point 2 places to the left.
E-1
Moves decimal point 1 place to the left.
E 0
E 0
E 0
E 0
E 0
Leaves decimal point in normal
Leaves decimal point in normal
Leaves decimal point in normal
Leaves decimal point in normal
Leaves decimal point in normal
p o s i t i o n .
p o s i t i o n .
p o s i t i o n .
p o s i t i o n .
p o s i t i o n .
E1
Moves decimal point 1 place to the right.
E2
Moves decimal point 2 places to the right.
E3
Moves decimal point 3 places to the right.
L S D ’ s
L S D ’ s
L S D ’ s
L S D ’ s
L S D ’ s
LSD .5
Adds one decimal place display counts by 5’s.
LSD 1
Display counts by 1’s.
LSD 2
Display counts by 2’s.
LSD 5
Display counts by 5’s.
LSD 10
Display counts by 10’s.
LSD 100
Display counts by 100’s.