Additiondl safety instructions for band saw, All models, Before using the saw – Craftsman 113.248510 User Manual
Page 4: When installing or moving the saw, Before each use
Attention! The text in this document has been recognized automatically. To view the original document, you can use the "Original mode".
additiondl safety instructions for band saw
ALL MODELS
Safety is a combination of common sense, staying
alert, and knowing how your band saw works.
BEFORE USING THE SAW:
WARNING: TO AVOID MISTAKES THAT COULD
RESULT IN SERIOUS, PERMANENT INJURY, DO
NOT PLUG THE SAW IN UNTIL THE FOLLOWING
S T E P S H A V E B E E N S A T I S F A C T O R I L Y
COMPLETED:
1. Assembly and alignment.
2. Learn the function and proper use of the on-off
switch, bevel crank and lock, upper blade guide
and lock knob, lower blade guide, tension adjust
ing knob and tension scale, and blade thrust
bearing adjustment.
3. Read and understand all safety instructions and
operating procedures throughout the manual.
4. Read the following labels which appear on the
front of the band saw and blade guard.
IftAHOERI
ALLOW
TOOL TO
STOP
BEFORE
ADJUBTIMQ
v_...
i DANGER 1 Ft
* Always wear safety
9099
!«$ tHet comply
with ANSI Z87.1.
■Before tumirig
m w
on. check and adjust:
a) Blade Tension b| Blade Guide»
c) Thrust Bearings
bR YOUR OWN SAFETY:
* Ektor« turning saw on, adjust UPfER
BLADE -GUIDE to just clear workpiece.
■ Support, fixlur« or brace workpiece
firmly against tat^ so it will not rock
or twist from your hand.
(now Thi« Tool)
Read arvd Urutwstand c
■Plan hand positKms
10
a sudden slip
won't cause irtiury.
•Turn saw olt and wait for Ptade lo stop
before freeing jamrr^ed material.
hwfker'a Manual before Using this Machine.
• Turn saw off, remove switch key, and waft
for blade to stop before adjusting saw,
chartging blades or leaving area.
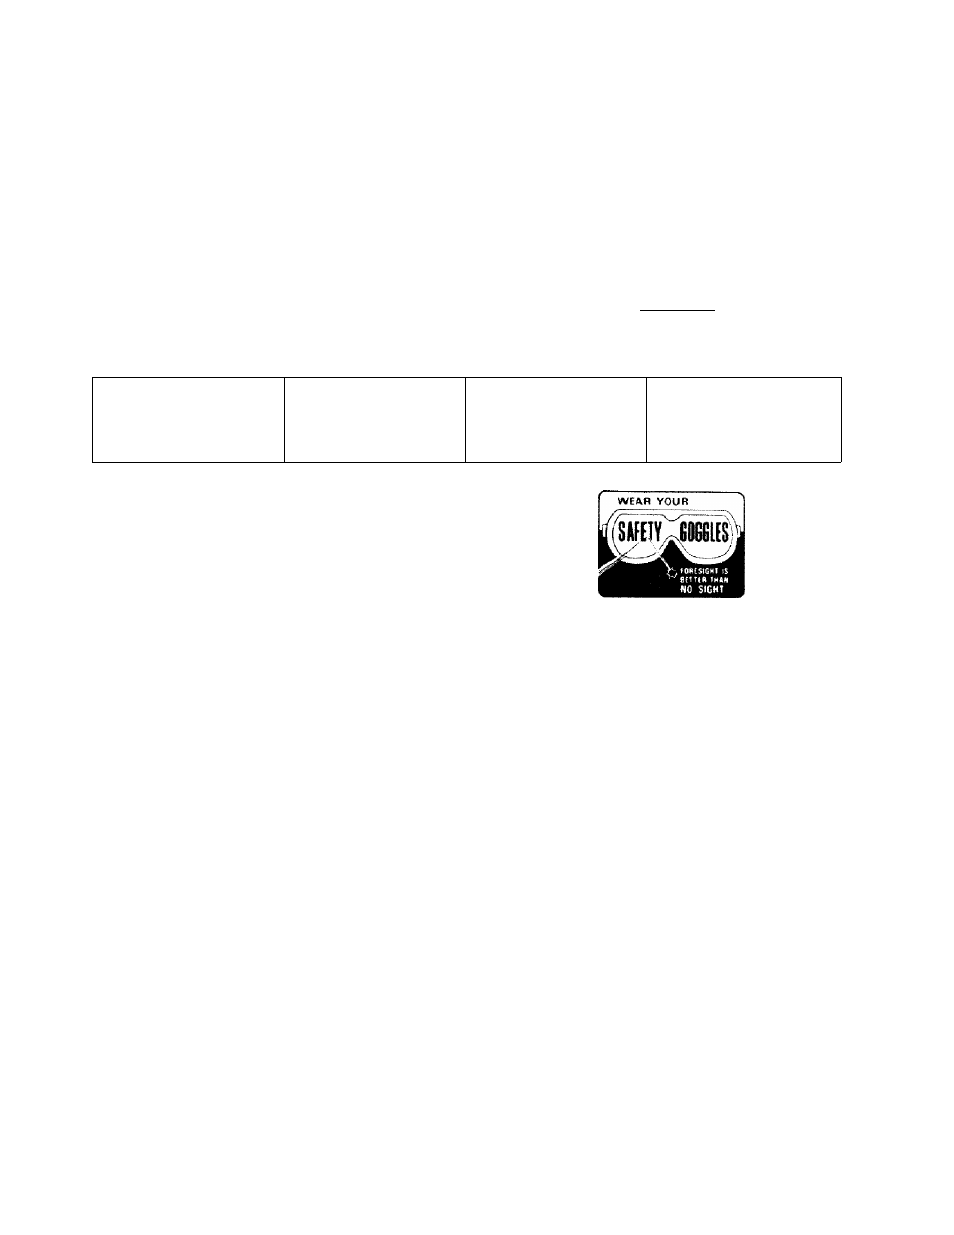
■Maintain 7 telMe and sartding bell. WHEN INSTALLING OR MOVING THE SAW 1. To avoid injury from unexpected saw movement: a. Place the saw on a firm level surface where there is plenty of room for feeding the work piece. b. Adjust the saw so the table is level and the saw does not rock. c. Bolt the saw to the floor if ittendstoslip, slide, or tip over during operations li ke cutting long, d. Turn saw off and unplug electric cord before moving the saw to a new area. 2. Store and use the band saw indoors. BEFORE EACH USE 1. Inspect your saw. If any part of this band saw is missing, or bent, or failed in any way, or any 2. Plan your work to protect your eyes, hands, face, ears and body. a. Do not do layout, assembly, or set up work on the table while the saw is running, b. Wearsafety goggles (notglasses) that comply with ANSI Z87.1 (shown on package). Using with ANSI Z87.1 could result in severe injury c. Fordusty operations, wear a face shield along with safety goggles. d. Use extra caution with large, very small, or awkward workpieces. 1. Use extra supports (tables, saw horses, etc.) forany workpieces large enough to tip 2. Do not feed small pieces that require your finger holding the workpiece to go under 3. When cutting irregularly shaped work pieces, plan your work so it will not pinch 4. Properly support round material such as dowel rods, or tubing, They have a tendency e. To avoid risk of hearing damage, wear ear plugs or muffs during extended periods of
heavy boards.
electrical componentsdo network properly, turn
the saw off, remove switch key, and unplug the
saw. Replace damaged, missing, or failed parts
before using the saw again.
any power tool can result in foreign objects
being thrown into the eyes, which can result in
permanent eye damage. Safety goggles are
available at Sears retail or catalog stores. Use
of glasses or use of goggles not in compliance
from breakage of the eye protection.
when not held down to the table top.
the guard area. Use jigs or fixtures to hold
the work and keep your hands away from
the blade.
the blade, A piece of molding, for example,
must lay flat or beheld by a fixture or jig that
will not let it twist, rock or slip while being
cut.
to roll while being cut, causing the blade to
'‘bite." To avoid this, always use a "V” block,
or clamp the workpiece to a miter gage.
operation.