Craftsman 113.248510 User Manual
Page 33
Attention! The text in this document has been recognized automatically. To view the original document, you can use the "Original mode".
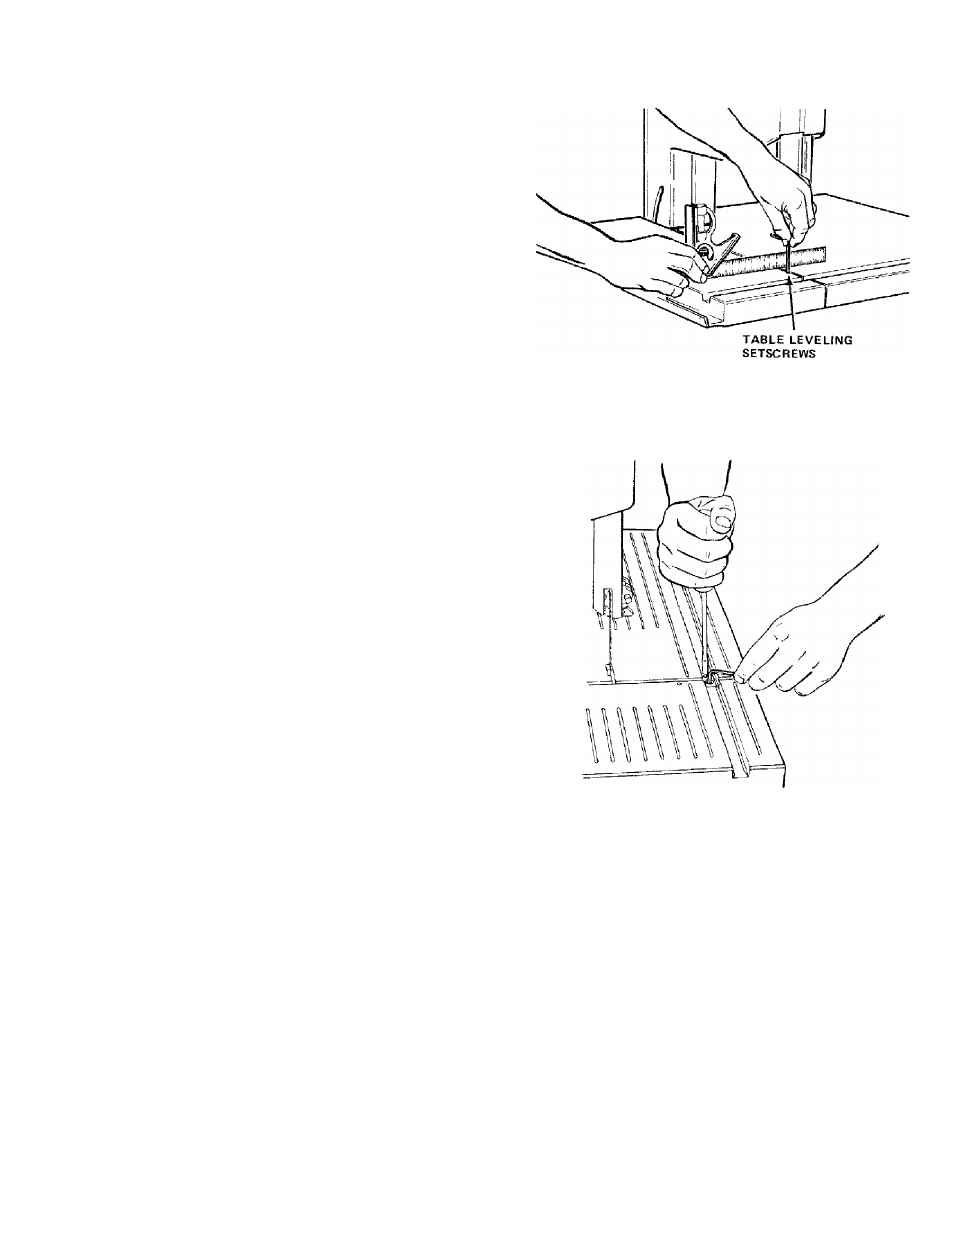
ADJUSTING FRONT TABLE
1. Adjust the front table so it is the same height as the
rear table as follows;
a. Lay a straight edge across front table to rear
table.
b. Gently tap thefront table down until it is in line with
the rear table.
c. Tighten the Phillips head self tapping screw once
the front table is in the correct position.
d. If necessary adjust the two (2) oval point set
screws (see Step 3} as needed to help line up the
table,
e. Both the left and right sides of the front table
should be adjusted simultaneously.
2. To keep the miter gage grooves in line, use a flat
blade screwdriver against the head of one of the low
head capscrews in the miter gage groove to force
the table alignment key firmly forward into the notch
in the front table.
3. While holding the alignment key into the notch,
tightentheothercapscrew.Removethe screwdriver
and tighten the remaining screw. Check that the
miter gage grooves line up.
4. Check the operation of springs and tabs by remov
ing thefronttable and reinstalling. Remove the table
by lifting up on two spring tabs under front edge of
the table until springs are free, then pulling forward.
33