Removing the bmc management cable – Dell PowerEdge C8000 User Manual
Page 195
Installing System Components
195
Removing the BMC Management Cable
CAUTION:
Many repairs may only be done by a certified service technician. You
should only perform troubleshooting and simple repairs as authorized in your
product documentation, or as directed by the online or telephone service and
support team. Damage due to servicing that is not authorized is not covered by
warranty. Read and follow the safety instructions that came with the product.
1 Remove the sled from the enclosure. See "Removing a Sled" on page 143.
2 Remove the back cover. See "Removing the Back Cover" on page 150.
3 Remove the internal hard-drives. See "Removing a Hard-Drive Carrier" on
4 Remove the hard-drive tray. See "Removing the Hard-Drive Tray" on
5 Locate the LAN passthrough connector on the node power distribution
board. See "Node Power Distribution Board Connectors" on page 240.
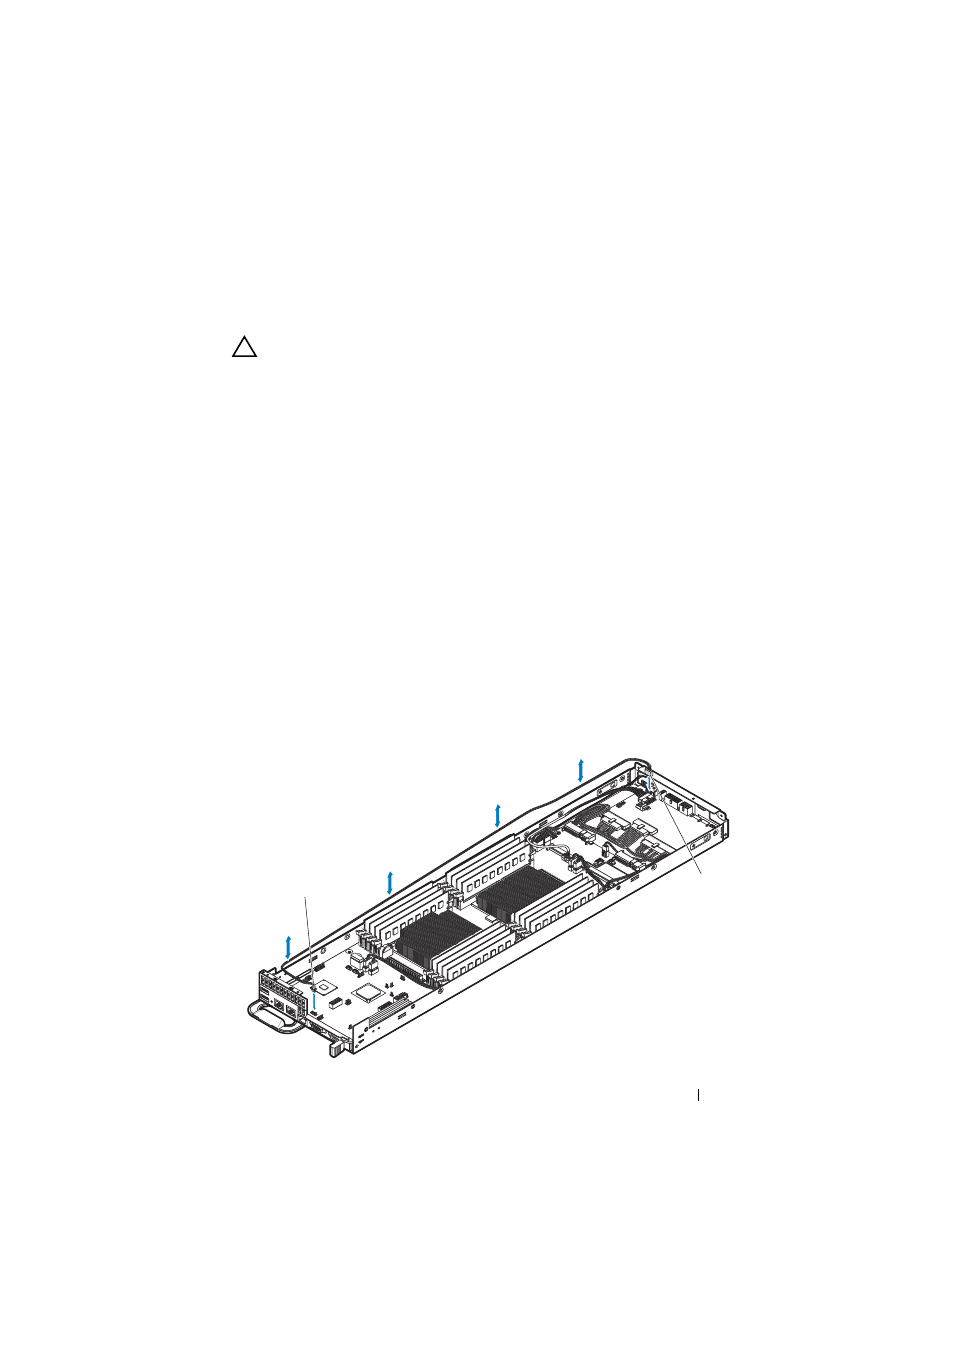
6 Locate the consolidated BMC cable connector on the system board.
See "System Board Connectors" on page 231.
7 Disconnect the BMC management cable from the system board and node
power distribution board. See Figure 3-38.
Figure 3-38. Removing and Installing the BMC Management Cable
1
2