Dell diagnostics main screen, Main screen -11, Figure 4-1 – Dell Dimension L___cx User Manual
Page 65: Diagnostics menu, Menu -11
support.dell.com
Basic Troubleshooting
4-11
3.
Turn on the computer.
4.
When the boot screen appears, select Start Computer with CD-ROM Support
ROM Support
(Windows 98, Windows Me, and Windows 2000) or EIDE Support
(Windows NT).
5.
At the
a:\
prompt, type
x:
(where
x
is the drive letter for the CD-ROM drive,
which is displayed on the line above the
a:\
prompt). Press
Press
For example, if your CD-ROM drive is drive D, type
d:
and press
6.
Type
diags32
and press
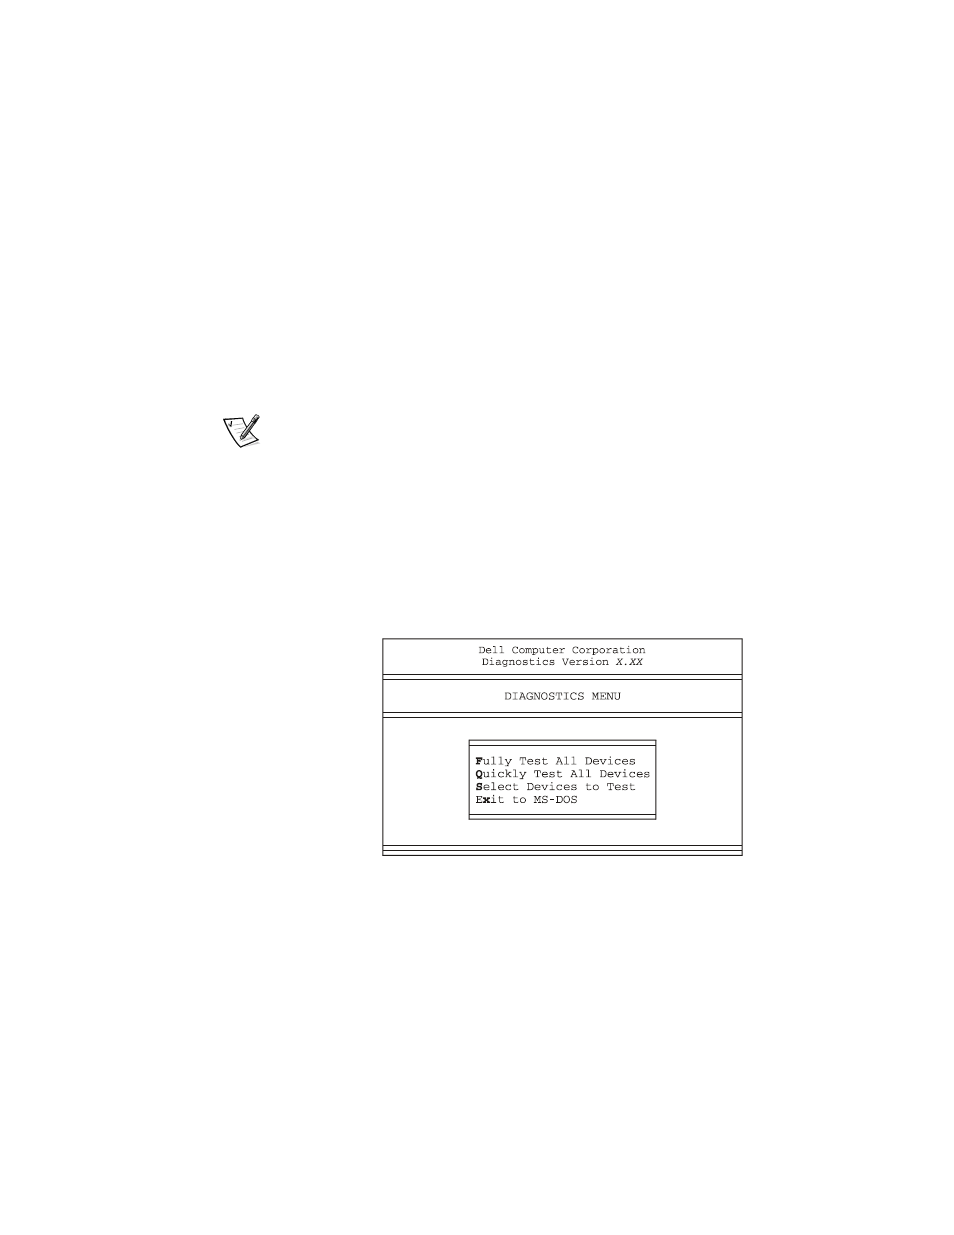
The DIAGNOSTICS MENU appears (see Figure 4-1). The menu allows you to run
all or specific diagnostic tests or to exit to the MS-DOS prompt.
DOS prompt.
NOTE: Before you read the rest of this section, you may want to start the Dell Diag-
nostics so that you can see it on the screen of your monitor.
For a quick check of your system, select Quickly Test All Devices
kly Test All Devices. This option runs
only the subtests that do not require user interaction and that do not take a long time
to run. Dell recommends that you choose this option first to increase the odds of trac-
ing the source of the problem quickly. For a thorough check of your system, select
Fully Test All Devices. To check a particular area of your system, select Select
Devices to Test.
To select an option from this menu, highlight the option and press
the key that corresponds to the highlighted letter in the option you choose.
Figure 4-1. Diagnostics Menu
Dell Diagnostics Main Screen
When you select Select Devices to Test from the DIAGNOSTICS MENU
ENU, the main
screen of the diagnostics appears (see Figure 4-2). The main screen lists the diagnos-
tic test device groups, lists the devices of the selected device group, and allows you