Installing expansion cards, Installing expansion cards -11, Figure 2-7 – Dell Dimension L___cx User Manual
Page 35: Removing the filler bracket, Ket -11
support.dell.com
Installing Upgrades on the System Board
2-11
4.
Click Device Manager.
5.
Click View, then Resources by connection
by connection.
6.
Double-click Interrupt request (IRQ) to view the IRQ assignments.
ments.
NOTE: If an IRQ supported by your card is not available,
Q supported by your card is not available, try reassigning resources
used by other devices or disabling unused devices.
Installing Expansion Cards
To install an expansion card, perform the following steps:
1.
Prepare the expansion card for installation as instructed in the documentation
that came with the expansion card.
Check the documentation to make sure the card is configured to work with other
devices already installed in your computer.
2.
Remove the computer cover according to the instructions in “Removing and
Replacing the Computer Cover” found earlier in this chapter.
3.
Rotate the power supply according to the instructions in “Rotating the Power
Supply Away From the System Board” found earlier in this chapter.
4.
Choose an expansion-card connector for the card.
5.
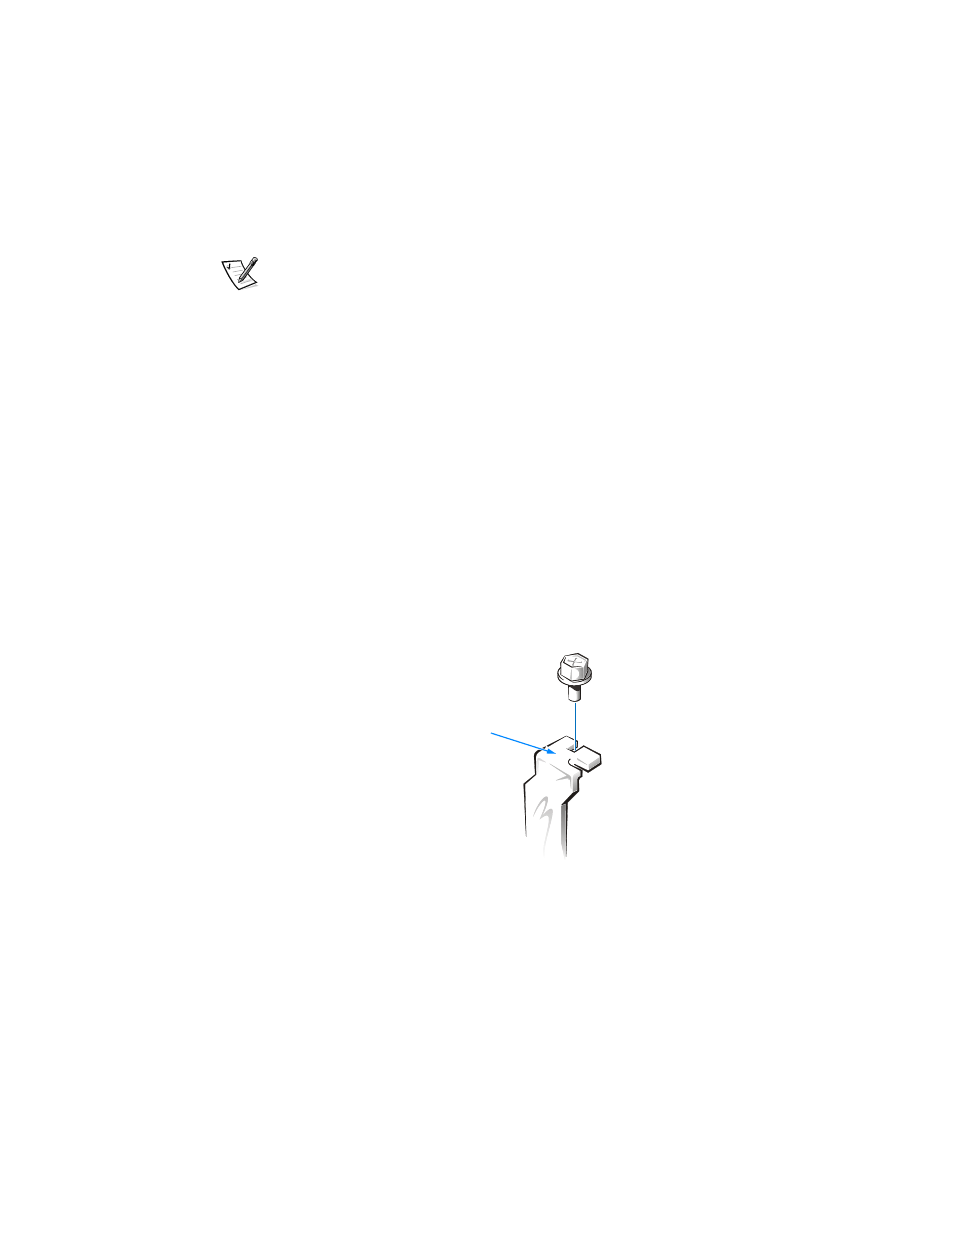
Unscrew and remove the metal filler bracket that covers the card-slot opening for
bracket that covers the card-slot opening for
the expansion slot you intend to use (see Figure 2-7).
Figure 2-7. Removing the Filler Bracket
6.
Insert the expansion card firmly into the expansion-card connector.
Cutouts in the card-edge connector align with crossbars in the expansion-card
connector. Gently rock the card into the connector until it is fully seated (see
Gently rock the card into the connector until it is fully seated (see
Figure 2-8).
filler bracket
ket