Media card reader – Dell OptiPlex 960 (Late 2008) User Manual
Page 30
3.
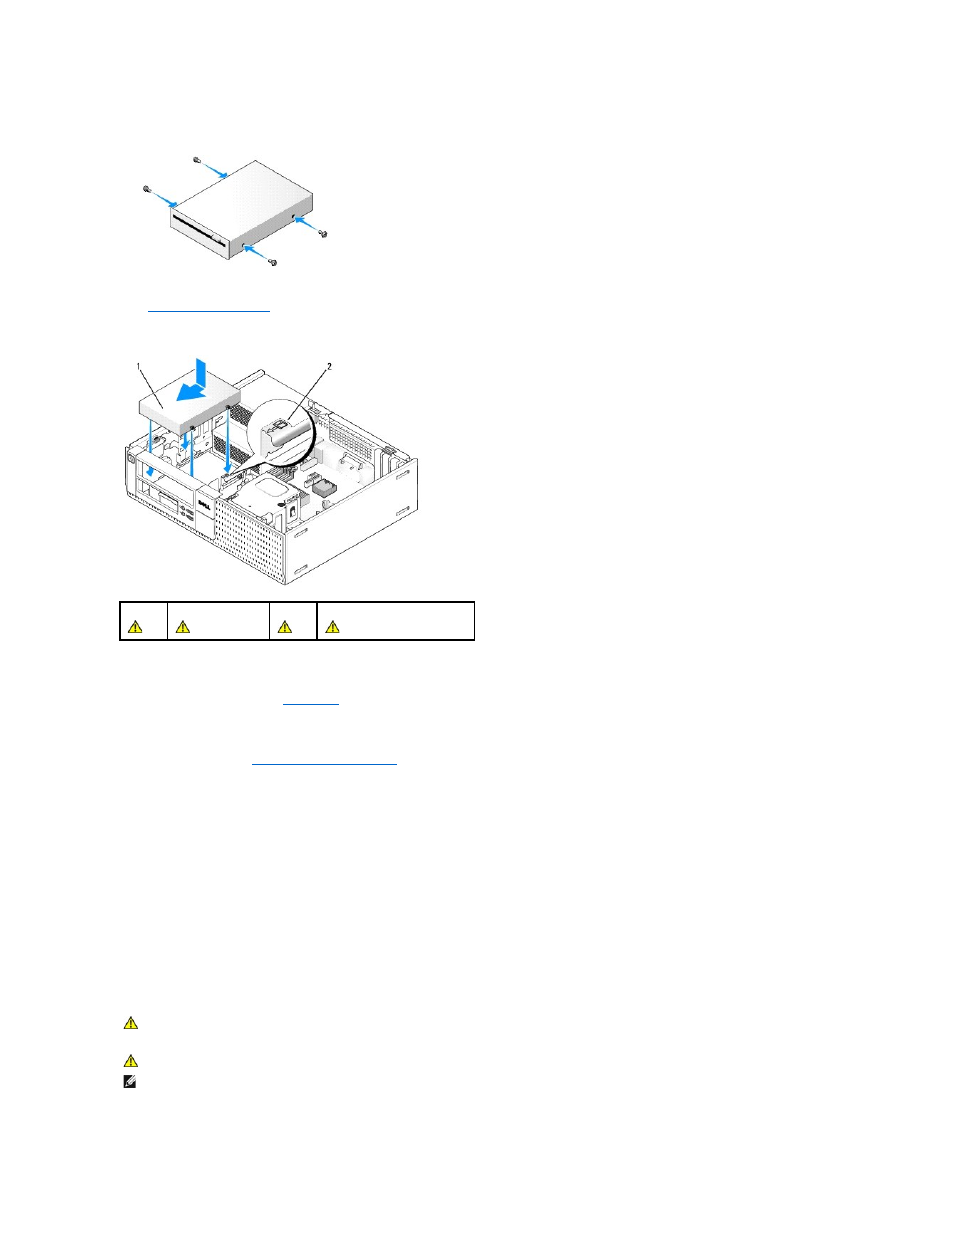
Install the four shoulder screws onto the sides of the new floppy drive and tighten them.
4.
Attach the power and data cables to the floppy drive. Ensure that the other end of the cable attaches to the DSKT2 connector on the system board (see
System Board Components
).
5.
Align the shoulder screws with the screw guides, and slide the drive into the bay until it clicks into place.
6.
Route the floppy drive data cable through the blue cable clips on the back of the heatsink assembly.
7.
Replace the optical drive (see
).
8.
Check all cable connections, and fold cables out of the way to provide airflow for the fan and cooling vents.
9.
Perform the procedure
After Working on Your Computer
.
10.
If you are adding a floppy drive to the computer system:
a.
Boot your computer and press F2 when prompted to enter system Setup (see the Dell
™
Technology Guide).
b.
On the Settings menu, select Drives, then Diskette Drive.
c.
Choose the option to Enable the floppy drive.
d.
Click Apply, then Exit.
e.
Reboot your computer.
11.
Verify that your computer works correctly by running the Dell Diagnostics (see the Dell
™
Technology Guide).
Media Card Reader
1
power cable
2
slot verification number
CAUTION:
Before you begin any of the procedures in this section, read the safety information that shipped with your computer. For additional
safety best practices information, see the Regulatory Compliance Homepage at www.dell.com/regulatory_compliance.
CAUTION:
To guard against electrical shock, always unplug your computer from the electrical outlet before removing the computer cover.
NOTE:
If you will be operating your computer without an optical drive or a 3.5-inch drive installed, the appropriate drive bay insert must be installed in
place of the drive. Contact Dell if you need a drive bay insert.