Dell OptiPlex 960 (Late 2008) User Manual
Page 119
6.
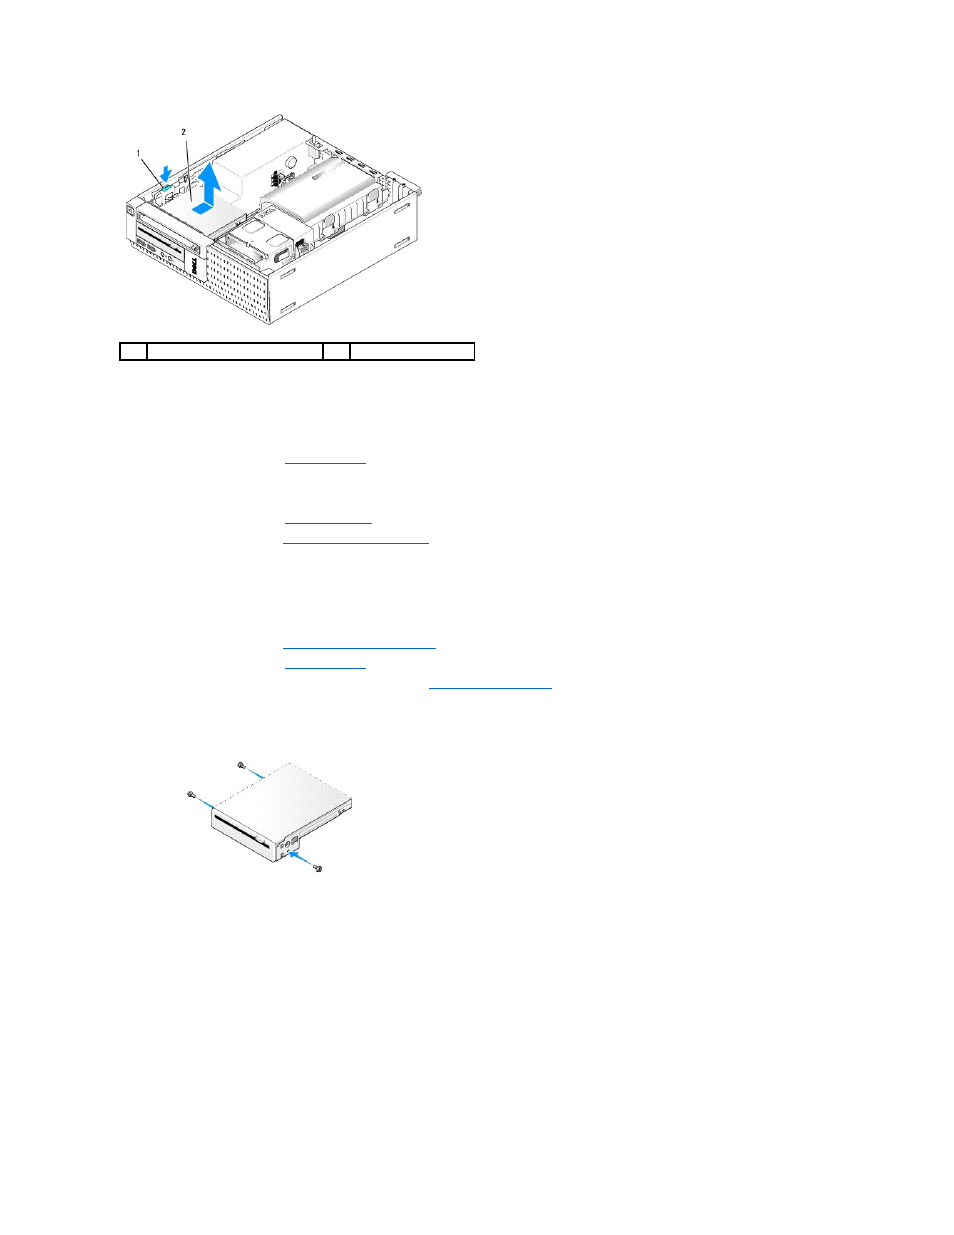
Push down the drive release latch and slide the floppy drive towards the back of the computer. Then lift it out of the chassis.
7.
If the drive is not being replaced with any device:
a.
Disconnect the drive data cable from the connector on the system board, and remove it from the chassis.
b.
c.
Install an insert, if available, into the bezel to cover the drive bay.
d.
Remove the shoulder screws from the drive and attach them to the inside of the bezel insert.
e.
Replace the bezel (see
).
f.
Perform the procedure
After Working on Your Computer
.
Installing a Floppy Drive
1.
If you are installing a floppy drive into a bay that was previously unused:
l
Perform the procedure
Before Working on Your Computer
.
l
l
Remove the floppy drive bay insert from the bezel (see
l
Remove the shoulder screws from the drive bay insert, and attach them to the floppy drive.
2.
If you are installing a floppy drive different from the one removed, remove the three shoulder screws from the floppy drive removed and attach them to
the new floppy drive.
3.
Align the screws on the drive with the bracket slots in the computer, and gently position the drive until it clicks into place.
1
drive release tab
2
floppy drive