Red-eye correction function, P. 182 – Canon PowerShot G10 User Manual
Page 184
182
You can correct red eyes in recorded images.
Red-Eye Correction Function
Red eyes may not be automatically detected in some images
or the results may not turn out as you intended. We
recommend that you use [New File] to save corrected images.
Examples:
- Faces near the screen edges or faces that appear extremely
small, large, dark or bright in relation to the overall image.
- Faces turned to the side or at a diagonal, or faces with a
portion hidden.
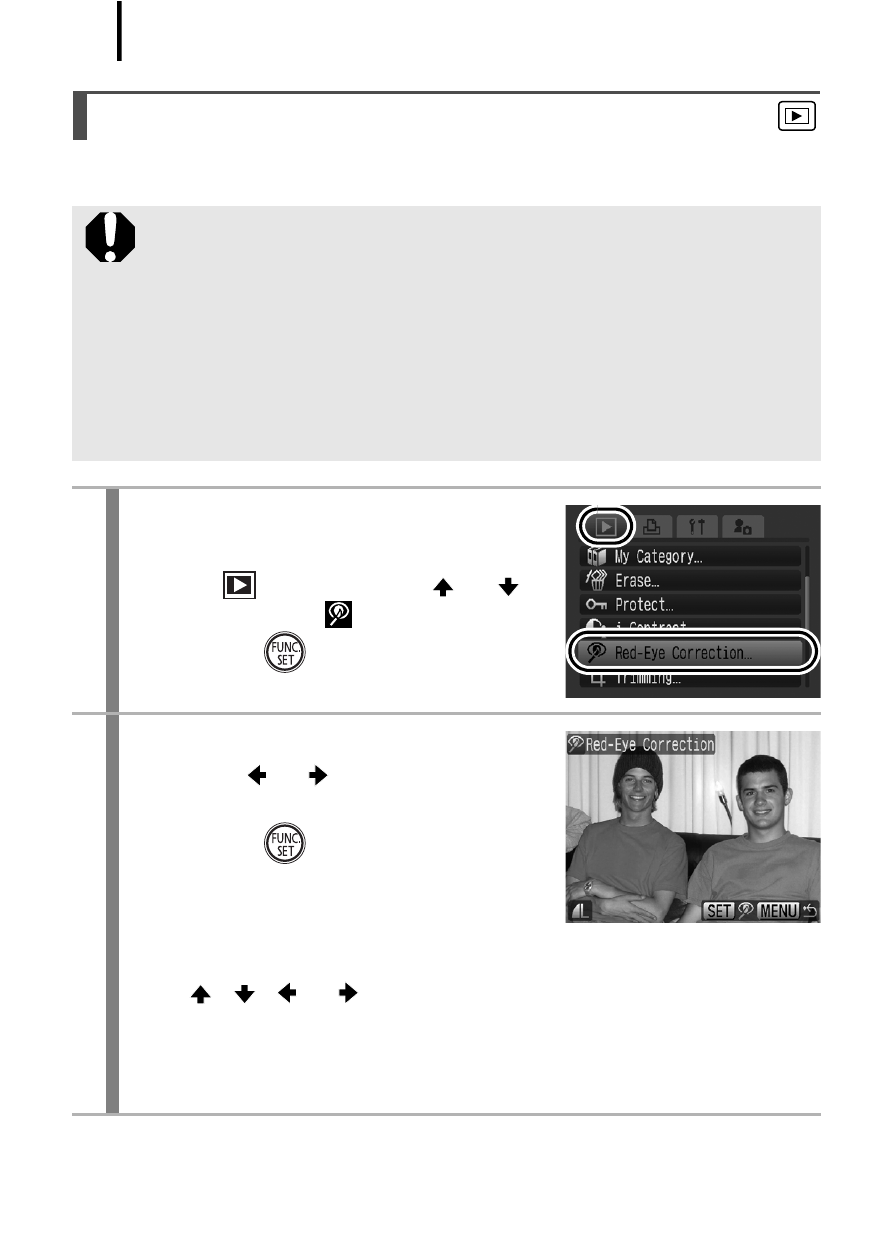
1
Select [Red-Eye Correction].
1. Press the MENU button.
2. In the
menu, use the
or
button to select
.
3. Press the
button.
2
Select an image.
1. Use the
or
button to select the
image you wish to correct red eyes.
2. Press the
button.
• A frame will automatically display
where red-eye is detected.
• If red-eye is not automatically detected, select [Add Frame] with
the
,
,
or
button and press FUNC./SET button
• To cancel the correction frame, select [Remove Frame] and
press the FUNC./SET button