Bio-Rad PharosFX™ and PharosFX Plus Systems User Manual
Page 33
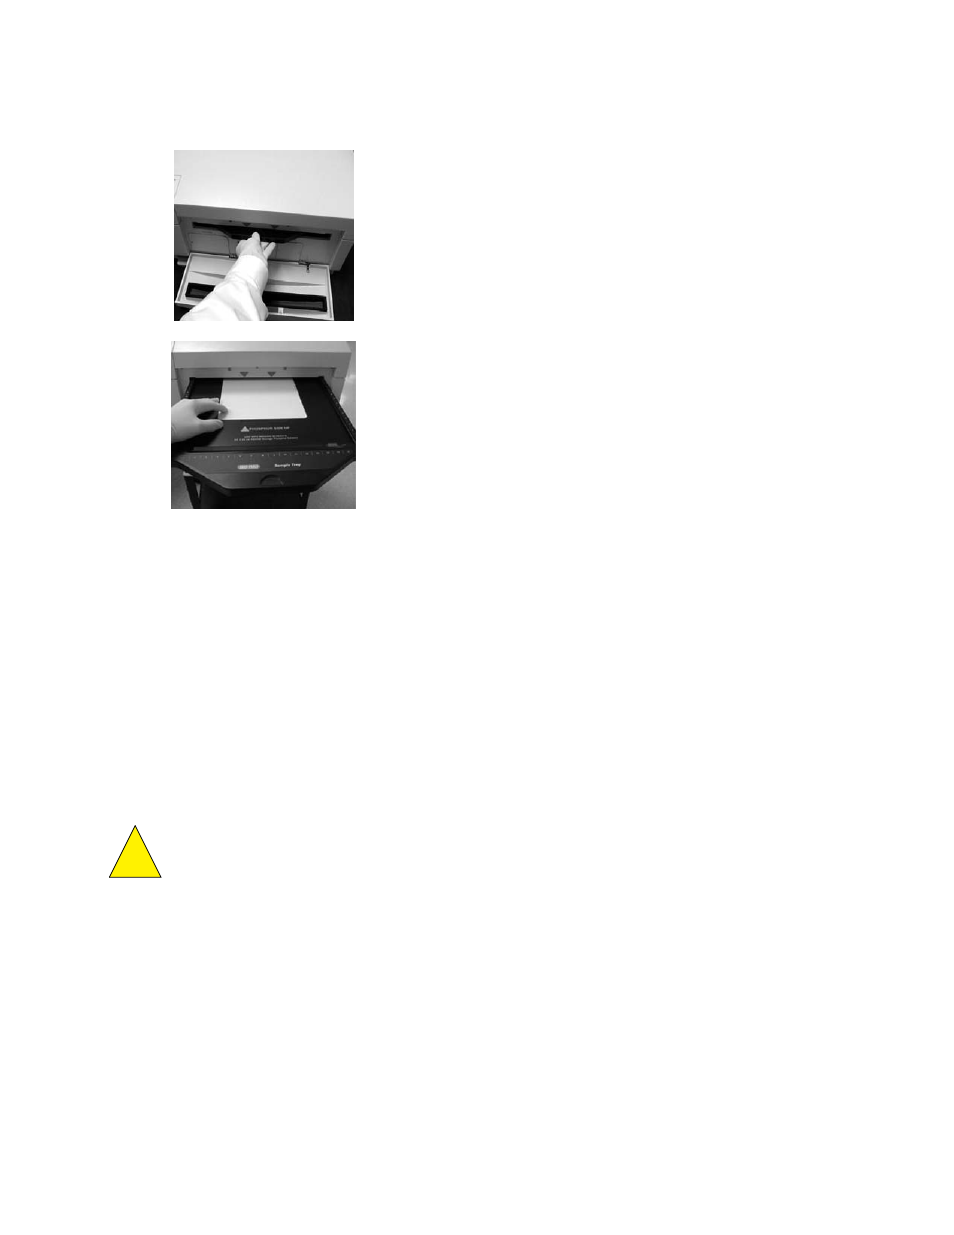
Fig. 4.13. Steps for inserting a phosphor screen into the scanner.
Scanning the Radioisotopic Samples
1. Open the scan window in the acquisition software. Under the File menu, choose
PharosFX Plus. In the acquisition window choose Select and use the layered menu to
identify your application. (i.e. for radioisotopes using the Imaging Screen-K, select
Radioisotopes/ K-Screen).
2. Choose the scan area that you would like to image.
3. Select the desired resolution setting. The highest resolution is 50 µm and the lowest is
800 µm.
Note: Scanning phospor screens is a data destructive process so only one accurate scan
can be performed per sample exposure.
4. Select
Acquire to begin scanning.
Note: Refer to the Software Manual for detailed acquisition instructions.
Caution: Do NOT open the door of the scanner while the unit is scanning. This may
terminate your scan prematurely and result in the loss of image data.
5. When the scanning is complete open the door of the PharosFX Plus.
6. To remove the imaging screen, simply pull out the sample tray and lift off the screen.
7. Once removed, imaging screens can be immediately erased and reused.
29
!