Bio-Rad PharosFX™ and PharosFX Plus Systems User Manual
Page 24
4.2.4 Inserting Additional Excitation and Emission Filters
PharosFX and PharosFX Plus are supplied pre-configured with emission filters that support
most common fluorescence applications and as such, users should not routinely have to
access the filter areas. If users wish to install additional filters and perform custom
fluorescence experiments this can be easily done as the emission filter wheels can be
accessed through the port in the scanner's front panel (Figure 4.3).
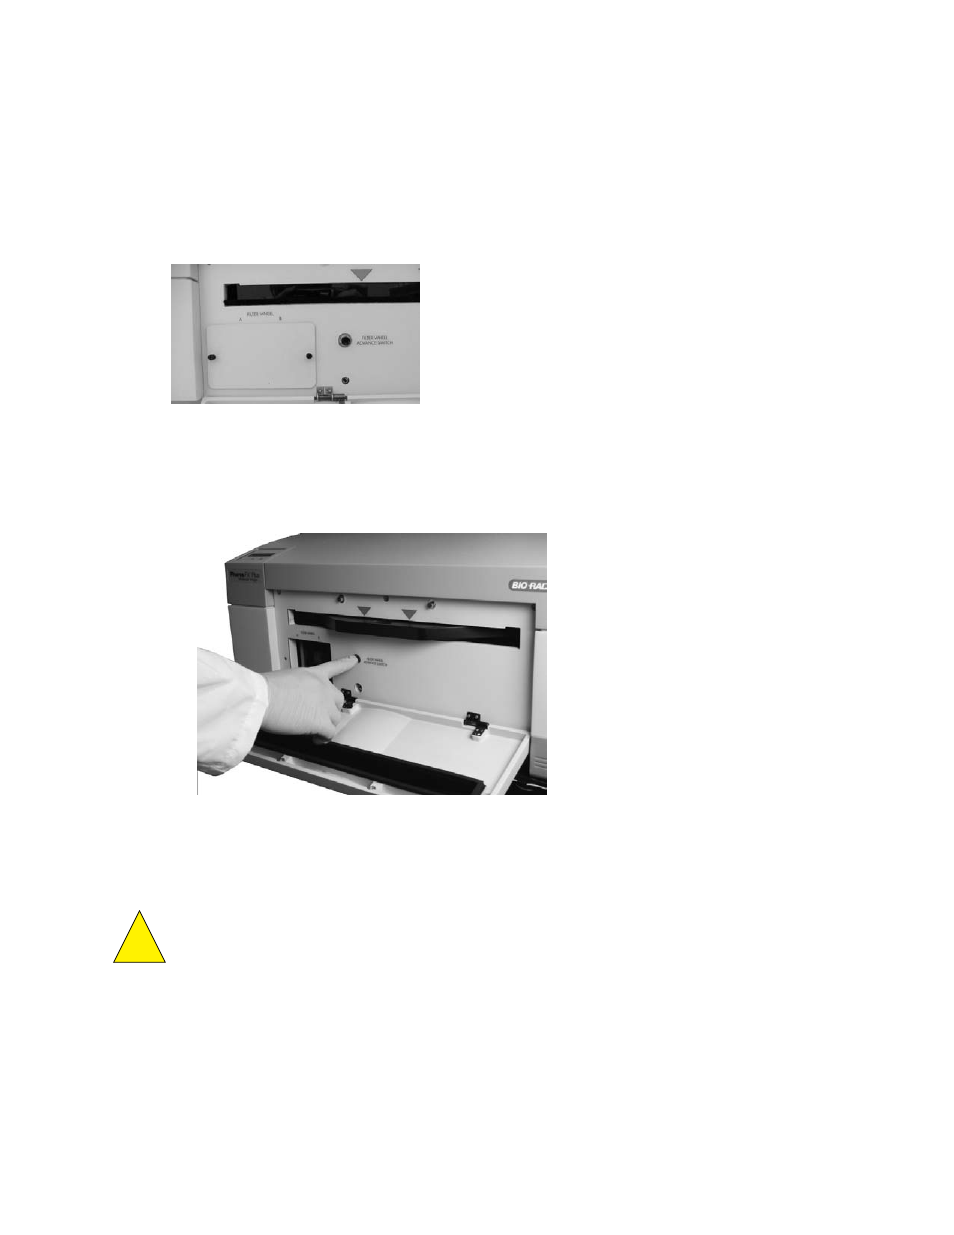
Fig. 4.3. Access port for emission filter cubes
Selecting Different Filter Positions
The filter wheel advance switch located on the front panel of the scanner can be used to
rotate the two emission filter cubes (Figure 4.4). To activate the switch, simply depress
once for each turn required.
Fig. 4.4. Selecting a filter position using a filter wheel advance switch.
Caution: Do NOT hold down the filter wheel advance switch. To rotate the filters users
should quickly press and release the button once. Users should allow the filters to move to
the next position before activating the switch again.
Caution: Do NOT manually rotate the filters. This may result in misalignment of the
excitation filter wheel and emission cubes. It may also cause permanent damage to the filter
driver motors. Always use the advance filter wheel switch to change filter positions.
Adding or Changing an Emission Filter
1. Open the front door of the PharosFX scanner.
2. Unscrew the two black screws holding the emission filter port cover in place and
remove the cover.
20
!