Bio-Rad PharosFX™ and PharosFX Plus Systems User Manual
Page 20
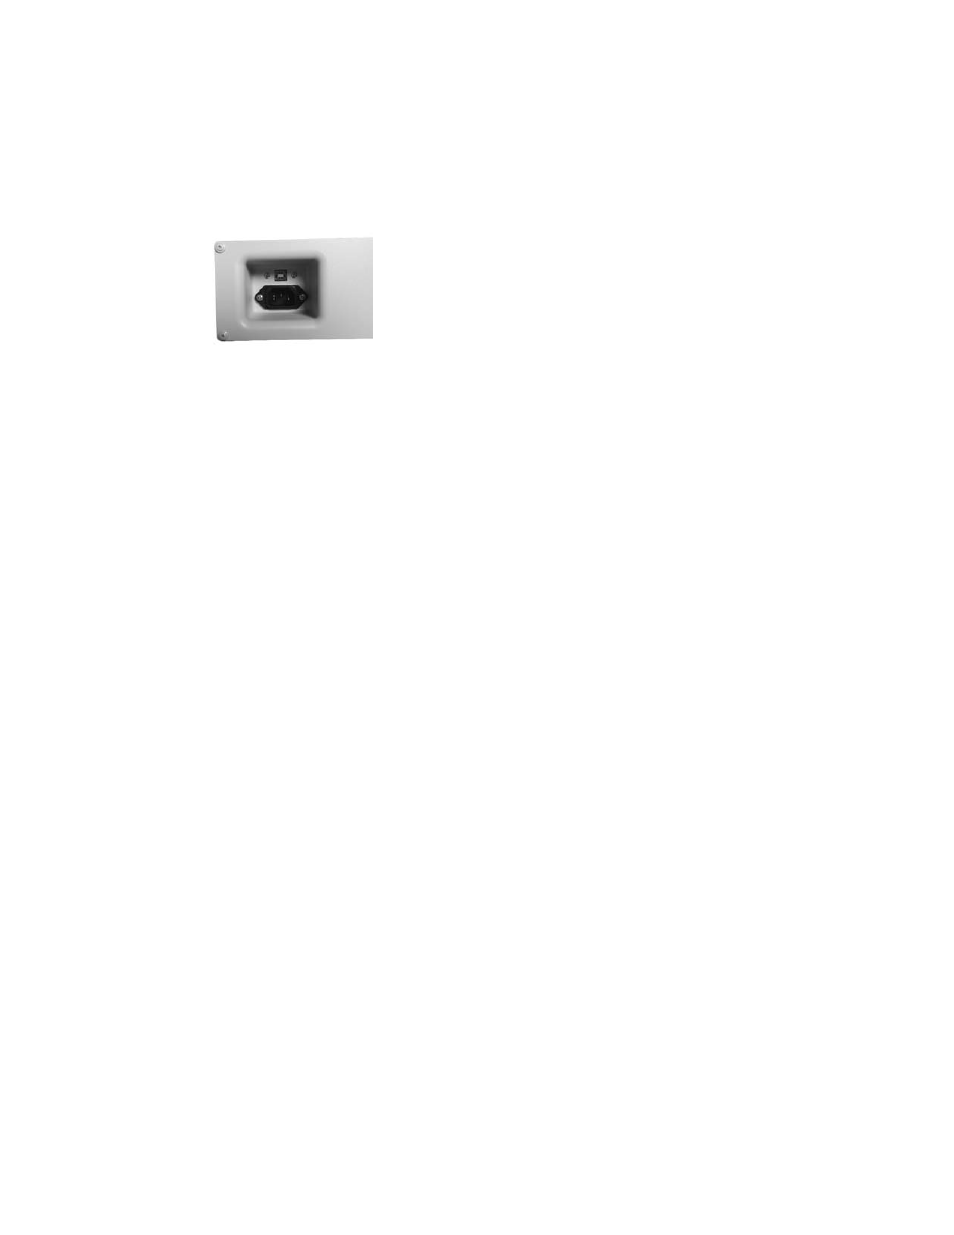
USB2 Connection
The laser scanner must be connected to the host computer via a USB2 interface (Figure 3.2).
The USB2 link ports are located on the right-hand side of the rear of the scanner unit. The
appropriate USB2 cable is included with the scanner.
Fig. 3.2. View of USB2 connection
3.2.4 Quantity One Software Installation
Please refer to your software instruction manual for comprehensive software installation
procedures.
Section 4
Operating the PharosFX System
4.1 Starting the PharosFX Scanner
To turn on the PharosFX scanner, press the power switch located on the right side of the
instrument. The LCD display on the front of the scanner displays internal diagnostic data
and information relating to the instrument version (Figure 4.1). When the power is first
turned on the LCD should display the sequence of messages shown below. This process
takes approximately 40 seconds.
Start-up Display Sequence
1. Start
Up
2. Main (Revision) v. x.xxx
3. Detector v. x.xxx
4. Laser v. x.xxx
5. Ready
When the Ready message is displayed, the host computer can communicate with the
scanner.
Note: If any other messages are shown after 2 minutes, or if the scanner is inoperative or
the scanner acquisition window cannot be opened on the host computer, please contact
your Bio-Rad Technical Service Department for assistance (1-800-424-6723 press 2 for
Technical Support).
It is recommended that the PharosFX scanner be allowed to warm-up for 15 minutes
before use. It is generally recommended that the scanner be left on, unless it is not going to
be used for a period of more than 48 hours.
16