Testing the control – tekmar 665 Snow Detector & Melting Control Installation User Manual
Page 21
21 of 28
©
2012 D
665
-
04/12
The Snow Detector & Melting Control 665 has a built-in test routine which
is used to test the main control functions. The 665 continually monitors the
sensors and displays an error message whenever a fault is found. See the
following pages for a list of the 665’s error messages and possible causes.
When the Test button is pressed, the test light is turned on. The individual
outputs and relays are tested in the following test sequence.
Menu
Item
Menu
Item
or
TEST SEQUENCE
Each step in the test sequence lasts 10 seconds.
During the test routine, the test sequence is paused by pressing the Test button. While paused, the control displays the testing
step as well as the word PAUS. If the Test button is not pressed again for 5 minutes while the test sequence is paused, the control
exits the entire test routine. If the test sequence is paused, the Test button can be pressed again to advance to the next step. This
can also be used to rapidly advance through the test sequence. To reach the desired step, repeatedly press and release the Test
button until the appropriate device and segment in the display turn on
Step 1
The system pump contact (Sys P1) is turned on for 10 seconds.
Step 2
The Heat contact is turned on for 10 seconds. After 10 seconds, the Heat relay and the Sys P1 relay are turned off.
Step 3
The Melting contact is turned on for 10 seconds. After 10 seconds, the melting relay is turned off.
MAX HEAT
The Snow Detector & Melting Control 665 has a function called Max Heat. In this mode, the 665 turns on and operates the system
up to the maximum set temperatures, and the mixing device at the set percentage. The control continues to operate in this mode
for up to 24 hours or until either the Item, Menu or Test button is pressed. This mode may be used for running all circulators during
system start-up in order to purge air from the piping. To enable the Max Heat feature, use the following procedure.
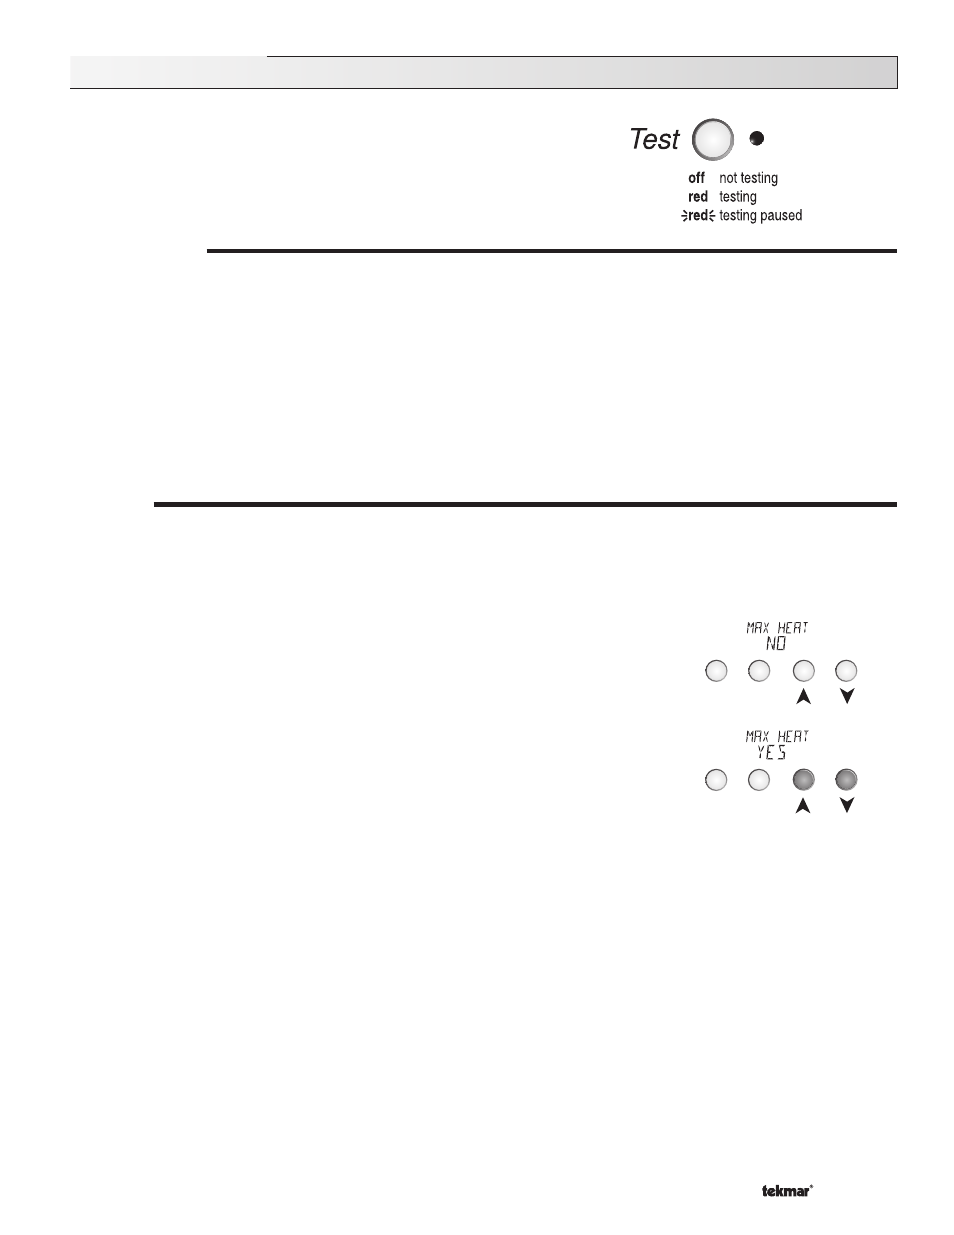
1) Press and hold the Test button for more than 3 seconds. At this point, the control displays
the words MAX HEAT and the word NO.
2) Using the
▲ or ▼ buttons, select the word YES. After 3 seconds, the control fl ashes the
word MANUAL and the number 100. This number represents the % on time of the Heat
relay during each 20 minute cycle.
3) Set the desired Heat relay % on time by using the
▲ and / or ▼ buttons on the control.
4) To cancel the Max Heat mode, press either the Item, Menu, or Test button.
5) Once the Max Heat mode has either ended or is cancelled, the control resumes normal
operation.
Testing the Control