Syba SB-ATA8212-133R User Manual
Page 6
RAIDExpress 133 RAID USER MANUAL
7
The hard drives which are required for the installation
The hard drives, which are connected on the RAIDExpress 133 card, can support
Ultra ATA/133, Ultra ATA/100, Ultra ATA/66, Ultra ATA/33, EIDE or Fast ATA-2 drives.
Nevertheless, for the best performance, it is suggested that you had better use the
hard drives of the same type and capacity to establish your own RAID system. After
getting ready for the hard drives, you can follow the procedures below to install the
system.
1.
Exactly set up every hard drive
’s master and slave setting to assure that the
hard drives can surely action and unnecessarily incorrect action of data access
won
’t occur.
2.
Exactly insert the hard drive
’s cables into the connectors on the hard drive and
check if it
’s really firmly inserted.
3.
Insert every power cable connector into the corresponding hard drive and
check if it
’s firmly inserted in a correct direction.
Warning: Because this system can support the hard drives of
Ultra ATA/133, it is suggested that you can use the 80-wire,
40-pin cable included in the package to connect the
RAIDExpress 133 card and hard drives in order to assure the
system
’s ability and efficiency. If the cable is damaged after a period of time, it
is also suggested to buy the cable with the same specification.
!
RAIDExpress 133 RAID USER MANUAL
8
Create Your Disk Array
You can create your own array using the onboard BIOS utility of the RAIDExpress
133 card with the attached hard drives. Please follow the steps below to setup your
disk array.
Warning: Please backup data in your hard drives to prevent data
damage resulting from the unfamiliarity with the operation.
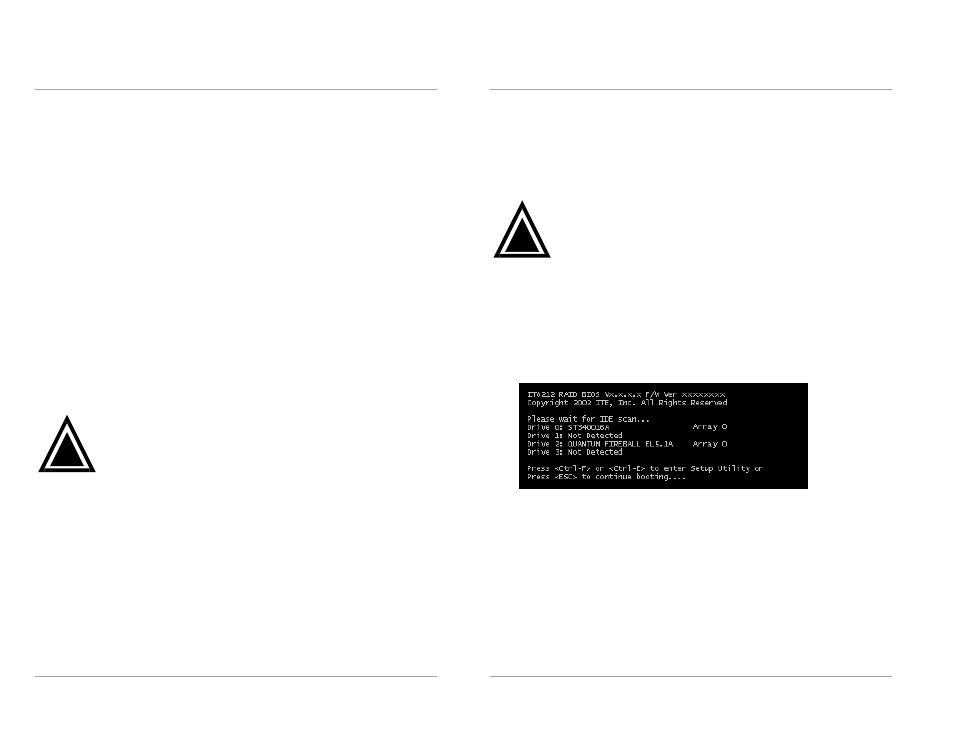
1.
Boot your system
Please attach your hard drives to the RAIDExpress 133 card, boot your system
and then you will see the following message shown by the RAIDExpress 133
card onboard BIOS on the screen.
!