E-flite P-51B Mustang 32e ARF User Manual
Page 39
39
E-flite P-51B Mustang 32e ARF Assembly Manual
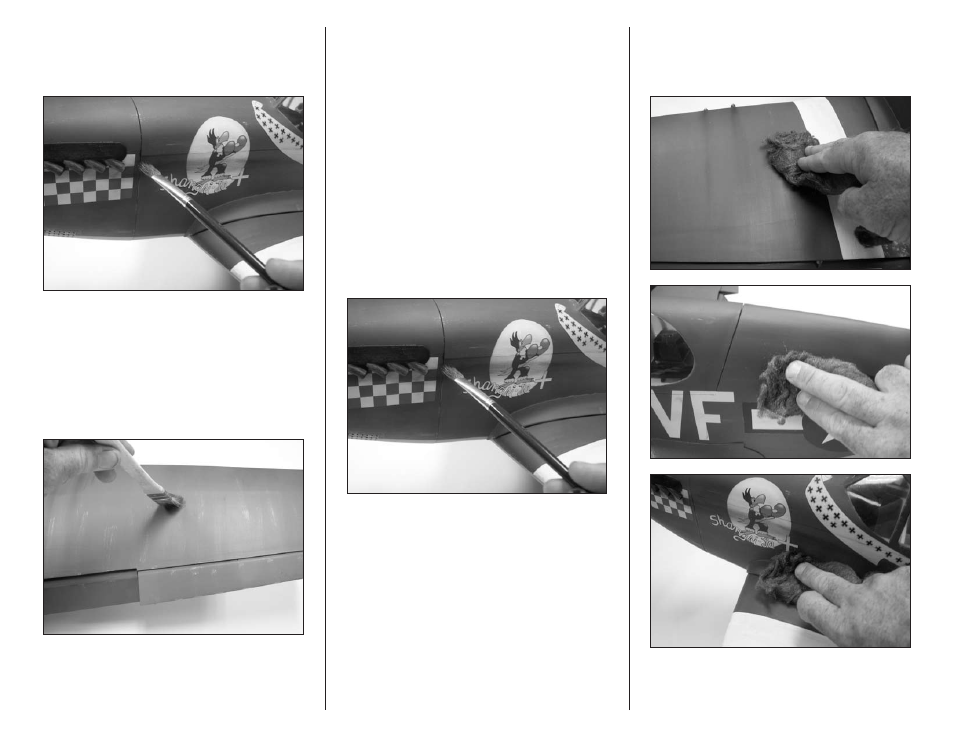
11. Next work on the exhaust streaks. These are
done similar to the gun streaks but with a bit more
brown then black. Make them heavy or light, this is
your choice.
12. Open up the aluminum paint again and get the
1/4-inch (13mm) brush we used before. Get some
paint on the brush and blot dry, A LOT. Now lightly
go over the entire model in the direction air would
flow over the model. Very, very little aluminum will
transfer to the model. This will take some time but
will yield a more realistic looking model. It will high-
light certain points of the model.
13. Back to the chalks. Using the 1/2-inch (13mm)
artist brush, streak the entire model lightly. Start
at the spinner and work back on the fuselage. All
of this streaking should be done horizontally in
the direction of airflow over the model in flight.
Continue with the tail and the wings. As you do
this you want to also burnish the entire model with
#0000 steel wool in the direction of airflow. You
will find the steel wool will pull very tiny streaks
of the dullcote off delivering a very realistic effect.
Continue with the chalks (both brown and black)
and then steel wool to get the desired effect. Once
you have a nice sized area completed (like a wing
panel), mist it with the dullcote once again. Do this
until the entire model is where you like it. There is
no right or wrong way to this. The more you do it
the more comfortable you will feel and the better
your results.
14. Once you are complete and have the entire
model chalked and dullcoted, do one more light
stroke over the entire model with the #0000 steel
wool. You may now admire your results.
15. Stroke over the static spinner and flying spinner
during this process.