Stabilizer and rudder installation – E-flite P-51B Mustang 32e ARF User Manual
Page 10
10
E-flite P-51B Mustang 32e ARF Assembly Manual
Stabilizer and Rudder Installation
Required Parts
Fuselage
Nylon control horn (3)
3mm x 15mm hardwood dowel (2)
Carbon stabilizer tube
2mm x 8mm sheet metal screw (6)
Stabilizer assembly (right and left)
Required Tools and Adhesives
12-minute epoxy
Mixing cups
Mixing sticks
Epoxy brush
Rubbing alcohol
Paper towels
Ruler
Hobby knife with #11 blade
Thin CA
Phillips screwdriver: #1
Low-tack tape
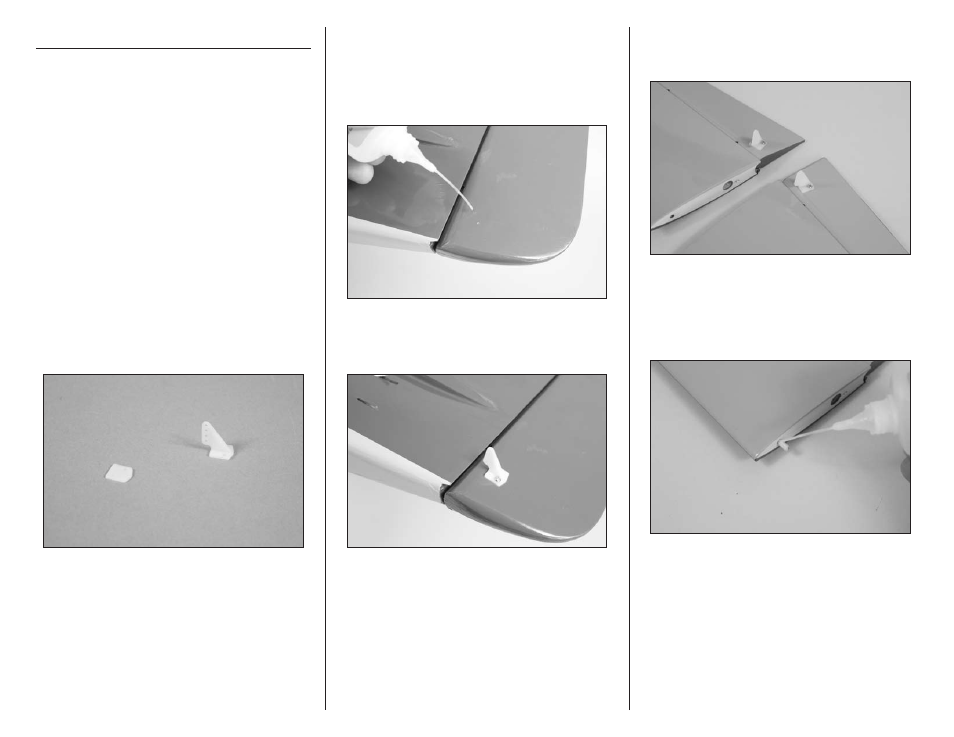
1. Use a hobby knife with a #11 blade to remove
the control horn backplate from the control horn.
You can discard the backplate as it will not be used
when installing the control horn. Prepare all three
horns at this time.
2. Wick 2–3 drops of thin CA into the holes in the
rudder for the control horn mounting screws. This will
harden the surrounding wood, reducing the chances
of the screws from pulling loose accidentally. You will
want to do this to the elevator holes as well at this
time.
3. Attach the rudder control horn to the rudder
using two 2mm x 8mm sheet metal screws and a #1
Phillips screwdriver.
4. Attach the control horns to the elevators
using 2mm x 8mm sheet metal screws and a
#1 Phillips screwdriver.
5. Insert the 3mm x 12mm hardwood dowel in the
stabilizer so 6mm of the dowel is exposed. Wick
2–3 drops of thin CA around the joint between the
dowel and stabilizer to secure its position. Prepare
both stabilizer halves at this time.