Propeller and spinner installation – E-flite P-51B Mustang 32e ARF User Manual
Page 18
18
E-flite P-51B Mustang 32e ARF Assembly Manual
Propeller and Spinner Installation
Required Parts
Fuselage
Spinner assembly
Propeller
Transmitter
Required Tools and Adhesives
Open end wrench: 12mm
Hex wrench or ball driver: 3mm
Tapered propeller reamer
1. Locate the spinner assembly. Use a 3mm hex
wrench to loosen the bolt that secures the spinner
cone to the propeller adapter. Set the spinner
cone aside.
2. Check the rotation of the motor using the
radio system. It must spin counterclockwise when
viewed from the front of the fuselage. If not,
reverse any two of the motor leads to correct the
direction of rotation.
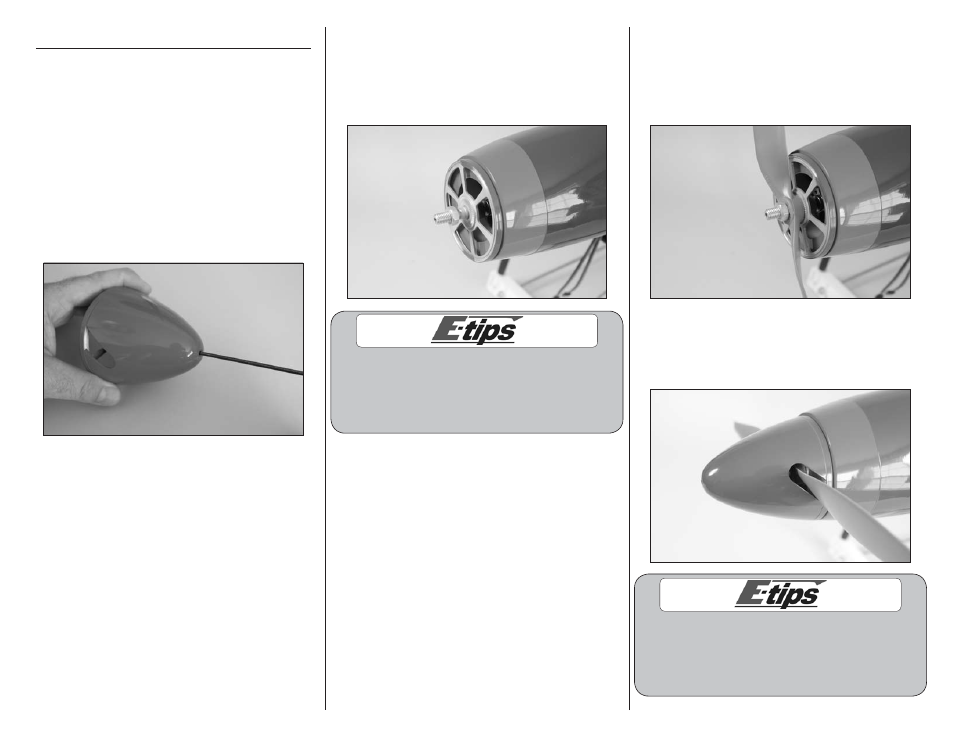
3. Slide the propeller adapter and spinner backplate
(the included spinner does not have the lightening
holes as shown in the photo) on the motor shaft.
Leave a slight gap of 3/32-inch (2mm) between the
backplate and cowling so the backplate does not
rub on the cowling.
Always balance your propeller and spinner. An
unbalanced propeller can cause vibrations to
be transmitted into the airframe, which could
damage the airframe or other components as well
as produce unwanted flight characteristics.
4. Remove the nut and washer from the propeller
adapter. Fit the propeller to the adapter and use
a 12mm wrench to tighten the nut that secures the
propeller. You may need to use a propeller reamer
to enlarge the hole in the propeller to fit over the
adapter.
5. Fit the spinner cone in position. Make sure
the openings for the propeller do not contact the
propeller. Use a 3mm hex wrench to tighten the bolt
that secures the spinner cone to the adapter.
Double-check that the spinner backplate does not rub
against the cowling once the cone is in position. If so,
remove the spinner cone and propeller and slide the
adapter forward on the motor shaft. Repeat Steps 3
through 5 to replace the propeller and spinner cone.