Installing the optional ordinance pylons – E-flite P-51B Mustang 32e ARF User Manual
Page 31
31
E-flite P-51B Mustang 32e ARF Assembly Manual
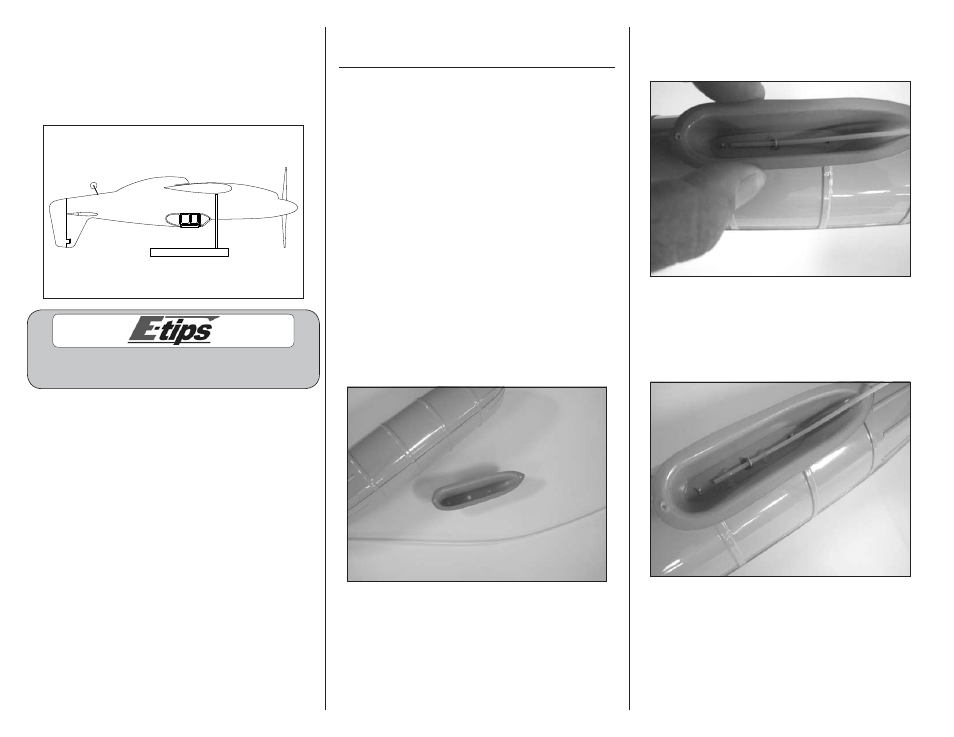
9. When balancing your model, support the plane
inverted at the marks made on the top of the wing
with your fingers or a commercially available
balancing stand. This is the correct balance point
for your model. Make sure your model is assembled
and ready for flight before balancing.
Balancing Stand
If you have installed retracts, balance
your model with the gear down.
Adjust the motor battery as necessary so the model is
level or slightly nose down. This is the correct balance
point for your model. You should find the CG to be
very close with the battery installed as shown in this
manual. Mark the location of the battery on the battery
tray using a felt-tipped pen so it can be returned to this
position if it is removed from your model.
After the first flights, the CG position can be adjusted
for your personal preference.
Installing the Optional
Ordinance Pylons
Required Parts
Wing panel (right and left)
Optional Parts
Drop tank (2)
Bomb (2)
Sub-micro servo (with hardware)
Micro pushrod connector (2)
#1 x 1/4-inch wood screw (4)
Gold-N-Cable (SUL507)
Ordinance pylon (2)
Servo with hardware
Required Tools and Adhesives
Mixing cup
Hobby knife with #11 blade
12-minute epoxy
Mixing stick
Phillips screwdriver: #0, #1
1. Locate the drop tank and ordinance pylon. You
will also need a Sullivan Gold-N-Cable for this
section of the manual.
2. Position the drop tank on the bottom of the pylon.
Slide the tubing through the loop in the drop tank to
hold it in position.
3. Mix a small amount of 12-minute epoxy. Apply
the epoxy to the cable forward and aft of the loop
on the drop tank. This will glue the tubing to the
inside of the pylon. Allow the epoxy to fully cure
before proceeding.