Motor and cowling installation – E-flite P-51B Mustang 32e ARF User Manual
Page 12
12
E-flite P-51B Mustang 32e ARF Assembly Manual
Motor and Cowling Installation
Required Parts
Fuselage
Motor with accessories
Cowling
Speed control
#4 washer (2)
Hook and loop tape
Aluminum spacer, 1/8-inch (3mm)
Hook and loop strap (2)
3/16-inch (5mm) aluminum spacer (4)
4-40 x 3/4-inch socket head machine screw (4)
4-40 x 3/8-inch socket head machine screw (8)
Required Tools and Adhesives
Threadlock
Ball driver: 3/32-inch
Scissors
Phillips screwdriver: #2
Power setups: We found the best power
system for the P-51B is the Power 32 on
4S using an APC 13 x 6.5E prop. This
delivered solid flight performance with a
very acceptable current draw. All instructions
are regarding the Power 32 setup. If using a
Power 25 4S setup, please note the change on
the spacers for proper motor placement. The
Power 25 uses the 1/8-inch (3mm) spacers
only and the Power 32 uses the 1/8-inch
(3mm) and 3/16-inch (5mm) spacers.
1. Locate the motor, X-mount and hardware to
attach the mount to the motor. Use a #2 Phillips
screwdriver to install the screws that secure the
mount to the motor.
Always use threadlock on metal-to-metal fasteners
to prevent them from vibrating loose.
The blind nuts in the firewall can be positioned
for a variety of different motor options. They
will slide easily and may not be in the correct
location for any one particular motor when the
fuselage is removed from the packaging.
2. Use the four 4-40 x 3/4-inch socket head
screws, four 3/16-inch (5mm), and four 1/8-inch
(3mm) aluminum spacers to attach the motor to
the firewall. The spacers fit between the mount
and firewall. Use a 3/32-inch wrench to tighten
the screws.
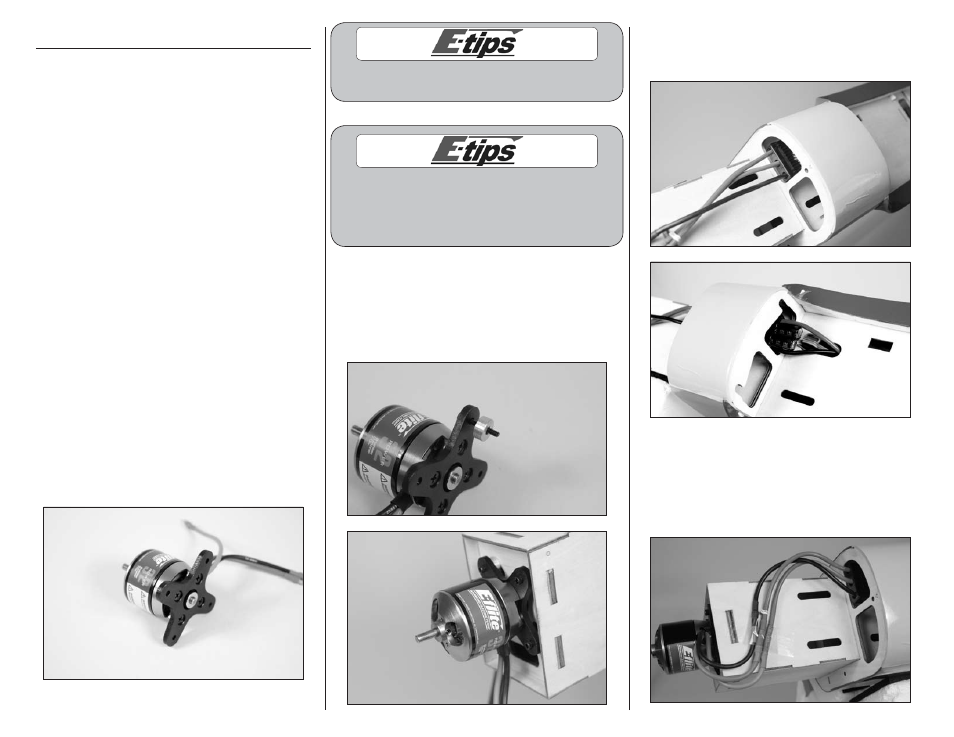
3. Place the speed control in the fuselage as shown.
Route the leads through the oval hole in the battery
tray as shown in the photo.
4. Connect the motor and speed control leads. If
you are using the recommended motor and speed
control, connect the lead wires according to color
for the motor to rotate in the correct direction.
Secure the leads so they do not interfere with the
operation of the motor.