Detailing your p-51b mustang – E-flite P-51B Mustang 32e ARF User Manual
Page 36
36
E-flite P-51B Mustang 32e ARF Assembly Manual
Detailing your P-51B Mustang
Required Parts
Completed airframe
Required Tools
Painters grade masking tape
Razor blades
Hobby knife w/#11 blade
Glass cleaner
Paper towels
Heat gun
Covering iron
Drill
Drill bit: 1/8-inch (3mm)
Medium CA
Aluminum tubing, 1/8-inch (3mm)
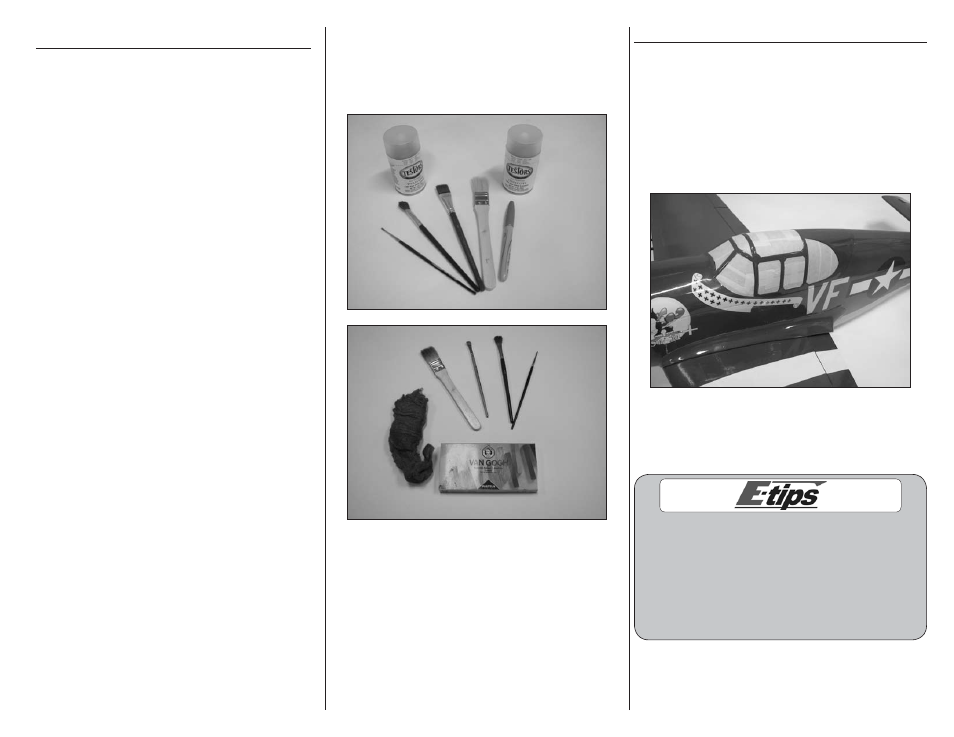
Special Tools and Paint
Steel wool: #0000
Small camel hair artist paint brushes:
1/4-inch (6mm), 1/2-inch (13mm)
Detail paint brush: #2
Inexpensive paint brush: 1-inch (25mm)
Model Master bottle paint: Aluminum, Rust, Flat Black
Model Master dullcote lacquer (4 cans)
Set of pastel chalks
Overview: This section is to help you take
your basic ARF model you just finished and
bring a new life to it just like the professional
modelers do. This is very easily done using
the techniques shown in the next few pages.
We will accomplish this in two major sections.
The first section will dull the overall look of
the model or give it that flat finish just like a
military warbird had when it was delivered to
the combat unit. The second section will add
some minor details and weathering to help
show the model in a combat version after a
few months flying in the theatre of operation.
The main goal is to help you achieve a nice
rendering of a scale model using some very
basic techniques. Keep in mind there is no
right or wrong way to accomplish this. What
is shown in the next few pages is a simple
technique which should take only a few hours.
You can take the model to any level you wish
and change it after you are done to achieve a
different look if you wish. Please read through
the steps first to better understand what we
are doing here. Once you feel comfortable
you may begin on a journey that will help you
deliver that “real look” on your model taking it
from a regular box model to a masterpiece.
DULLING ThE OvERALL FINISh
1. Use glass cleaner and paper towels to clean the
entire model thoroughly.
2. Mask off the clear portion of the canopy with
a high-grade painters masking tape. We use 3M
branded painters tape from the local hardware
store. Cut and trim the edges using a razor blade
or hobby knife with a #11 blade.
3. Use a heat gun and covering iron to ensure all
sections of covering are ironed down and smooth
with no wrinkles. Take your time here and make this
right. Heat is the key, not pressure.
UltraCote covering is designed to accept a painted
finish from the start. There is no need to scuff the finish
with what we are going to do here. If you are using
this manual on another product using other brands of
plastic film covering, you will need to scuff the covering
before painting to ensure proper adhesion. Scuff it by
going over the entire model with #0000 steel wool.