E-flite P-51B Mustang 32e ARF User Manual
Page 14
14
E-flite P-51B Mustang 32e ARF Assembly Manual
Rudder Servo, Elevator Servo
and Receiver Installation
Required Parts
Fuselage
Motor battery (charged)
Transmitter
Servo with hardware (2)
Receiver
3-inch (76mm) extension
Y-harness (2)
Hook and loop tape (2)
Nylon clevis (3)
Silicone clevis retainer (3)
22
1
/
2
-inch (572mm) pushrod, threaded one end
Offset servo horn
Nylon pushrod connector backplate
3mm x 4mm machine screw
Brass pushrod connector
Nylon pushrod connector
Special Y-harness from retract (if installing the
recommended retracts)
Required Tools and Adhesives
Ruler
Side cutters
Thin CA
Threadlock
Pin vise
Drill bit: 5/64-inch (2mm)
Felt-tipped pen
Phillips screwdriver: #1
Before starting the installation of the servos, we
recommend centering the trims and sticks on your
transmitter. If using a computer radio, make sure
to reset a model memory and name it for this
particular model. We also recommend binding the
transmitter and receiver at this time following the
instructions provided with your radio system.
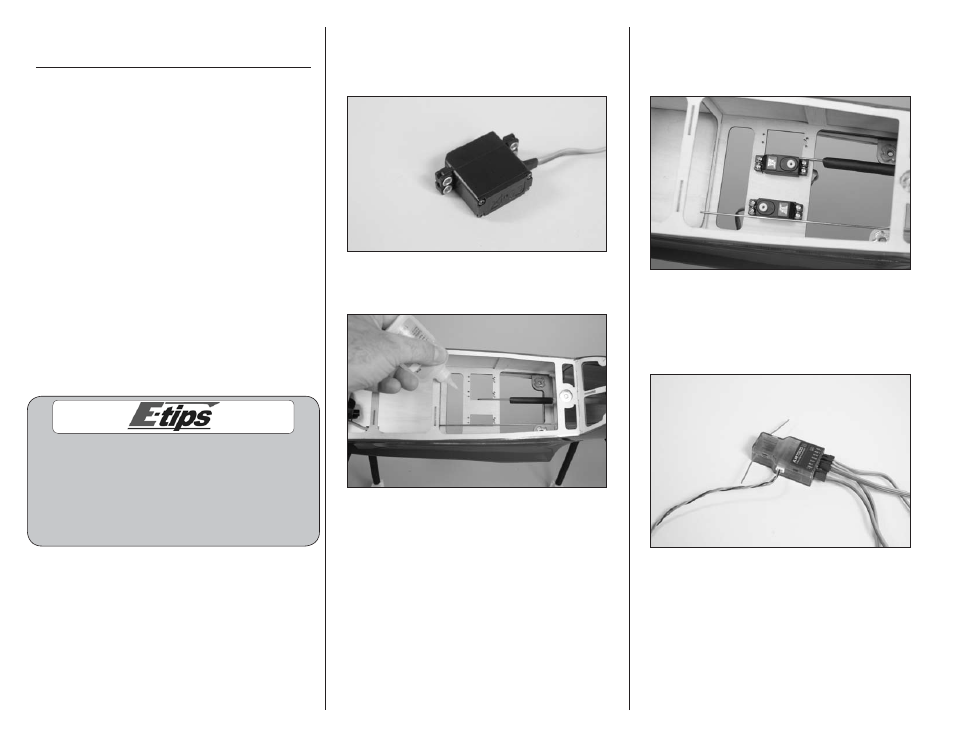
1. Prepare the rudder and elevator servos by
installing the brass eyelets and rubber grommets in
the servo. Also remove the stock servo horn using a
#1 Phillips screwdriver.
2. Apply 2–3 drop of thin CA in each of the servo
mounting holes in the radio tray.
3. Mount the rudder and elevator servos in the
radio tray. Note the direction of the servos in the
photo. Use the screws provided with the servos and
a #1 Phillips screwdriver to secure them in position.
4. Plug a Y-harness into the aileron and flap port of
your receiver. Plug the special Y-harness included
with your E-flite retracts into the gear port of the
receiver. Plug in a 3-inch extension into the Aux2
port if using the operational bombs or drop tanks.