Installation instructions – Brandmotion 9002-8537 User Manual
Page 4
INSTALLATION INSTRUCTIONS
8537 Instructions 6-9-14.docx
Page 4 of 4
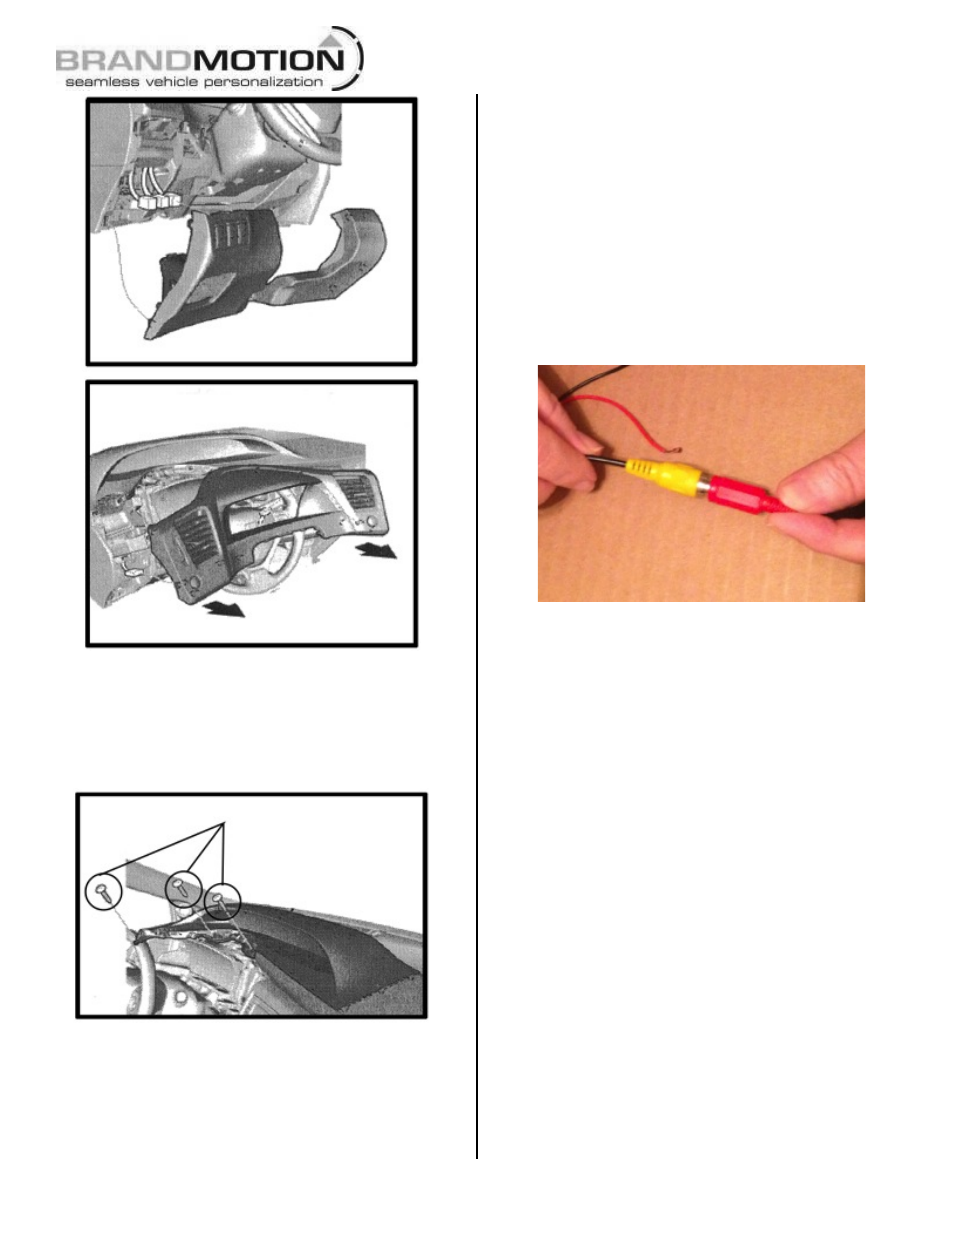
Step 19: Remove 3 Screws as shown and remove
dashboard cover. Locate IMD screen and
disconnect the 32pin harness. Caution: Be careful
not to disconnect antenna or other connection to
back of radio.
Step 20: Plug the vehicles 32-pin radio connector
into the female 32-pin connector of supplied
Display Harness.
Step 21: Connect the trigger wire on provided
Display Harness to vehicles 12v Reverse power.
Using a vehicle specific service guide/wiring
diagram and a multi-meter locate and verify 12v
Reverse power source.
Step 22: Plug the male 32-pin connector of
supplied Display Harness into the radio.
Step 23: Connect Chassis Harness RCA connector
to Jumper Harness female RCA connector and use
Electrical Tape to secure.
Step 24: Coil any excess Chassis Harness and
secure it and the Jumper Harness to existing
vehicle wiring with Wire Ties or Electrical Tape.
Step 25: Reinstall radio display and inspect that all
connections are proper and secure.
Step 26: Test system. Close trunk or liftgate and
clear all removed items from around the vehicle
before starting the vehicle. Next, shift into Reverse
and check radio display for the camera image.
Step 27: (If necessary) Adjust camera aim.
Reposition camera to the desired viewing angle.
Step 28: Reassemble vehicle. Follow your
disassembly steps in reverse order, taking care not
to bind the harness wiring when reinstalling trim.