Autocue QMaster Complex User Manual
Page 36
QMaster Comple Language-UserGuide.docx 2012-10-02
36
© 2003-2011 Autocue Group Ltd.
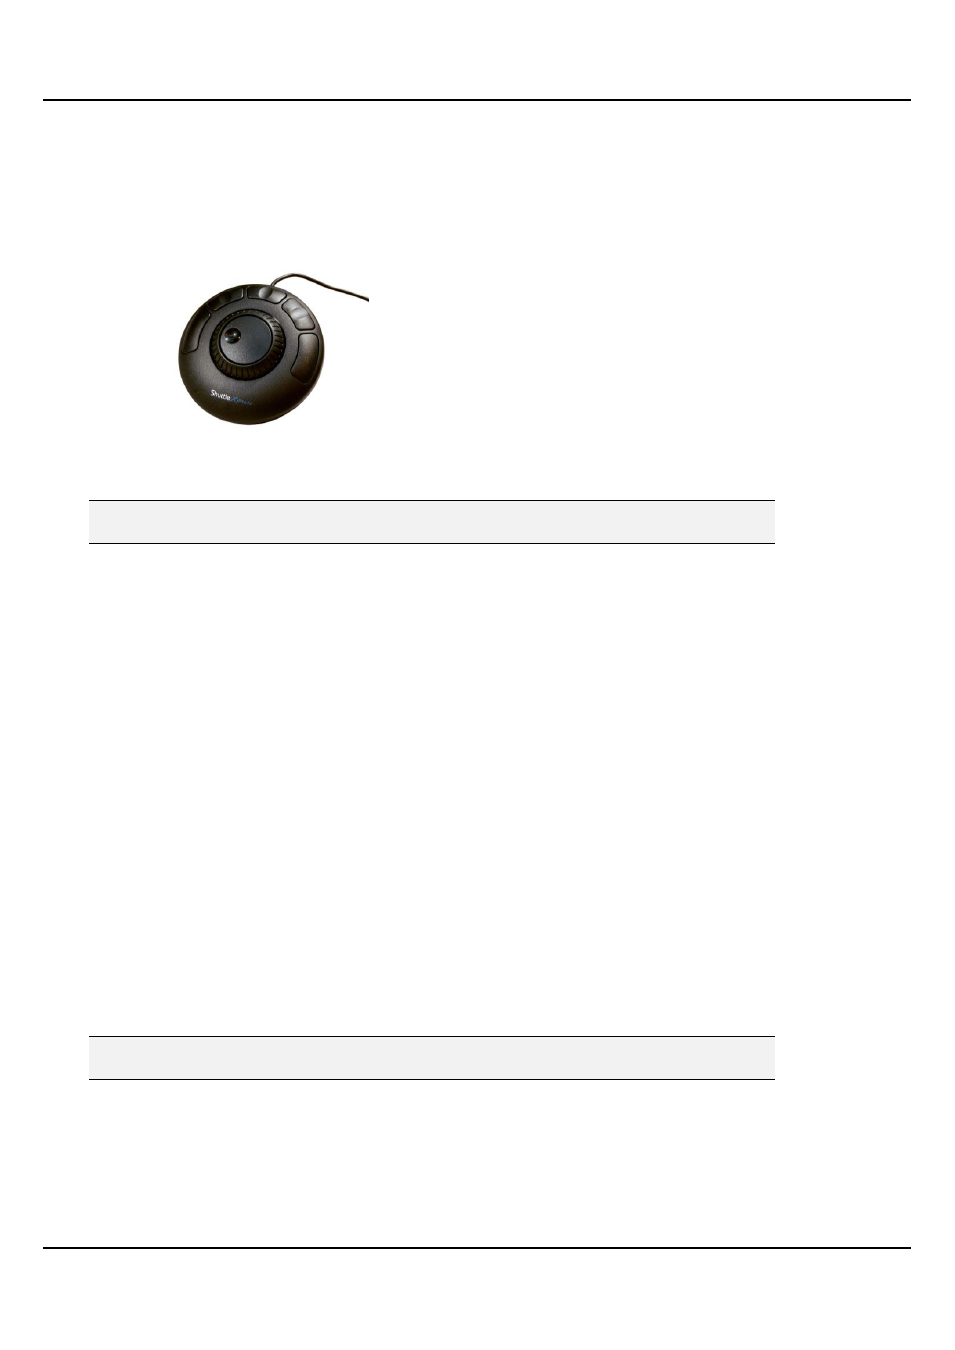
ShuttleXpress
The controller is designed for one-hand access to the buttons and jog/shuttle knob. The inner 'jog' control rotates
through 360 degrees and provides precision forward and reverse scrolling. The outer black ring or 'shuttle' is
rubberized and spring-loaded. The controller is connected via a USB port.
The ShuttleXpress has five fully programmable buttons.
Connect a Contour Design controller to a USB port on your computer. The operating system will detect the device
and install it as a “USB Human Interface Device”.
Note: Do not install the software from the mini-CD that is supplied with the Contour Design
controllers.
The Contour Design controllers include independently assigned wheel and button inputs on the unit to perform
scrolling and other prompting actions, such as moving from one script to the next in a runorder.
The ‘shuttle’ and ‘jog’ controls
The shuttle is the rubberised outer wheel. Turn the shuttle to the right to start forward scrolling and to the left for
reverse scrolling. The shuttle is spring loaded, so that when it is released it returns to the original pre-scrolling
position. The shuttle delivers a smooth scrolling action.
The inner wheel is the alloy-based jog control. This is not spring loaded making it suitable for controlling
movement between stories in a script. Turn the jog to the right to jump to the next story and to the left for the
previous story.
Default action assignment
Scroll speed is assigned to the shuttle and previous/next story jump is assigned to the jog.
The shuttle and jog controls can operate at the same time. For example, if you are scrolling with the shuttle and turn
the jog, the script will jump to the next story and continue scrolling from that point.
Configuring the shuttle and jog controls
The shuttle and jog controls may have the following actions assigned to them:
Scroll
Previous/Next Story
If you wish, you can also choose to assign no action to either control.
Note: If you assign an action to one control you will not be able to assign the same one to the
other control.
Follow the steps outlined earlier in this section to select a controller.
1. Click Setup.