Vacuum bottle replacement and set-up procedure, Figure 26 – Rockwell Automation 1502 Medium Voltage 400A Contactor - Series E User Manual
Page 38
38
Rockwell Automation Publication 1502-UM052H-EN-P - June 2013
Chapter 4
Maintenance
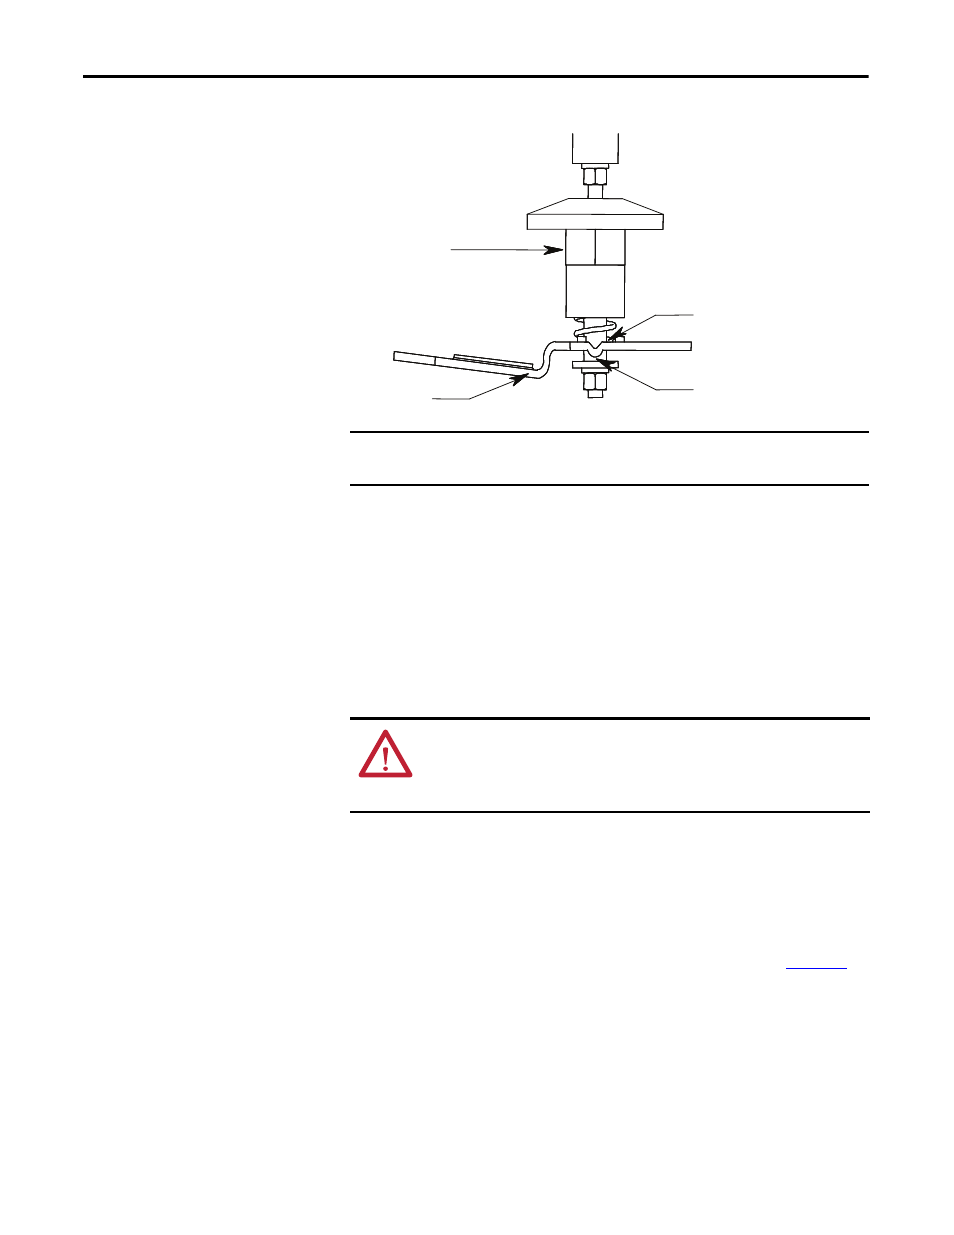
Figure 26 - Grease Locations
Vacuum Bottle Replacement
and Set-Up Procedure
Under normal conditions, vacuum bottles will last at least 1,000,000 operations;
however, all three bottles must be replaced if any wear indicator line reaches the
bearing (regardless of the number of operations). Refer to FIX THIS or the part
number(s) required for this procedure.
Use the following procedure to remove and replace the vacuum bottles. This
procedure can be performed with the contactor remaining in the power cell of
the controller.
1. Before removing the vacuum bottles, mark the installed bottles clearly to
avoid confusing them with the replacement vacuum bottles.
2. If the contactor has not been removed from the starter, first remove the
lower terminal connections at the rear of the contactor.
3. Remove the load terminal retaining bolt at the rear of the contactor, and
the vacuum bottle mounting bolt at the top of the contactor (
IMPORTANT
Do not grease the armature shaft plastic bearings. These bearings are self-
lubricating and do not require grease.
Insulator
Grease
Actuator Plates
Grease
ATTENTION: To avoid shock hazards, lock out incoming power and disconnect
the control plus from the contactor before working on the unit. Verify with a hot
stick or meter that all circuits are voltage free. Failure to do so may result in
severe burns, injury or death