Dakota Ultrasonics DFX-7 plus MANUAL1 User Manual
Page 69
DFX-7 Ultrasonic Flaw Detector
65
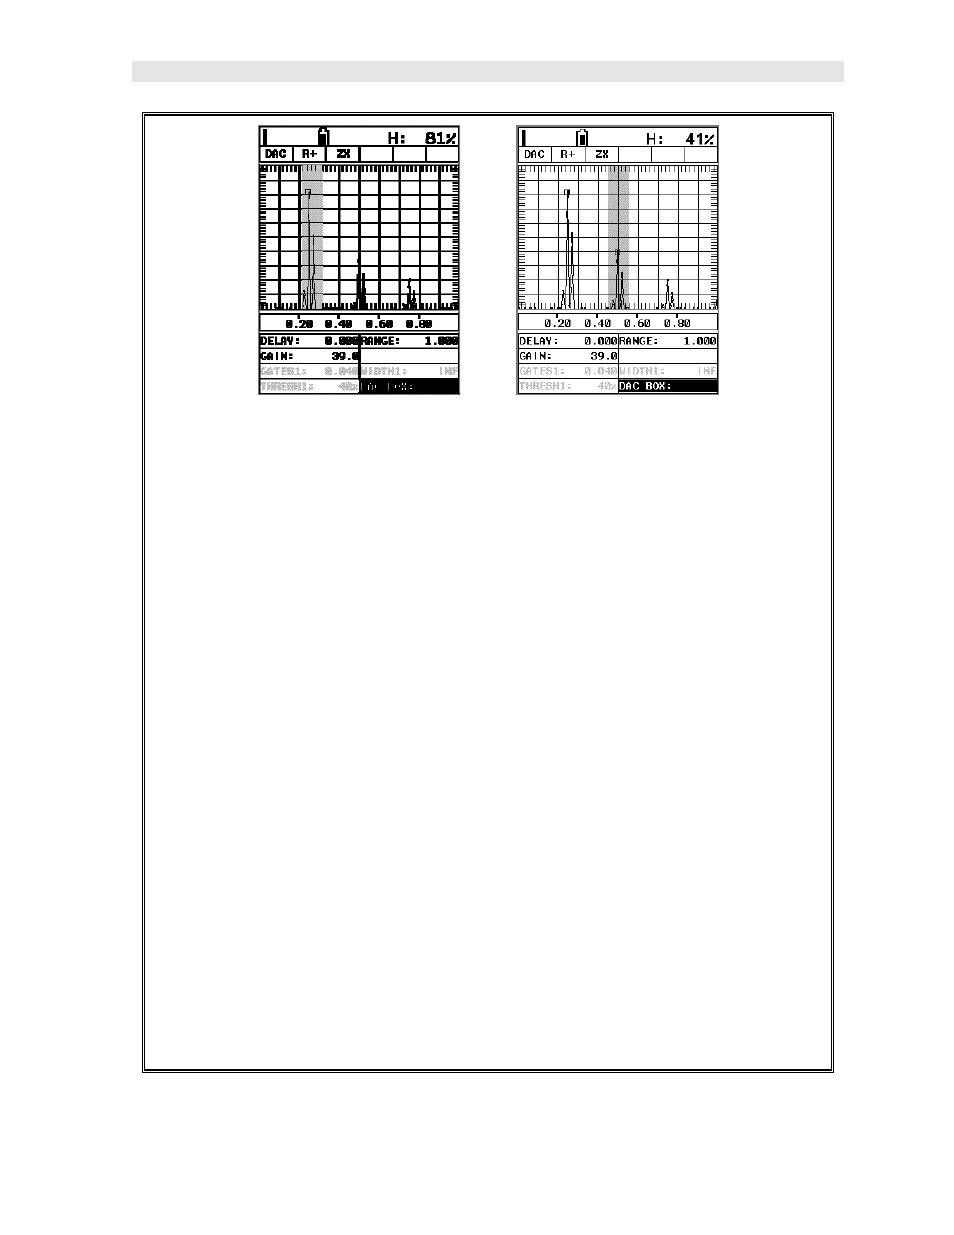
ex. 1
ex. 2
2) Press the MEAS key multiple times to move right, and the ESC key multiple
times to move left until the DAC BOX: cell is highlighted. Now that the DAC
BOX: cell is highlighted, the cursor can be controlled by moving the LEFT
and RIGHT arrow keys.
3) Couple the transducer to the first calibration standard, and peak up on the
reflector, adjusting the gain to keep the signal height within the boundaries
of the waveform display area, and at a suitable height to allow for
attenuation at greater depths in the overall range to be tested.
4) Press the LEFT and RIGHT arrow keys to move the cursor over the
waveform to be used as the first point in the DAC curve, and press the
ENTER key to set the first point. Illustrated in ex.1 above.
5) Repeat steps 3 & 4 to set multiple points as is necessary. Illustrated in ex.2
above.
Note: The DAC curve will be displayed after 3 points have been set/recorded,
and will continue to be redrawn/updated for each additional point added,
with a maximum of 8 points allowed.