3 selecting the transducer type – Dakota Ultrasonics CMX DL User Manual
Page 9
CMX
DL
High Performance Material & Coating Thickness Gauge
5
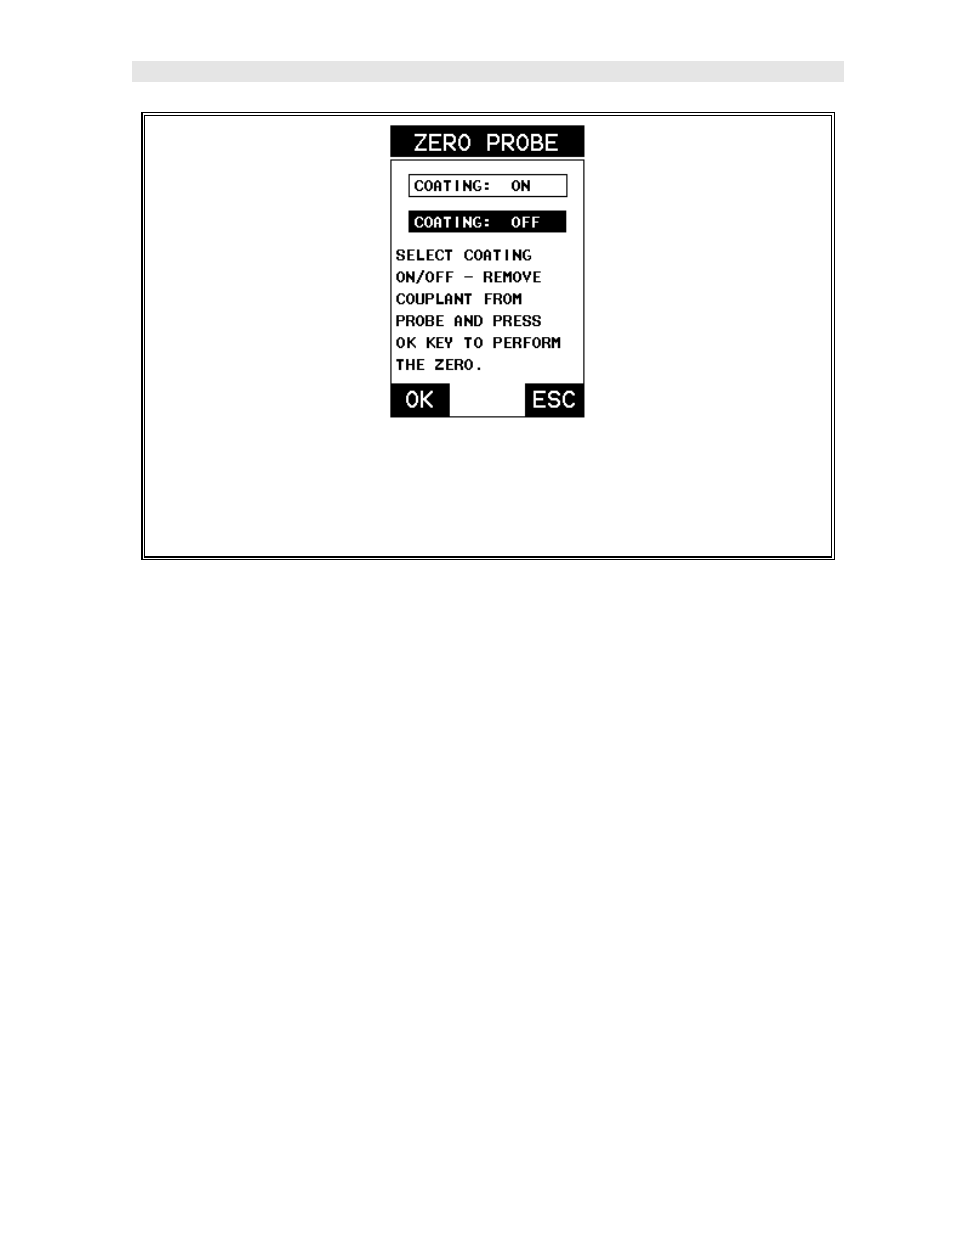
3) Press the UP and DOWN arrow keys to toggle the coating option on/off.
4) Wipe all couplant from the transducer face and advance to the Probe Zero
& Calibration section outlined below.
2.3 Selecting the Transducer Type
If the CMX
DL
does not identify a specific transducer type on initial power up, the user
will be required to select a type from a predefined list of types by diameter and
frequency. By selecting a transducer type from a predefined list, the CMX
DL
can
recall specific properties about the transducer. Note: Once the transducer has been
selected, the CMX
DL
will store and recall this transducer type every time the CMX
DL
is
powered on/off. The type will only change if the user physically selects another
transducer type from the list, or selects a previously saved setup. However, the
CMX
DL
will continue to take you through these steps each time the gauge is powered
up. You’ll notice that the probe type previously selected will be highlighted every time
the probe type screen is displayed. Use the following steps to select your transducer
type: