Two point calibration – Dakota Ultrasonics CMX DL User Manual
Page 84

Dakota Ultrasonics
80
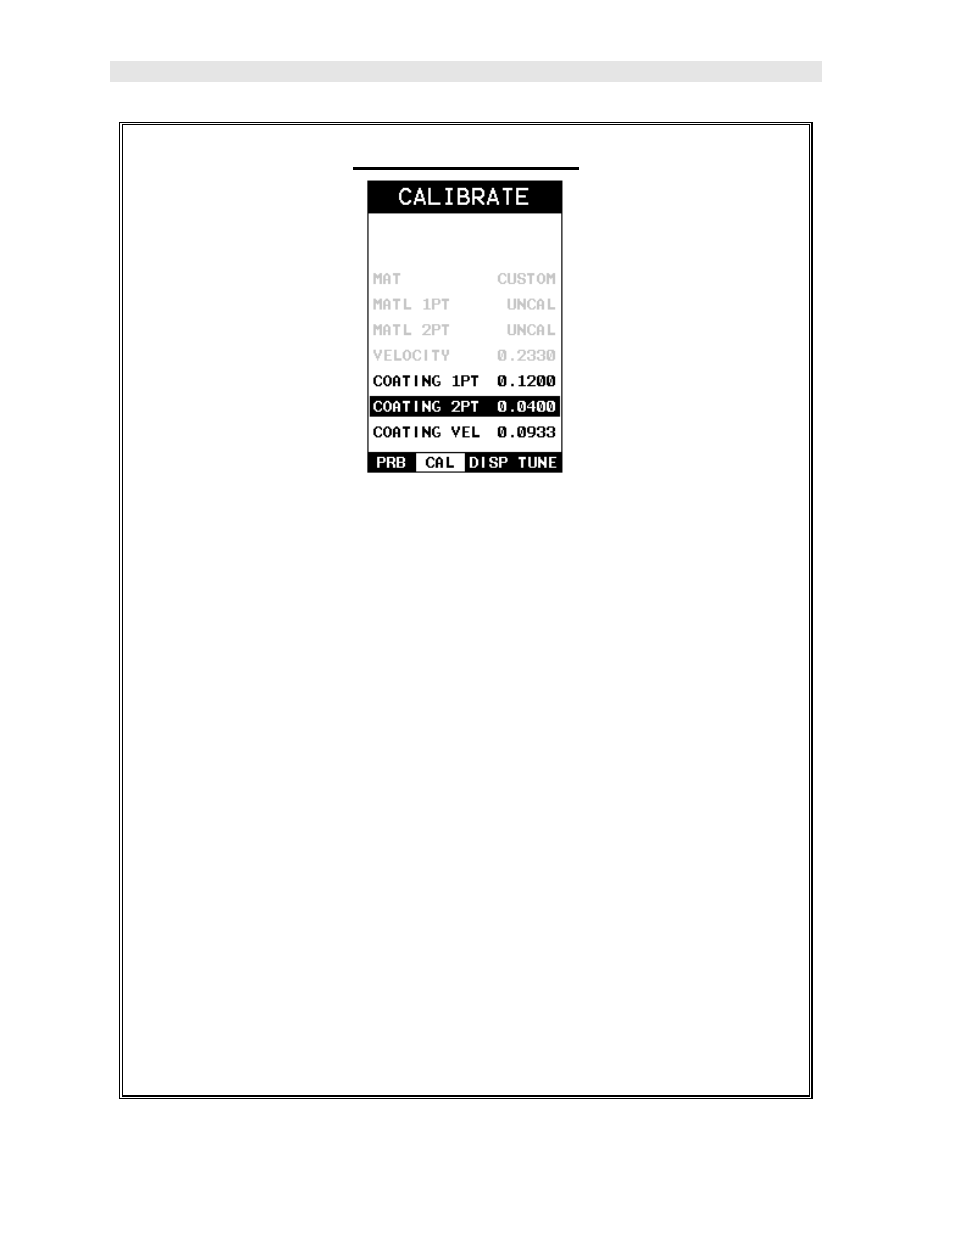
Two Point Calibration
Note: Use the minimum coating sample for the two point calibration.
1) Physically measure the thinner of the two samples of the coating, as close
as possible to the minimum expected coating measurement range, using a
set of calipers or a digital micrometer.
Very Important: If coating measurements will be made with the coating
applied to a metal surface, the calibration must be done in the same manner,
with the samples coupled to a metal surface. However, if the coating will be
measured as a stand alone material, the calibration must be performed the
same way.
2) Apply a drop of couplant on the transducer and place the transducer in
steady contact with the thinner of the two coating and samples. Be sure that
the reading is stable and the repeatability indicator, in the top left corner of
the display, is fully lit and stable. Press the MENU key once to activate the
menu items tab. Press the MENU key multiple times to tab right and the
ESC key multiple times to tab left until the CAL menu is highlighted and
displaying the submenu items.
