COATS 1175 Series Balancer User Manual
Page 23
Important: Always read and follow the instructions.
• 17
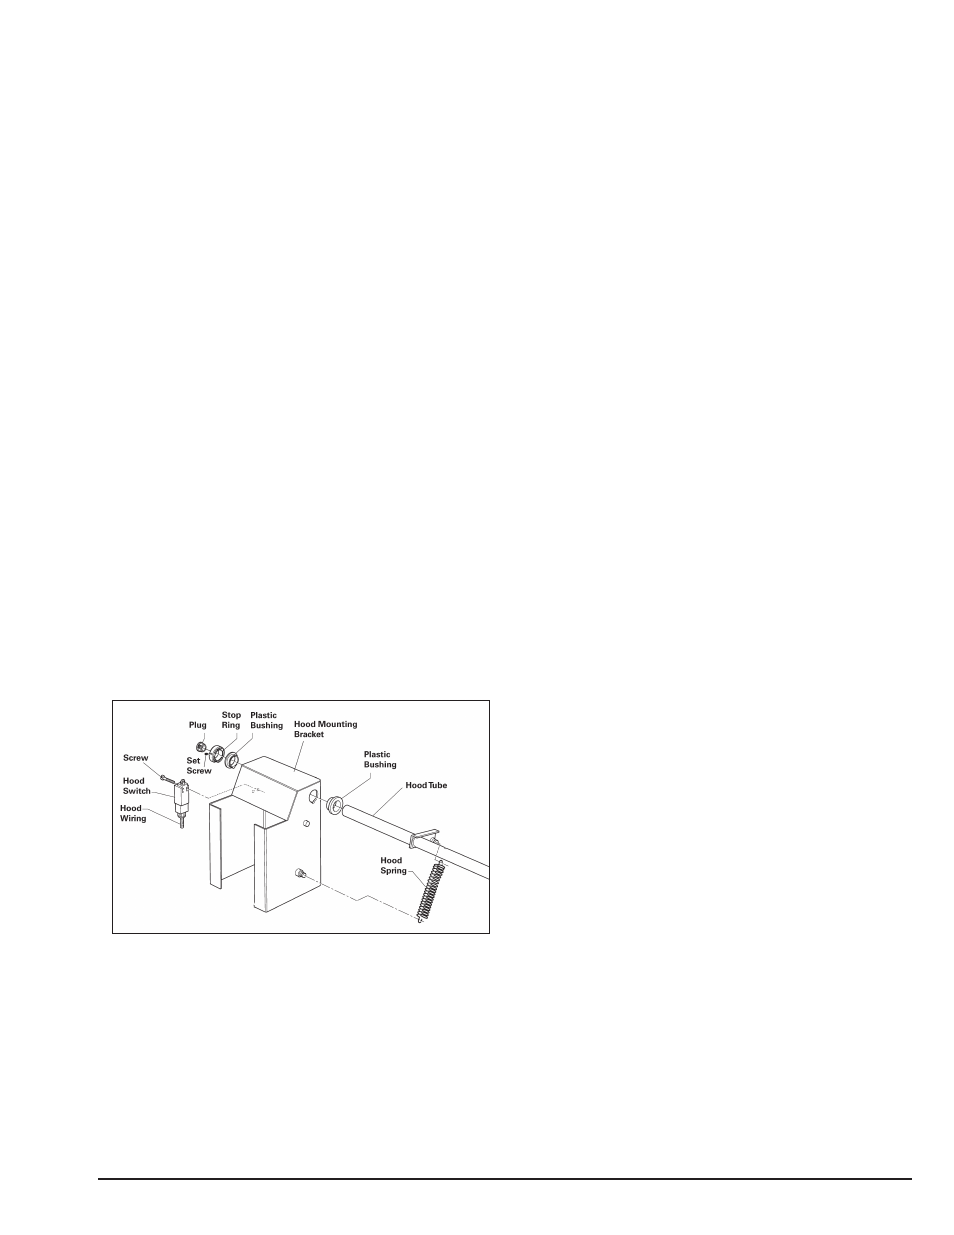
Hood Installation
1. Install plastic bushing on end of hood tube.
2. Insert hood tube through hole and slide through
hood mounting bracket. The bushing will only fit one
way due to its molding.
3. Install second plastic bushing on the end of the
hood tube protruding from the bracket.
4. Slide on the stop ring. The set screws may need to
be loosened to install slide ring. Adjust the stop ring so
the notch is parallel to the floor when the hood is in the
down position.
5. Install the plug in the end of the hood tube.
6. Tighten the set screws to secure stop ring in
place.
7. Raise the hood.
8. Install hood spring. This attaches to the cam studs
on the hood bar and mounting bracket.
9. Lower the hood.
10. Screw on hood switch with two screws. The
height of the switch will need to be adjusted to ensure
the switch button is up when the hood is down. The
switch button should fit neatly in the cutout of the stop
ring.
11. Connect the switch wiring end to the three-
prong connector on the back panel of the chassis.
12. Test the hood switch with the auto spin feature
to ensure proper installation. If problems check the
height of the hood switch button for proper operation.