Advance adapters, inc, Atlas 2 speed rebuild kits – Advance Adapters AB1001 User Manual
Page 5
ADVANCE ADAPTERS, INC.
4320 Aerotech Center Way, Paso Robles, CA 93446
ASSEMBLY INSTRUCTION SHEET
Page 5 of 12 Rev. Date:
06-18-08
P/N AB1000 & AB1001
ATLAS 2 SPEED REBUILD KITS
it over the hub. Press it down firmly so that it gets "stuck" and holds in place. Position the gear into the case. The
synchro ring side should be facing the front of the T/C. With a small amount of oil, lubricate the appropriate caged
needle bearing and slid it into the pancake gear.
Place your synchro slider over the shaft and align the teeth so it sits all the way to the bench. Find your three
synchro dogs. Place them into the slotted area of the shaft. They should be placed with the "dimpled" side
towards the slider. Once all three are in, grab one of your green synchro springs and snap it into the assembly.
Make sure that it contacts all three of the dogs below the retaining lip. Carefully flip this assembly over, keeping
the slider from slipping off the shaft. You should now be able to get the second synchro spring into the three
dogs, identical to the other side. Wiggle the slider very slightly on the shaft to make sure the three dogs are hitting
their "dimples" inside the slider, which will hold them all on the shaft.
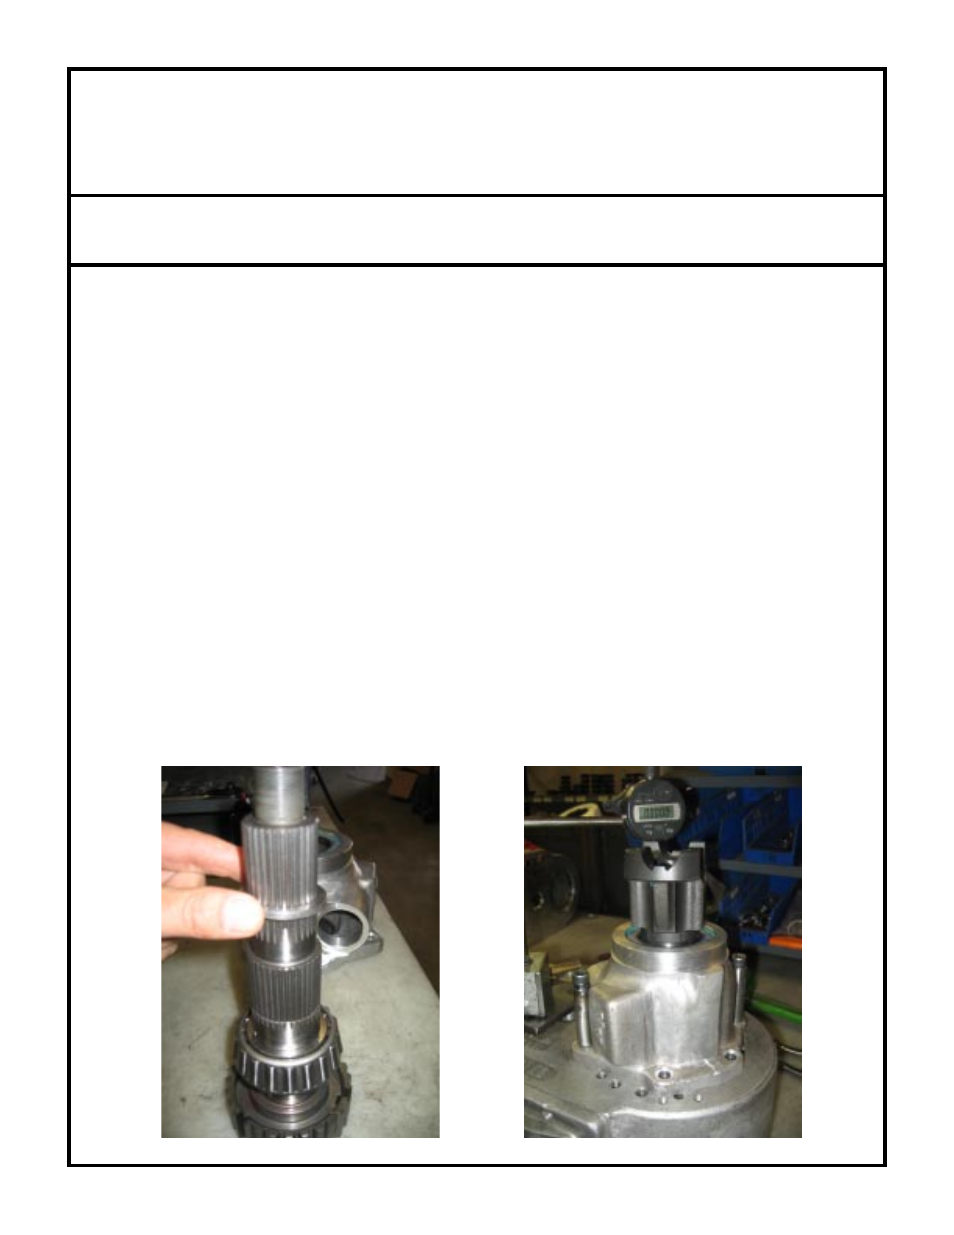
Once the Atlas tailhousing is disassembled the old bearings and races will need to be pressed out of this aluminum
housing. Once the new races are installed you will need to set and check the end play. The bearings should have
.001" - .003" of end play. When checking the endplay you do not need to have the gear on the shaft. Place the
large bearing on the shaft so that it seats to the shoulder on the shaft, pick one of the shims and measure it. Place
the shim on the shaft with the chamfer end going on first. Slip the shaft into the tailhousing and then put the smaller
bearing in place. Put the yoke on the shaft and use the old rear locking nut to secure the yoke to the shaft. You
will now need to check the in and out movement of the shaft in the tailhousing. We recommend securing the Atlas
case to a bench and bolting the tailhousing to the case. Once the assembly is bolted together, take a dead blow
hammer and hit the shaft assemble downward to make sure the bearings are set into place. Set a dial indicator
on the output shaft and use a pry bar to apply pressure to the shaft assembly to see how much movement is in
the bearings. If the bearings have no movement then you must go to a thicker shim and to much play would be
a thinner shim. Repeat this procedure until the .001"-.003" is obtained. Once the new shim is selected follow
the procedures for assembly into the Atlas case.