Apple WebObjects 3.5 User Manual
Page 44
Chapter 2
Enhancing Your Application
44
6. Double-click the upper-left cell.
You can now edit the contents of the cell. If you want to resume structure
editing, click
in the toolbar, which allows you to toggle between
modes. (Alternatively, you can hold down the Control key and click in a
different cell to enter structure-editing mode.)
7. Change the text in the cell to
Name
.
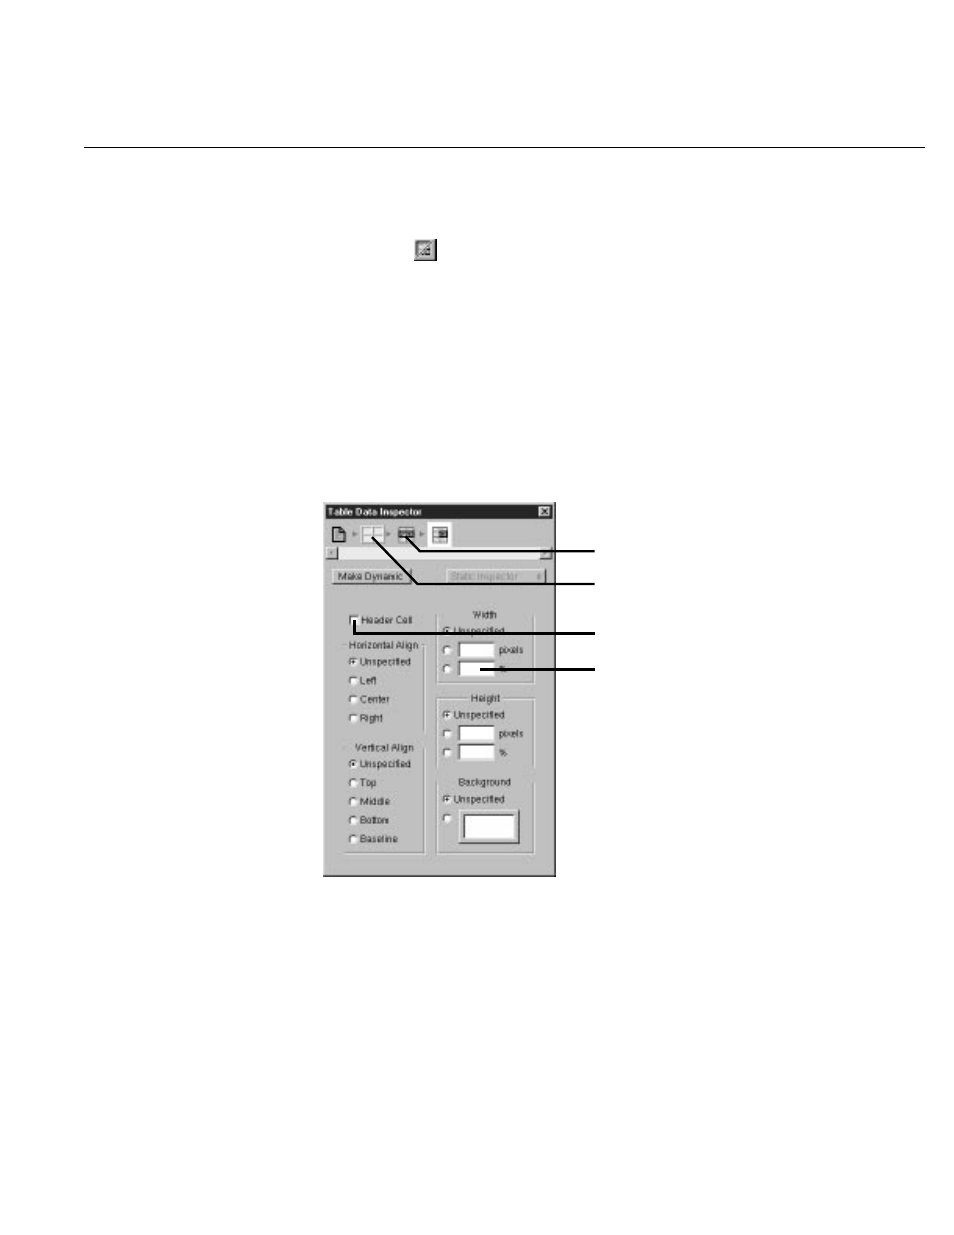
8. Open the Inspector.
The Inspector presents a number of modifiable settings that apply to the
table cell you’ve selected. Note also that the top row of the Inspector
window shows the element path, which includes the cell, the row it is
contained in, and the table itself. Selecting any of those allows you to set
specific properties of the elements.
9. Click the Header Cell checkbox.
The text in the cell becomes bold and centered. (However, you don’t see
the changes until you begin editing another cell.)
10. In the Width box, enter 150 in the field marked “pixels” and press Enter.
The width of the column is set to 150 pixels.
Click here to inspect table row.
Enter table width here.
Click here to inspect table.
Check this box to make the
cell a header.