Creating a table to display the output, Creating a table to display the output 43 – Apple WebObjects 3.5 User Manual
Page 43
Creating a Custom Guest Class
43
6. Double-click the row containing the
value
binding.
This removes the binding for
guestName
you made previously and binds
currentGuest.guestName
to the
value
attribute.
7. Bind the other two input elements to
currentGuest.email
and
currentGuest.comments
.
Creating a Table to Display the Output
In the first chapter, you created three WOString elements to display the
information the guest entered. In this task, you’ll create a different type of
element, an HTML table, to display the information. In later tasks, you’ll
display data for multiple users in the table.
1. Delete the WOStrings below the horizontal line in the Main
component, because you’ll be replacing them with a table.
2. Choose
from the Elements pop-up list to display table elements.
3. Click the
button.
A table with two rows and two columns appears.
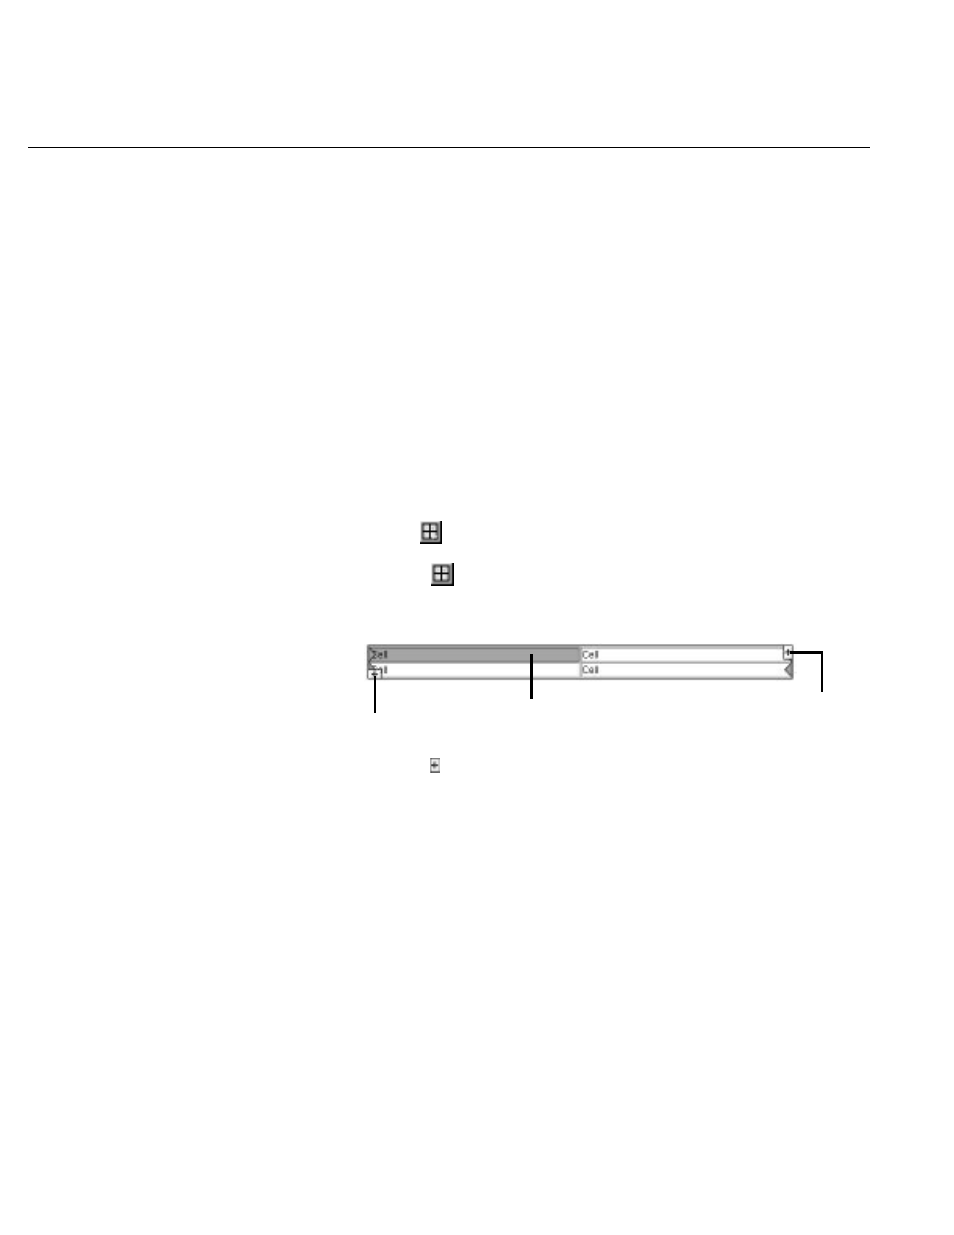
4. Click the icon at the upper right of the table.
A third column appears, and the columns are equally spaced.
5. Select the upper-left cell of the table by clicking it.
There are two modes for table editing: content-editing mode, which lets
you change the text in a cell and add other elements to it; and structure-
editing mode, which lets you perform operations on a cell such as
splitting it in two. The cell you just selected is now in structure-editing
mode.
Click here to add a row.
Click here to
add a column.
Double-click to enter
content-editing mode.