Customising preferences – Pioneer AVIC-F20BT User Manual
Page 129
2
Insert an SD memory card into the SD
card slot.
= For details of the operation, refer to Insert-
ing and ejecting an SD memory card on
page 13.
3
Touch [Voice Language].
The
“Voice Language Selection” screen ap-
pears.
4
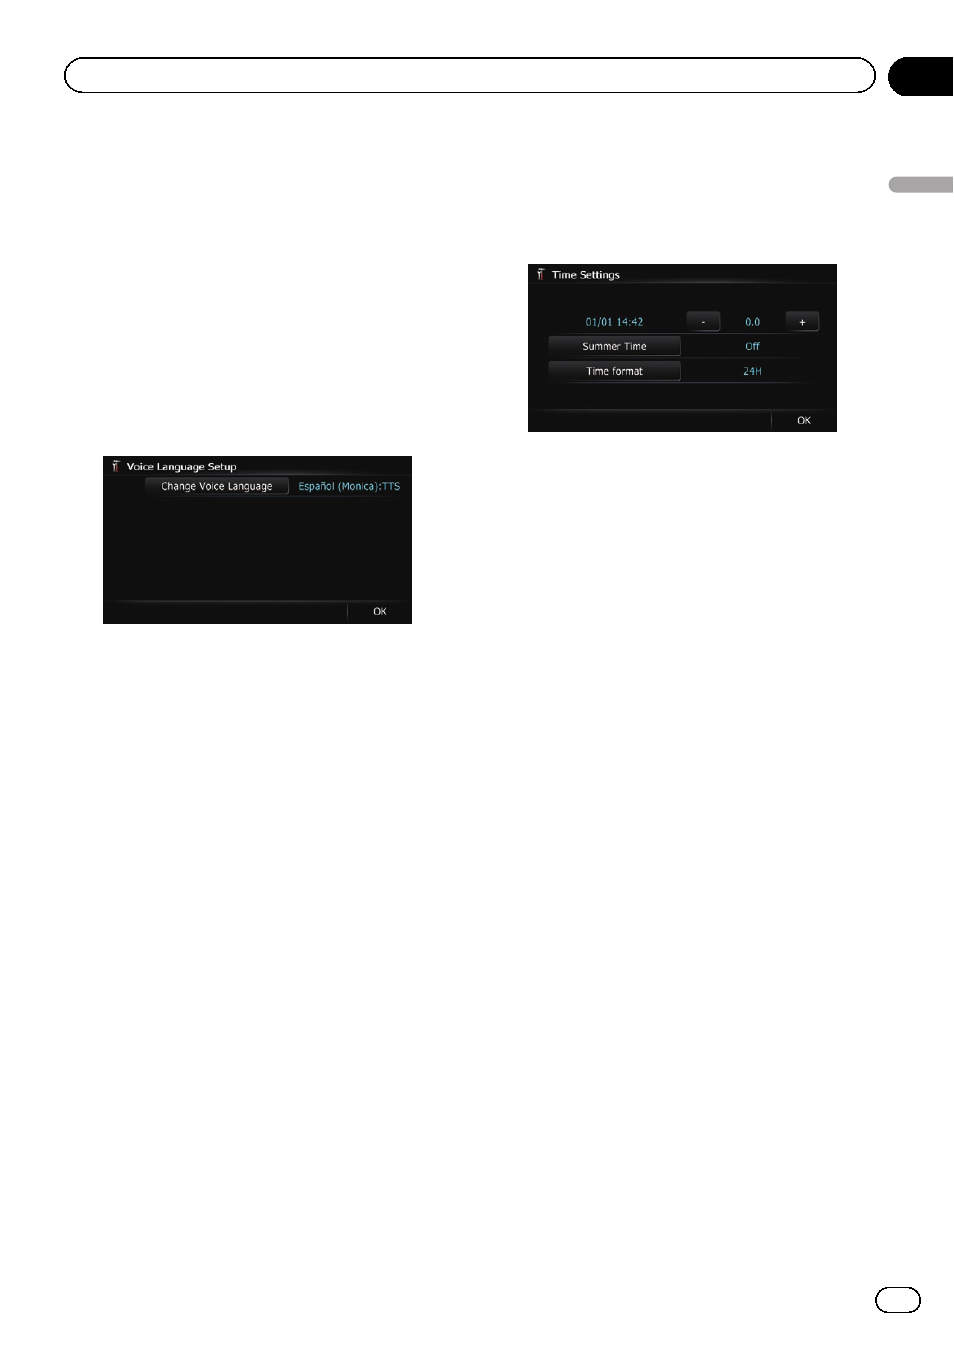
Touch [Setup Voice].
The
“Voice Language Setup” screen appears.
5
Touch [Change Voice Language].
The
“Voice Language Selection (SD)” screen
appears.
6
Touch the desired language.
After a while, loading completes and the
“Re-
gional Settings
” screen returns.
7
Touch [OK] on the
“Regional Settings”
screen.
A message confirming whether to restart the
navigation system appears.
8
Touch [OK].
The navigation system restarts.
# Press the MODE button or the HOME button.
Cancels the setting of the languages.
Setting the time difference
Adjusts the system
’s clock. Set the time differ-
ence (
+,
–) from the time originally set in your
navigation system.
1
Display the
“System Settings” screen.
= For details, refer to Displaying the “System
2
Touch [Regional Settings].
The
“Regional Settings” screen appears.
3
Touch [Time].
The
“Time Settings” screen appears.
4
To set the time difference, touch [+] or
[
–].
The time difference between the time origin-
ally set in the navigation system (Moscow
Standard Time) and the current location of
your vehicle is shown. If necessary, adjust the
time difference. Touching [
+] or [
–] changes
the time difference display in half-hour incre-
ments.
The time difference can be set from
–4.0 to
+9.0 hours.
5
Touch [Summer Time].
If necessary, set to summer time.
Summer time setting is off by default. Touch
[
Summer Time] to change the setting if you
are in the summer time period.
6
Touch [Time format].
Each time you touch the key changes that set-
ting.
! 24H (default):
Changes the display to 24-hour format.
! 12H:
Changes the display to 12-hour format with
am/pm.
Changing the unit between km and miles
This setting controls the unit of distance and
speed displayed on your navigation system.
1
Display the
“System Settings” screen.
= For details, refer to Displaying the “System
2
Touch [Regional Settings].
The
“Regional Settings” screen appears.
Engb
129
Chapter
26
Customising
pr
eferences
Customising preferences