5 creating a fax cover sheet, Creating a fax cover sheet -7 – Konica Minolta bizhub 36 User Manual
Page 102
bizhub 42/36
8-7
8.1
Sending a PC-FAX
8
8.1.5
Creating a fax cover sheet
If you select the [FAX Cover Sheet] check box in the [FAX Transmission Popup] window when sending a fax,
you can add a cover sheet to the fax. You can edit cover sheet contents in the [FAX Cover Sheet Settings]
dialog box, which can be displayed by clicking [Settings...].
In the [FAX Cover Sheet Settings] dialog box, you can switch between the [Basic], [Recipient], [Sender], and
[Image] tabs to change settings on a desired tab.
Reference
-
In Windows Vista x64/7 x64/Server 2008 x64/Server 2008 R2, you cannot select the [FAX Cover Sheet]
check box in the [FAX Transmission Popup] window. Configure the FAX cover sheet in the [FAX] tab of
the fax driver before sending faxes. For details, refer to page 8-14.
1
Select the [FAX Cover Sheet] check box in the [FAX Transmission Popup] window.
2
Click [Settings...].
The [FAX Cover Sheet Settings] dialog box appears.
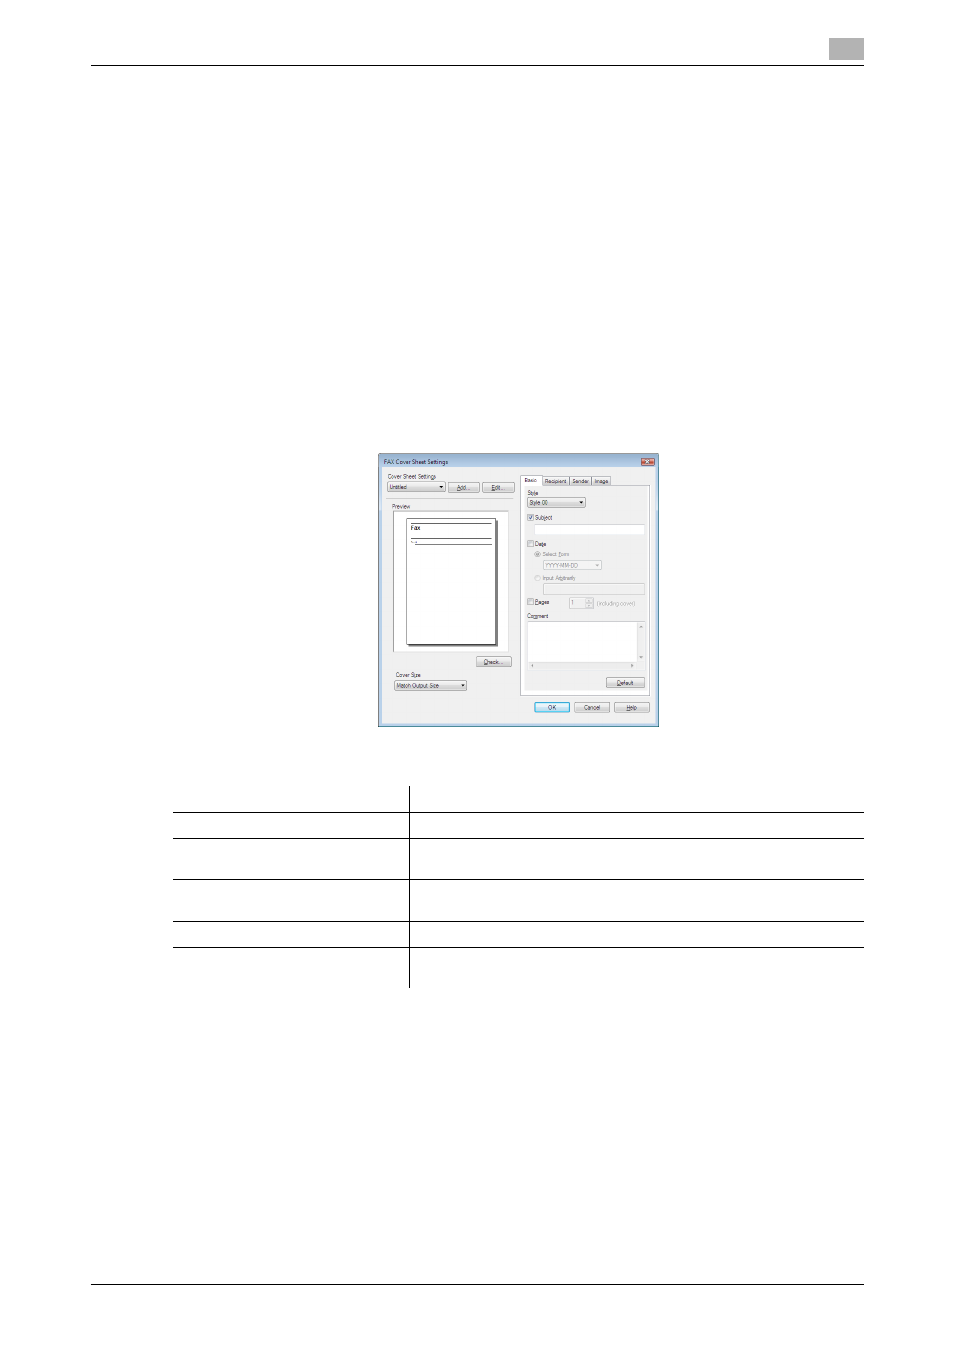
3
Select the size of the cover sheet from the [Cover Size] drop-down list.
4
Use the [Basic] tab to specify the format of the cover sheet and subject of the fax.
Item Name
Functions
[Style]
Select the desired cover format design.
[Subject]
Enter the subject of the fax to be sent. You can enter up to 64 char-
acters.
[Date]
Specify the date. Select a form or enter it arbitrarily. You can enter
up to 20 characters.
[Pages]
Specify the number of pages to be sent.
[Comment]
Enter the text to be displayed in the comment box. You can enter up
to 640 characters. A line break is counted as two characters.