WIKA HP-2 User Manual
Page 11
11
WIKA operating instructions pressure transmitter, model HP-2
11379180.03 09/2013 GB/D/F/E
GB
6. Commissioning, operation
6. Commissioning, operation
CAUTION!
Prior to commissioning, the pressure transmitter must be subjected to a
visual inspection.
Only use the pressure transmitter if it is in perfect condition with respect to
safety.
6.1 Mechanical mounting
■
The sealing faces at the instrument have to be
undamaged and clean.
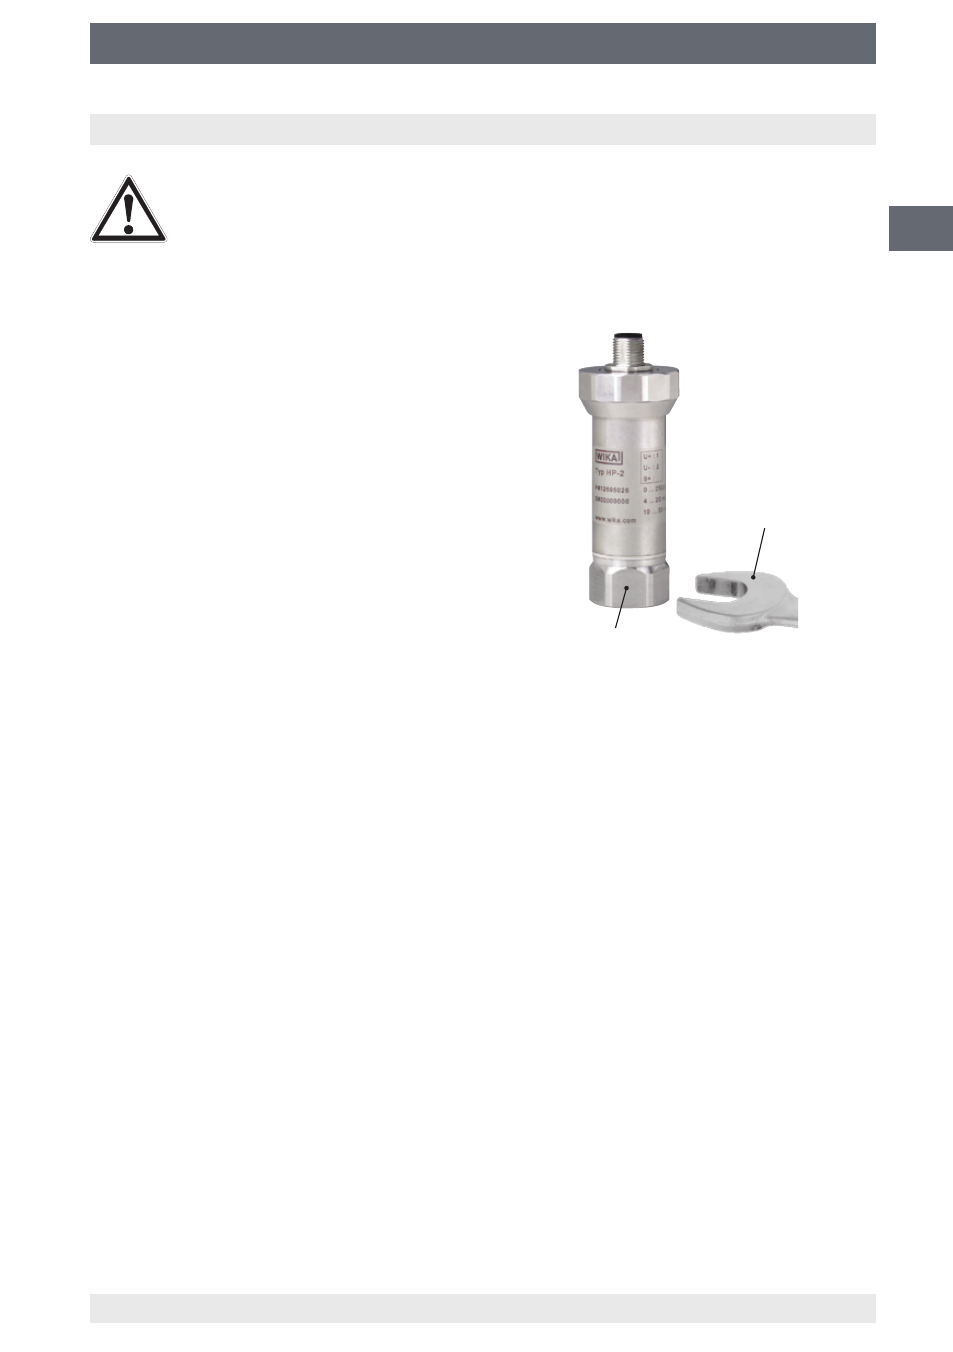
■
When screwing the instrument in, the force
required to do this must not be applied through
the case, but only through the spanner flats
provided for this purpose and using a suitable
tool.
For the installation point, the valid values for
tightening torque and maximum pressure
should be taken from the high-pressure pipe
supplier's documentation.
■
When screwing in, do not cross the threads.
■
For information on tapped holes and welding sockets, see Technical information
IN 00.14 at www.wika.com.
6.2 Electrical mounting
■
The instrument must be grounded via the process connection.
■
Use the pressure transmitter with shielded cable, and ground the shield on at least
one end of the lead, if the lines are longer than 30 m (3- or 4-wire) or leave the build-
ing.
■
Select a cable diameter that matches the cable gland of the plug. Make sure that
the cable gland of the mounted plug has a tight fit and that the seals are present and
undamaged. Tighten the threaded connection and check that the seal is correctly
seated, in order to ensure the ingress protection.
■
For cable outlets, make sure that no moisture enters at the cable end.
■
Observe the specifications in accordance with chapter 3 “Specifications”.
Spanner flats
Open-ended spanner
(spanner width 27)