3 input and output sections, 4 adding plug-ins to a rack, 5 rack view: using your plug-ins – DiGiCo Waves MultiRack SoundGrid User Manual
Page 28: 3 input and output sections -28, 4 adding plug-ins to a rack -28, 5 rack view: using your plug-ins -28, Digico waves operation
DiGiCo Waves Operation
1-28
3.3.3 Input and Output Sections ..................................................
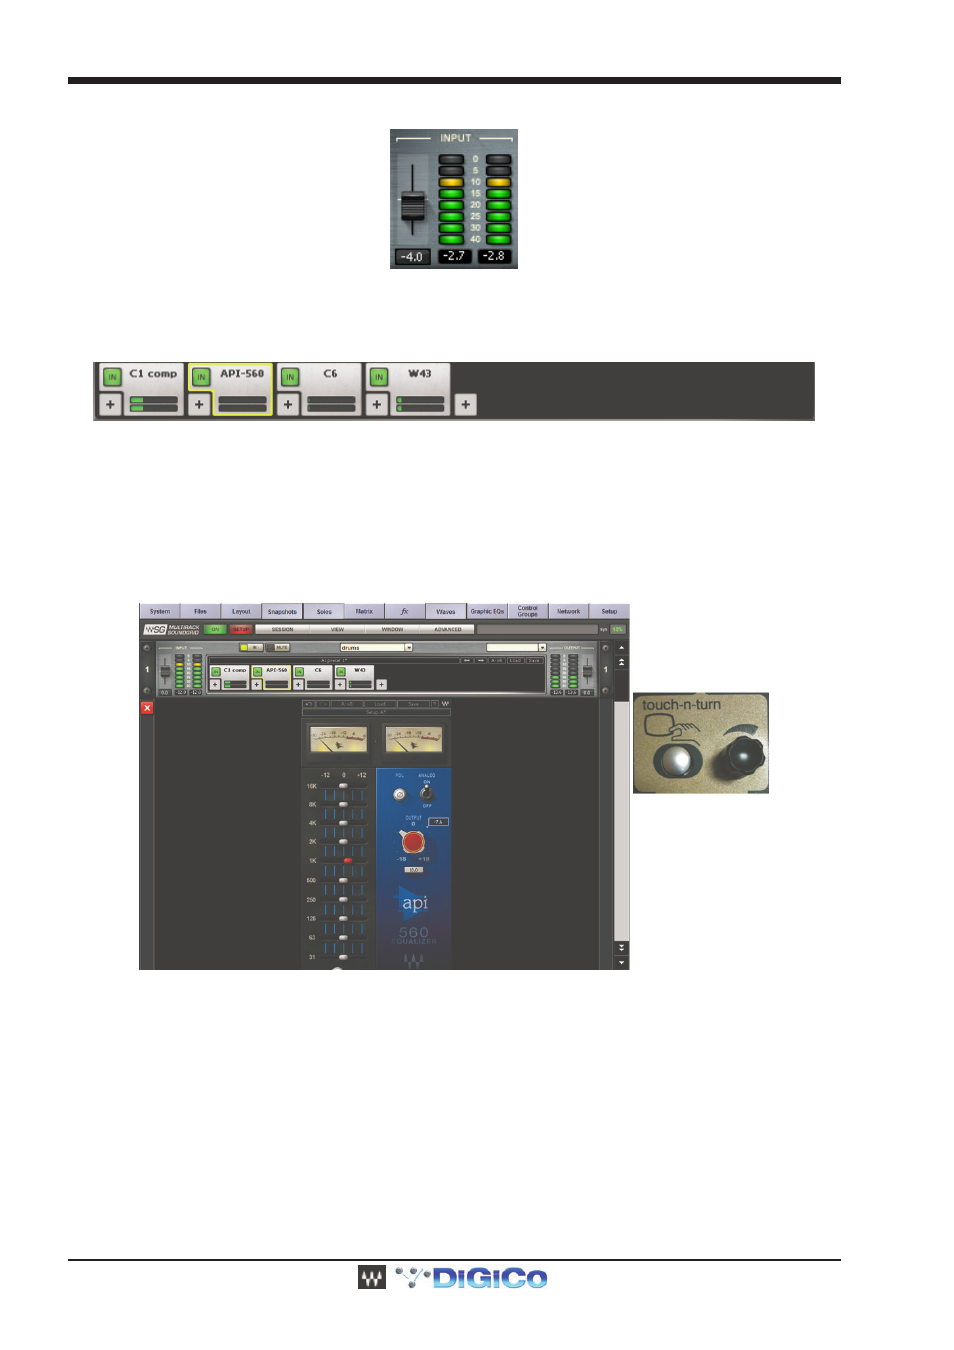
To the right of the Input Rail is the Input Audio Fader, with a range of ±18dB.
On the far right side of each Rack are the Output Rail and the Output Audio Fader. Rack audio input and output levels are stored within
Snapshots.
3.3.4 Adding Plug-ins to a Rack ..................................................
To add a plug-in to a Rack, touch the “plus” (+) sign to the right of the Input Fader. Select a plug-in from the pull-down menu. An icon
representing the plug-in will appear on the Rack, along with a new small arrow that you can touch to add a new plug-in to the right of the
existing one.
Signal flow within a Rack is always from left-to-right.
While in the Main view (or Rack view), you can always change the plug-in sequence within a Rack by grabbing a plug-in and dragging it to
the desired location. Each plug-in icon has an In switch with which you can bypass that processor without disengaging it from the Rack.
There is also a level meter on the icon that shows plug-in output level.
3.3.5 Rack View: Using Your Plug-ins .........................................
Double touch on a plug-in’s icon to open its interface and enter MultiRack SoundGrid’s Rack View.
Here you adjust each plug-in parameters by selecting the parameter on screen and using the Touch-n-Turn knob or toggle to set the
selected parameter. If you’re already familiar with Waves plug-ins, this window will be very easy to use. At the top of each plug-in’s window
is a Wave System Toolbar, used to load, save, and compare processor settings. The layout of the WaveSystem Toolbar may vary from
one plug-in to another. Use this toolbar to save plug-in or Rack-specific presets.