Timer, Range test – Spektrum SPM18100 DX18 User Manual
Page 30
30
SPEKTRUM DX18 • TRANSMITTER INSTRUCTION MANUAL
EN
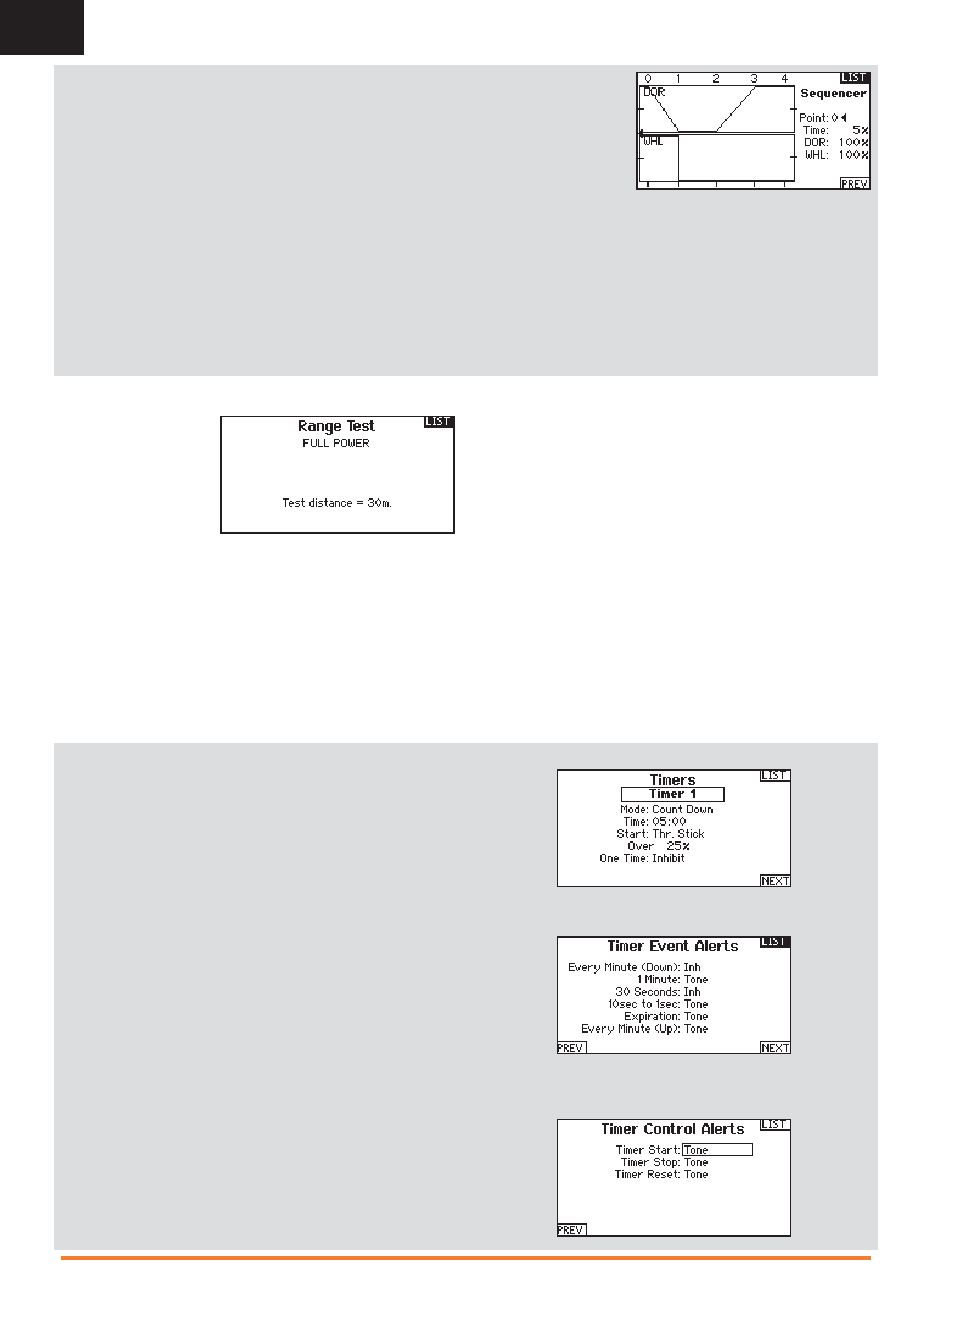
Timer
The DX18 Timer function allows you to program a countdown timer
or stop watch (count up timer) to display on the main screen. An
alarm sounds when the programmed time is reached. You can
program the timer to start using the assigned switch position or
automatically when throttle is raised above a programmed position.
An internal timer that shows run time for a specifi c model displays
on the Main Screen. A total system timer is also available.
Timer Event Alerts
The Timer Event Alerts screen enables you to select an action for
each type of alert. The available options are:
• Inh (Alert Off)
• Tone
• Vibe
• Tone/Vibe
• Voice
• Voice/Vibe
Timer Control Alerts
The Timer Control Alerts screen enables you to select Inh (Off),
Tone or Voice for Timer Start, Timer Stop and Timer Reset.
3. Assign the timing for the Forward and Reverse directions as
desired. There is no delay when you use the Nor option. You
may also select a delay time between 0 and 30 seconds.
4. Assign names for each sequencer function as desired.
5. Select either Step (S) or Proportional (P) for the Sequencer
output.
Step: The sequence only changes at kick points. Otherwise,
there is a delay in the sequence until it reaches the next kick
point.
Proportional: The sequence movement is proportional be-
tween kick points. The sequence maintains rate and direction
until it reaches the next kick point.
6. Adjust the Sequencer
motion percentages
in the third screen.
For example, you may
move points 1, 2 and 3
closer to the beginning
of the sequence so the
motion occurs earlier.
This results in a delay between point 3 and point 4 at the end of
the sequence.
Testing the Sequence
The Sequencer function determines the response for channels
included in the sequence.
Refer to the Monitor screen to see how respective channels inter-
act in the Sequencer.
Range Test
The Range Test function
reduces the power
output. This allows for a
range test to confi rm the
RF link is operating cor-
rectly. Perform a range
check at the beginning
of each fl ying session to
confi rm system operation.
To Access the Range Test screen
1. With the transmitter on and the main or telemetry screen
displayed, press the roller. The Function list displays.
2. Rotate the roller to highlight Range Test, then press the roller to
access the Range Test function.
3. With the Range Test screen displayed, push and hold the
trainer button. The screen displays Reduced Power. In this
mode the RF output is reduced allowing for an operational
range test of your system.
4. If you let go of the trainer button, the transmitter will go back
to Full Power.
Range Testing the DX18
1. With the model restrained on the ground, stand 30 paces (ap-
prox. 90 feet/28 meters) away from the model.
2. Face the model with the transmitter in your normal fl ying
position and place the transmitter into Range Test mode (see
above) and push the trainer button, reducing the power output.
3. Operate the controls. You should have total control of your
model with the transmitter in Range Test mode.
4. If control issues occur, contact the appropriate Horizon Product
Support offi ce for assistance.
5. If performing a range test while a telemetry module is active,
the display will show fl ight log data.