Installing the switch as a standalone unit – Allied Telesis AT-8324 User Manual
Page 43
AT-8316F and AT-8324 Installation Guide
43
Installing the Switch as a Standalone Unit
This section contains the procedure for installing an AT-8316F or
AT-8324 switch as a standalone unit (not as part of a stack). To install
the switch as a standalone unit, perform the following steps:
1. Remove all components from their shipping package and store
the packaging material in a safe location.
2. Locate a level, secure surface for the switch.
3. If you purchased an expansion module for a switch, install the
module by performing the procedure Installing an Expansion
Module on page 3-60.
4. If you want to install the switch in a rack, perform the procedure
Installing the Switch in a Rack on page 3-45.
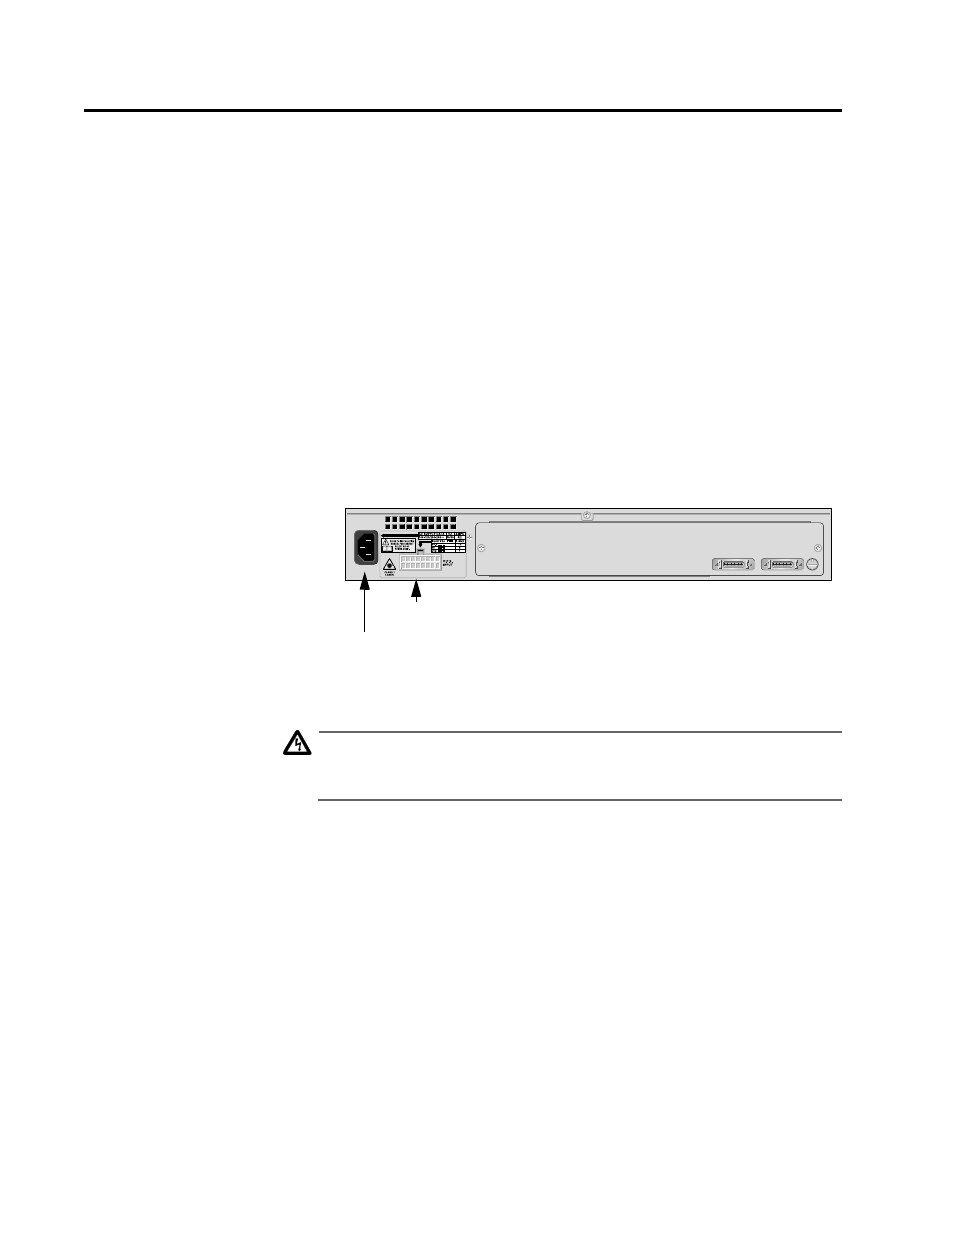
5. Apply AC power to the switch by plugging the power cord into
the AC power connector on the back panel of the unit (shown in
Figure 3-1) and plugging the other end into a wall outlet.
Figure 3-1 AT-8316F and AT-8324 Ethernet Switch Rear Panel
Caution
The power cord is used as a disconnect device. To de-energize
equipment, disconnect the power cord.
"10
IS-A
IS-B
STACK ID
0
IS-A
IS-B
STACK ID
0
AC Power Connector
R.P.S. Input Connector