Radius accounting status – Allied Telesis AT-GS950/16 User Manual
Page 288
Chapter 21: Security
288
4. Type the port number in the Server Port field that you want to assign
to UDP.
You may only assign one port number to this parameter.
5. Type the port number in the Accounting Port field that you want to
assign to UDP.
You may only assign one port number to this parameter.
6. To specify the server’s encryption key, enter the encryption key in the
Shared Secret field.
7. Click Apply to save your changes.
8. From the main menu on the left side of the page, select Save Settings
to Flash to permanently save your changes.
RADIUS
Accounting
Status
You can enable or disable RADIUS Accounting Request packets. These
packets contain an Account-Status Type attribute that provides
information related to a user’s network access.
To enable or disable RADIUS Accounting Status, perform the following
procedure:
1. From the main menu on the left side of the page, select the Security
folder.
The Security folder expands.
2. From the Security folder, select RADIUS Accounting Settings.
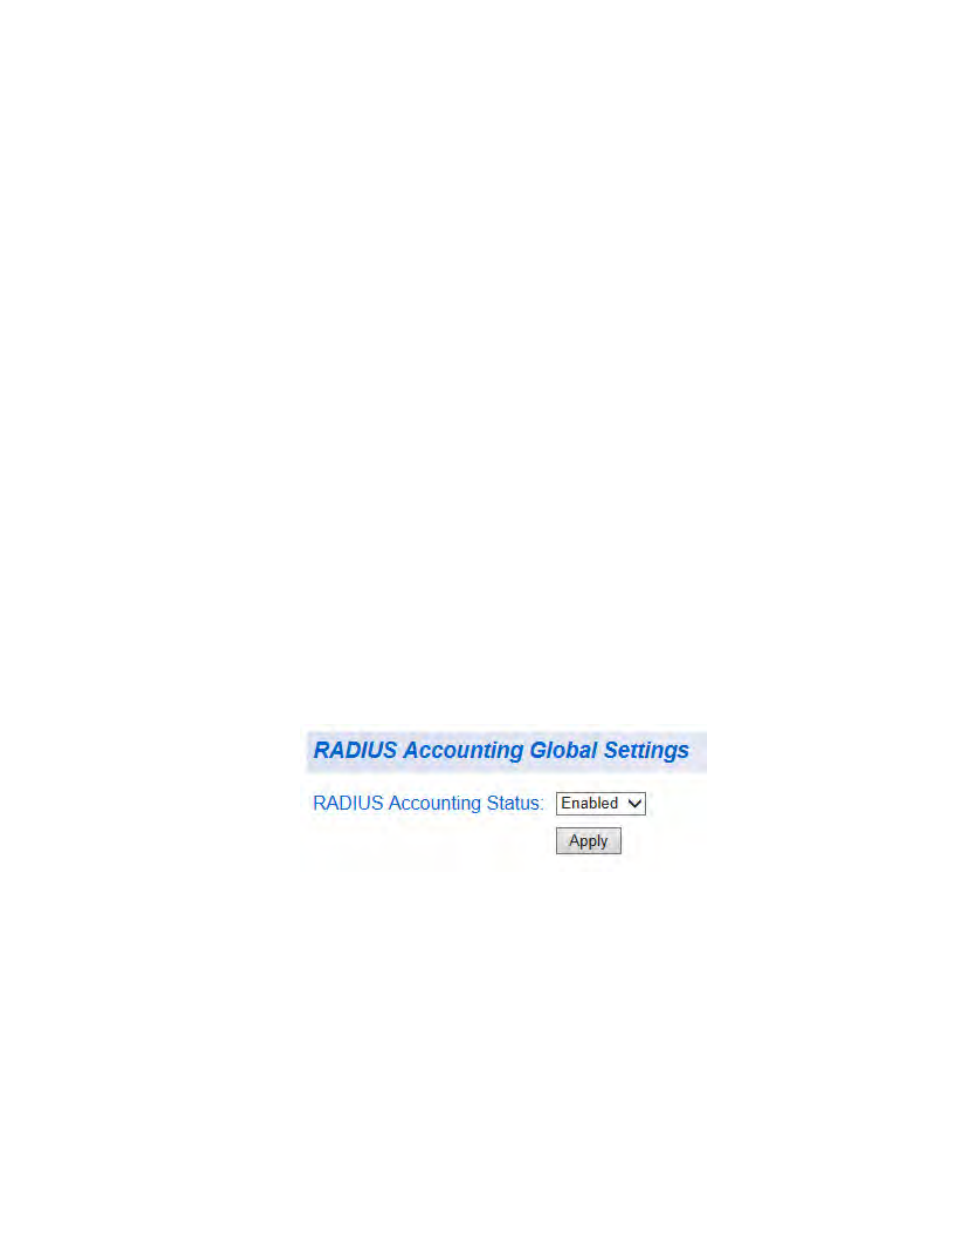
The RADIUS Accounting Global Settings Page is displayed. See
Figure 115.
Figure 115. RADIUS Accounting Global Settings Page
3. To enable RADIUS Accounting Status, select Enabled from the
RADIUS Accounting Status drop-down menu.
To disable RADIUS Accounting Status, select Disabled from the
RADIUS Accounting Status drop-down menu.
4. Click Apply to save your changes.
5. From the main menu on the left side of the page, select Save Settings
to Flash to permanently save your changes.