DAVIS Solar and UV Radiation Sensors for Vantage Pro/Pro2 User Manual
User manual, Uv & solar radiation sensors
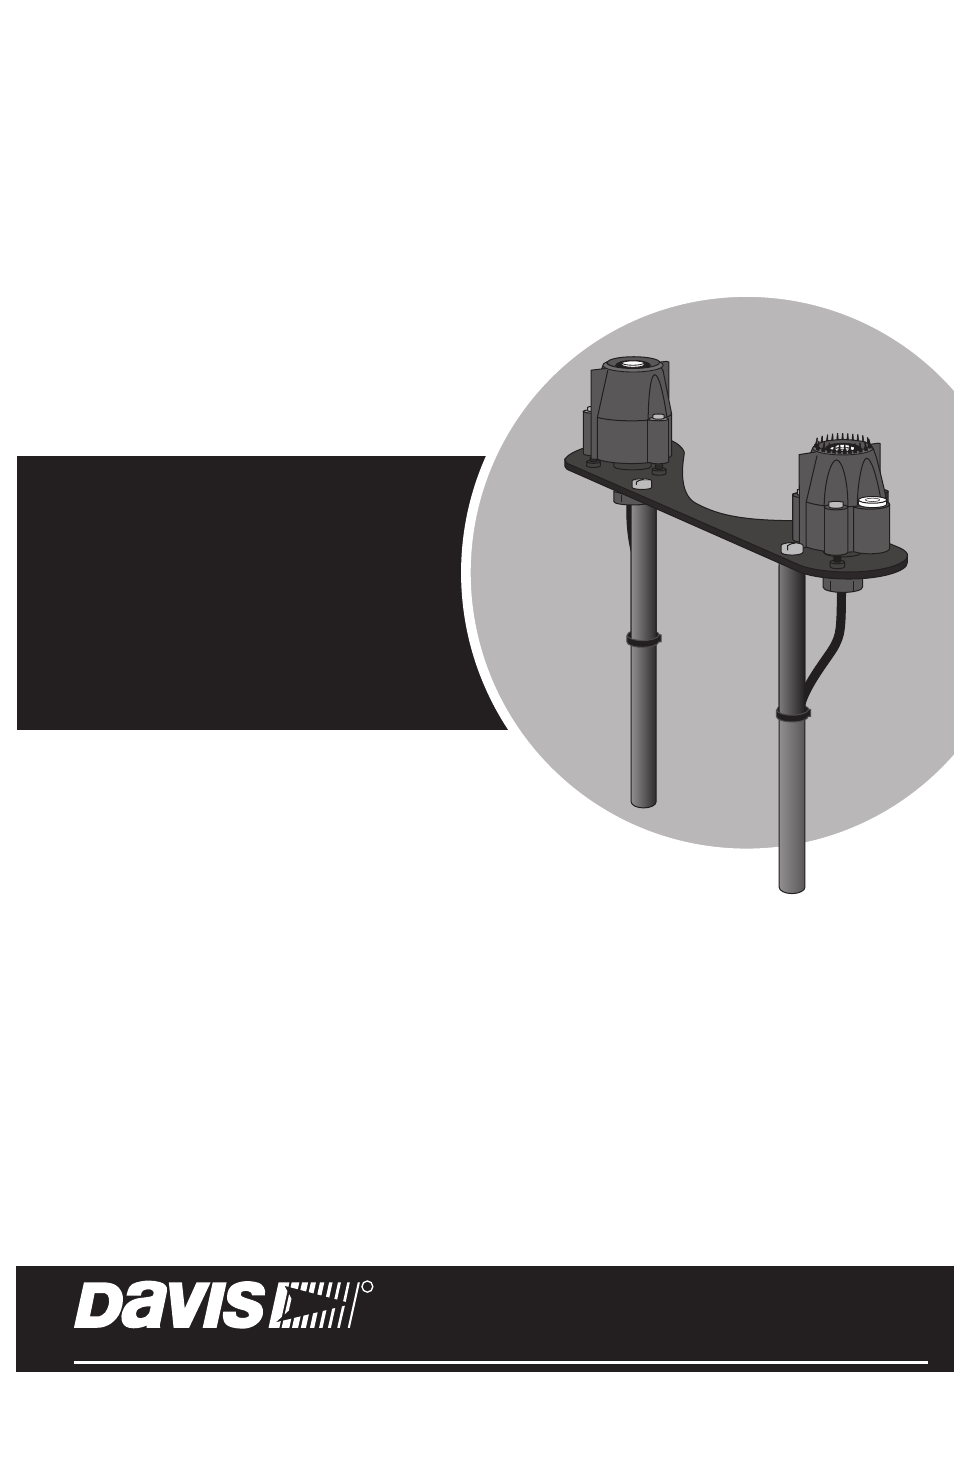
Table of contents
Document Outline
- UV and Solar Radiation Sensors and Sensor Mounting Shelf
- Sensor Mounting Shelf Components
- The Sensor Mounting Shelf includes the following components:
- Mount the Sensor Mounting Shelf
- Note: In the illustration, the rain collector cone has been removed for clarity. It is not necessary to remove the cone to install the Sensor Mounting Shelf.
- 1. Place a support tube on each of the outside mounting holes at the rear of the rain collector base as illustrated.
- 2. Place a lock washer and a flat washer onto one of the 7-3/4" screws.
- 3. Locate the support tube mounting holes in the shelf. (See illustration on page 2.)
- 4. Insert the screw through the hole in the shelf, tube and through the hole in the rain collector base.
- 5. Place a nut in the opening of the hexagonal recess on the underside of the rain collector base.
- 6. Turn the screw until the assembly is loosely held together.
- 7. Repeat steps 1 - 6 with the second support tube and screw.
- 8. On the underside of the Sensor Mounting Shelf, verify that the tops of both support tubes are located inside the circular recesses in the shelf.
- 9. Tighten both support tube screws.
- Note: Do NOT install the shelf using the holes in front of the rain collector cone, as this will impair radio reception.
- Note: In the illustration, the rain collector cone has been removed for clarity. It is not necessary to remove the cone to install the Sensor Mounting Shelf.
- Test the Sensors
- 1. Plug the UV Sensor cable into the receptacle labeled “UV”; plug the Solar Radiation Sensor into the receptacle labeled “SUN.”
- 2. On the Vantage Pro2 console, press 2ND then UV to see the UV Sensor reading and 2ND then SOLAR to see the Solar Radiation reading. The dashes should change to numbers as the sensor reports data. If you still see no reading after two minutes, recon...
- Note: The sensors update every 50 seconds to one minute.
- Securing the Sensor on the Shelf
- Note: It does not matter which sensor is mounted on the right/left side of the shelf.
- 1. Remove the rain collector cone from the ISS: turn it counterclockwise until the latches allow you to lift it up and off.
- 2. Place the sensor shield onto the sensor body as shown. Be careful to avoid touching the diffuser.
- 3. Route the sensor cable down through one of the large holes in the mounting shelf Place a flat washer over the end of each screw and insert it through the shield and body. Place a spring over the end of each screw and hold the springs in place usin...
- 4. Secure the sensor to the mounting shelf by driving the screws into the appropriate holes as shown.
- Note: The holes are not equidistant from each other, so the shield will only attach one way
- Note: Final leveling of the sensor(s) should be done with the ISS mounted in its operating location.
- Note: It does not matter which sensor is mounted on the right/left side of the shelf.
- Routing the Sensor Cable
- Maintaining the Sensors
- Sensor Troubleshooting