Boonton 4530 Peak Power Meter User Manual User Manual
Page 41
3-19
Boonton Electronics
Chapter 3
4530 Series RF Power Meter
Operation
BOONTON ELECTRONICS
BOONTON ELECTRONICS
MODEL 4530
MODEL 2530
RF POWER METER
1GHZ RF CALIBRATOR
EXT CAL
EXT CAL
CONTROL
CONTROL
RJ-11 Telephone Cable
Figure 3-20. External Calibrator Connection
Once proper connection has been verified, the 2530 may be used to automatically calibrate sensors. To select
it as the calibration source, press the Zero/Cal key. Use the
∧∧∧∧∧
∨∨∨∨
and
∨ keys to select Configure, and then press
Enter/Run to view the configuration menu for the selected channel. Select 2530/1GHz as the calibrator for
that sensor, and then press Enter/Run. Now anytime a fixed cal or autocal is performed on that channel, the
sensor must be connected to the 2530 calibrator rather than the internal 50MHz calibrator. The status line
during any zero or calibration process will display the currently active calibrator. If the sensor is connected to
the wrong calibration source or not connected at all, the calibration will usually fail and an error message will
be displayed.
3.10.7 Calibration Volatility
. When any user calibration process (zero, fixed cal, frequency cal, autocal) is per-
formed, the 4530 saves the correction factors calculated during that process. If instrument power is switched
off, these factors are all restored when power is reapplied. They are also preserved if the sensor is unplugged
and reconnected to the same input. Removing a sensor and replacing it with a different sensor will require that
a new calibration be performed, unless there have been no other calibrations done on that channel since that
sensor was last connected. If instrument power is switched off, these factors are all restored when power is
restored, although it is a good idea to repeat the zero adjustment before any low-level measurements.
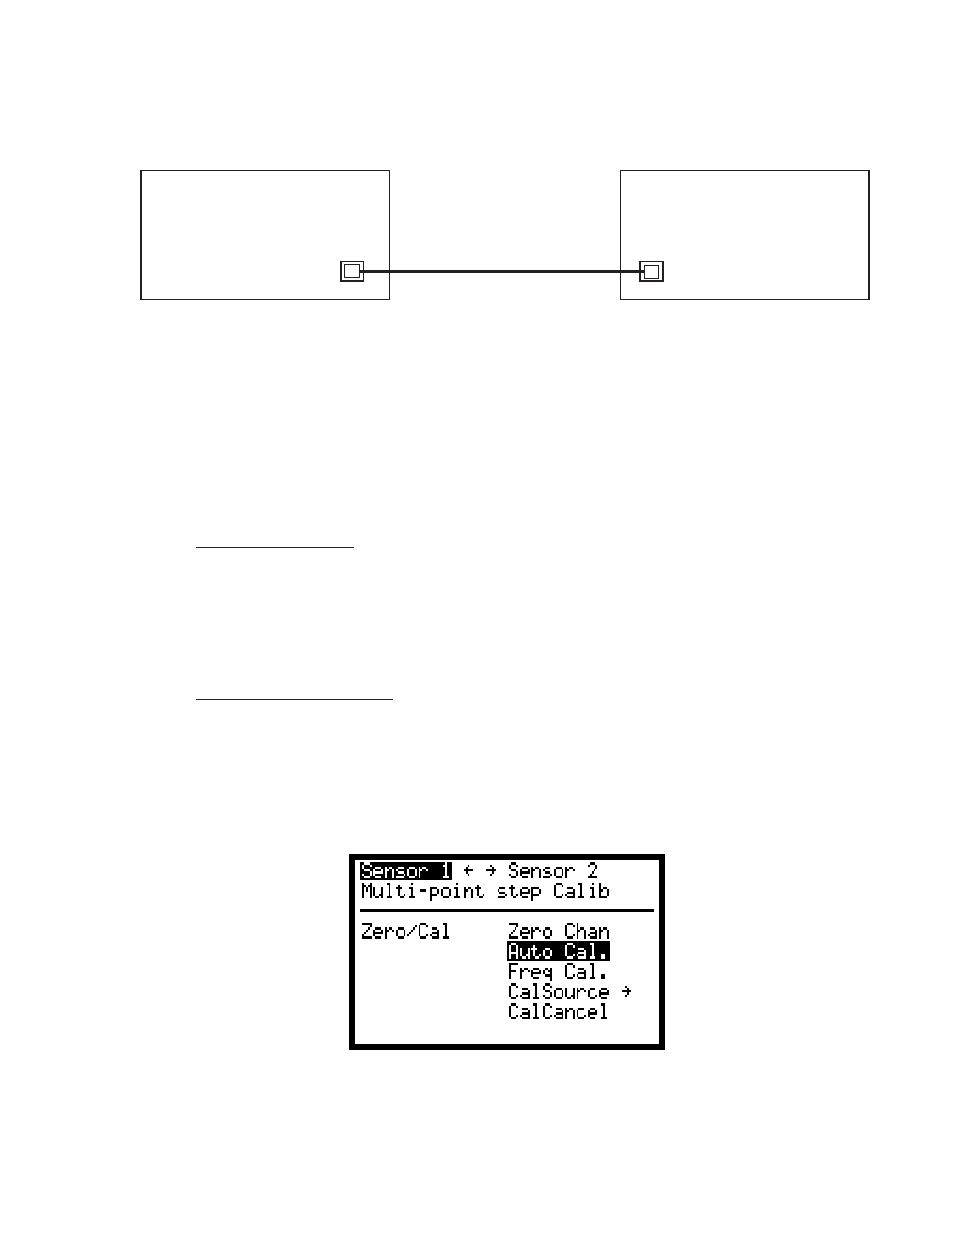
3.10.8 Zero/Cal Menu Navigation
. Navigating the Zero/Cal menu is similar to navigating the 4530’s main menu.
Press the Zero/Cal key to enter the menu from any display mode. The
∧ and ∨ keys are used to scroll up and
down through the available menu selections, and the < and > keys select between Sensor 1 and Sensor 2.
Pressing Enter will start the selected calibration procedure, and pressing ESC will exit the Zero/Cal menu.
When the procedure is complete, the instrument will generally return the display mode that was active when
the Zero/Cal key was pressed. If CalSource is selected, the
∧ and ∨ keys are used to select either the internal
50MHz or external 1GHz calibrator.
Figure 3-19. Zero/Calibration Menu