Remove the system board assembly – HP ProLiant MicroServer Gen8 User Manual
Page 20
Operations 20
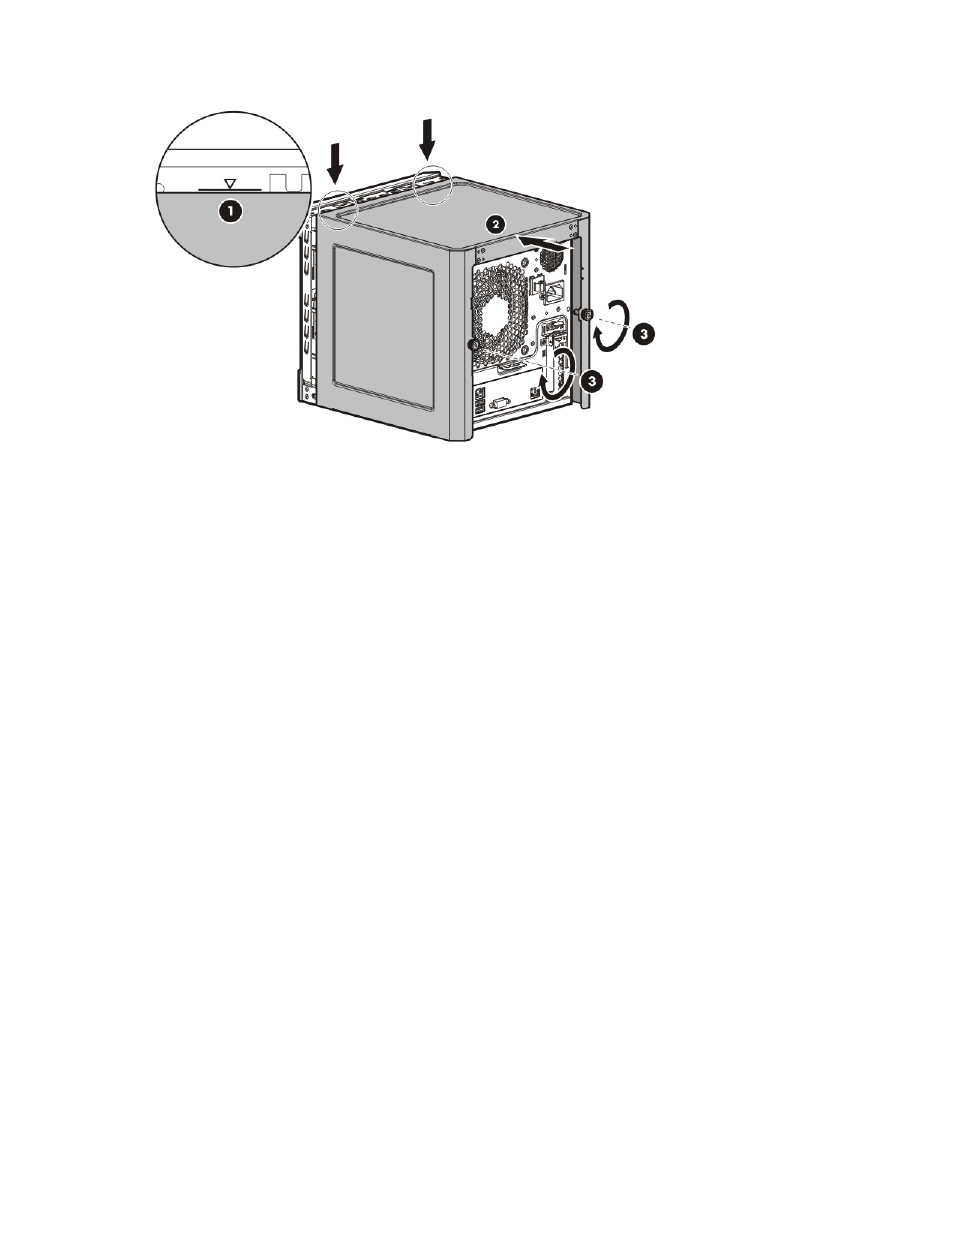
2.
Tighten the rear thumbscrews to secure the chassis cover in place.
3.
Connect the peripheral devices to the server ("
" on page
4.
If a Kensington security cable was removed, connect it to the rear panel. See the security cable
documentation for instructions.
5.
Connect the server to the network. Do one of the following:
o
Connect the Ethernet cable ("
" on page
o
Connect the server to the switch ("
Setting up the HP PS1810-8G Switch (optional)
" on page
6.
Connect the power cord to the server.
7.
Remove the system board assembly
1.
Power down the server (on page
2.
Disconnect the power cord from the AC source.
3.
Disconnect the power cord from the server.
4.
Remove the chassis cover (on page
5.
It is recommended that you take a picture of the current system board cable connections for reference
during server reassembly.
6.
If the drive cage is connected to a storage controller board, disconnect the Mini-SAS cable from the
board.
7.
Disconnect all cables connected to the system board:
o
24-pin system board power supply cable
o
SATA cable (only if an optical drive is installed)
o
Mini-SAS cable (only if the drive cage is connected to the system board)
o
Front I/O cable (pulling up the blue loop to disconnect the cable)
o
Fan cable
o
Ambient temperature sensor cable (pulling up the brown loop to disconnect the cable)