Memory configurations, Advanced ecc memory, Installing dimms – HP ProLiant DL365 G5 Server User Manual
Page 38
Hardware options installation 38
Memory configurations
The memory subsystem for this server is divided into two branches. Each memory branch is essentially a
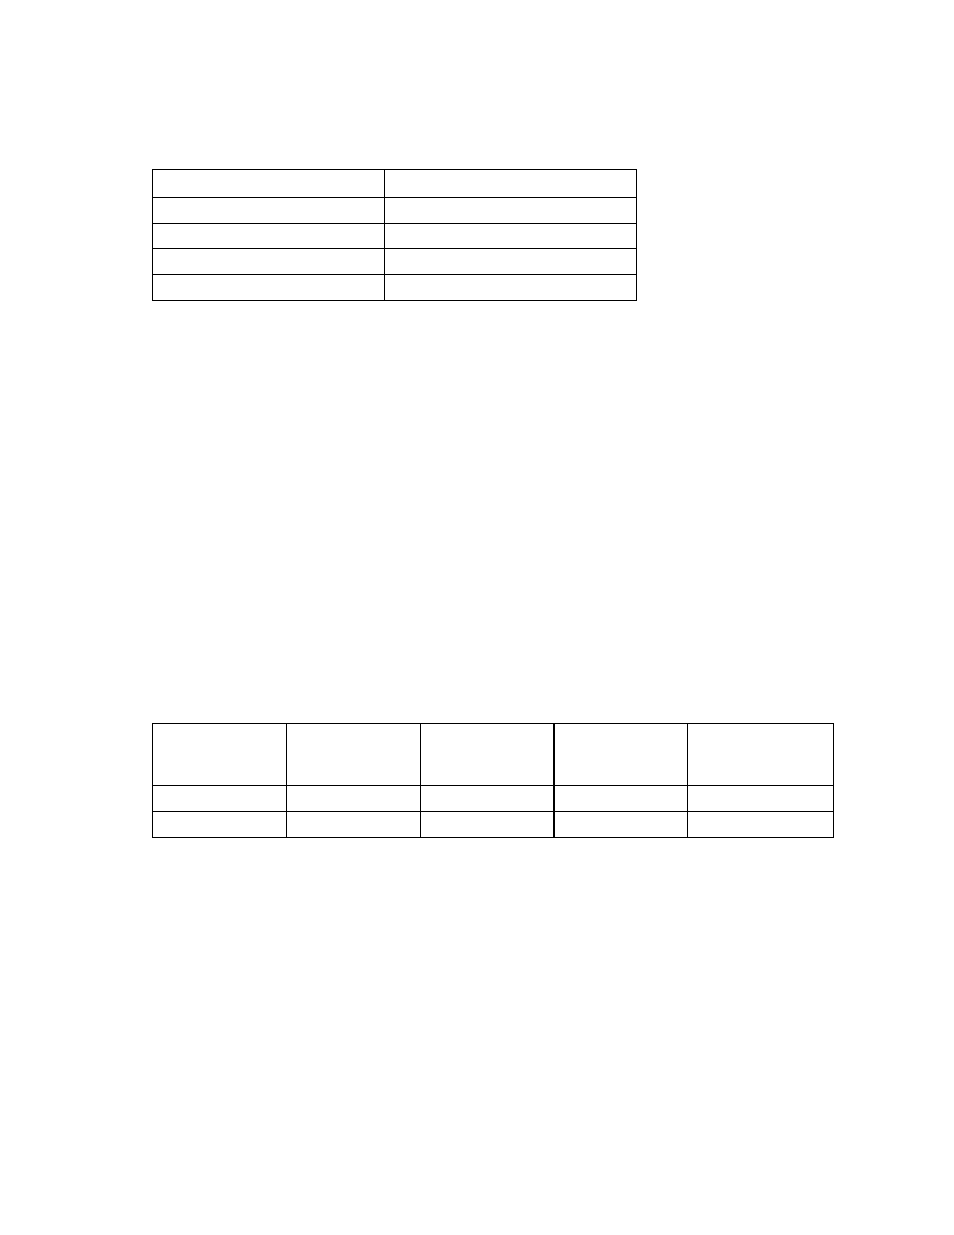
separate memory controller. The DIMMs map to the two branches as indicated in the following table:
DIMM slot
DIMM slot
DIMM 1A
DIMM 5C
DIMM 2A
DIMM 6C
DIMM 3B
DIMM 7D
DIMM 4B
DIMM 8D
If the server contains more than 4 GB of memory, consult the operating system documentation about
accessing the full amount of installed memory.
Advanced ECC memory
Advanced ECC memory is the default memory protection mode for this server. In Advanced ECC, the
server is protected against correctable memory errors. The server provides notification if the level of
correctable errors exceeds a pre-defined threshold rate. The server does not fail because of correctable
memory errors. Advanced ECC provides additional protection over Standard ECC because it is possible
to correct certain memory errors that would otherwise be uncorrectable and result in a server failure.
Whereas standard ECC can correct single-bit memory errors, Advanced ECC can correct single-bit
memory errors and multi-bit memory errors if all failed bits are on the same DRAM device on the DIMM.
In addition to general configuration requirements, Advanced ECC memory also has the following
configuration requirement:
•
DIMMs must be installed in pairs.
•
DIMM pairs in a memory bank must have identical HP part numbers.
In Advanced ECC mode, DIMMs must be populated as specified in the following table:
Configuration Bank
A
1A and 2A
Bank B
3B and 4B
Bank C
5C and 6C
Bank D
7D and 8D
Single-processor
1st
2nd
—
—
Dual-processor
1st
3rd
2nd
4th
Installing DIMMs
1.
Power down the server (on page
2.
Extend the server from the rack, if applicable ("
Extend the server from the rack
3.
Remove the access panel (on page
4.
Open the DIMM slot latches.