Figure 13 new v-vol group pane, 13 new v-vol group pane – HP StorageWorks XP Remote Web Console Software User Manual
Page 42
42
Snapshot XP
• The V-VOLs you are creating are used when you specify the Snapshot XP pair’s S-VOLs. Since
the capacity of the Snapshot XP pair’s P-VOL and S-VOL must be equal, consider the P-VOL’s
capacity when you decide the V-VOL capacity.
10.
Enter the number of V-VOLs you want to create in the Number of V-VOL text box.
NOTE:
You can enter only a whole number from 1 to 256 in this text box.
11.
Click Set. The volumes are added to the V-VOL information setting list (middle of the pane).
To create more V-VOLs, repeat
through
.
NOTE:
Using Snapshot XP, you cannot add new V-VOLs to the V-VOL group when you create
V-VOLs. Ensure that you add enough V-VOLs to create the Snapshot XP pairs at this point.
12.
Click Next. The Create V-VOL wizard pane (2) (
) appears.
13.
Select the volume in the V-VOL information setting list (upper-right area of pane).
14.
Select the CU number from the Select CU No. drop-down list. Areas of the selected CU appear in the
Select LDEV No. area (middle of pane).
NOTE:
• Only areas displayed by white cells are available for V-VOLs. You cannot use areas displayed
by gray cells to create V-VOLs.
• To select CUs belonging to other SLPRs, select the CU number of another SLPR is used. check
box.
15.
Select the interval between LDEV numbers from the Interval drop-down list.
NOTE:
If you select 0, the LDEV number is sequential.
16.
Select the area in the Select LDEV No. area. The color of the selected area changes to blue. CU and
LDEV numbers are added to the V-VOL information setting list, and blue italics changes to black
normal.
To set multiple V-VOLs, repeat
through
.
17.
Click Next. The Create V-VOL wizard pane (3) (
) appears.
18.
Check the settings. If there is no problem, click OK. The Create V-VOL wizard pane (3) closes, and the
V-VOL pane appears again. In the V-VOL pane, settings are displayed in blue italics.
19.
Click Apply. A confirmation message appears asking if it is OK to apply the setting to the disk array.
20.
Click OK. The confirmation message closes. and the new V-VOL information is applied to the disk
array.
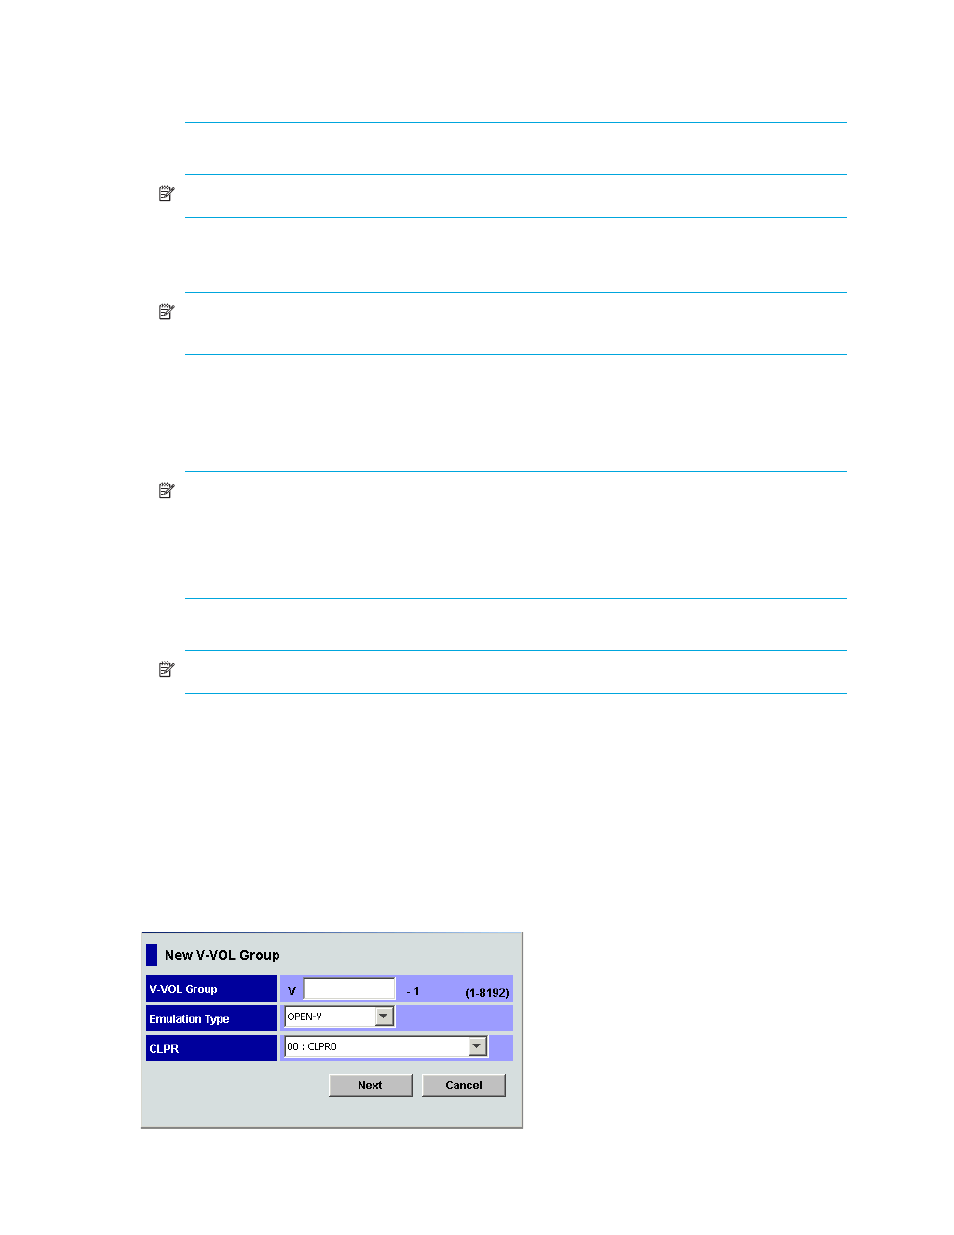
Figure 13
New V-VOL Group pane