Figure 10 new pool pane, 10 new pool pane, Figure 10 – HP StorageWorks XP Remote Web Console Software User Manual
Page 37
37
4.
Select the pool usage rate threshold from the Threshold drop-down list.
CAUTION:
If the pool’s usage rate exceeds the threshold, you cannot create new Snapshot XP
pairs. Ensure that you do not set the threshold at too small a value.
5.
Select Snapshot XP from the Attribute drop-down list.
6.
Check the setting contents. If there is no problem, click Set. The New Pool pane closes, and the new
pool appears in the Pool tree.
7.
Select the pool in the Pool tree.
8.
Select the volumes you want to register as pool-VOLs in the pool from the Free LDEVs list.
NOTE:
• If you select a CU number from the CU drop-down list, volumes in the CU appear in the list.
Within the same CU, you can select multiple volumes at one time.
• The capacity of the pool management blocks in use increases if you add pool-VOLs. Be careful
to keep the capacity of the pool management blocks in use at less than its total capacity.
9.
Click Add Pool-VOL. The pane listing the volumes you selected appears.
NOTE:
If you select and right-click a volume in the Free LDEVs list, a pop-up menu appears. If you
select Add Pool-VOL, the result is the same as if you clicked Add Pool-VOL.
10.
Check the list of the volumes on the pane. If there is no problem, click OK. The pane closes, and the
selected volumes appear in the Pool-VOL list.
11.
To add more pool-VOLs, repeat
through
.
NOTE:
The pool’s storage capacity is the total capacity of pool-VOLs in the pool. For more
information, see ”
12.
To create another pool, repeat
.
13.
Click Apply. A confirmation message appears asking if it is OK to apply the setting to the disk array.
CAUTION:
You cannot delete pool-VOLs after adding them. Check and ensure that the settings for
the pool-VOLs you are adding are correct.
14.
Click OK. The confirmation message closes, and the new pool information is applied to the disk array.
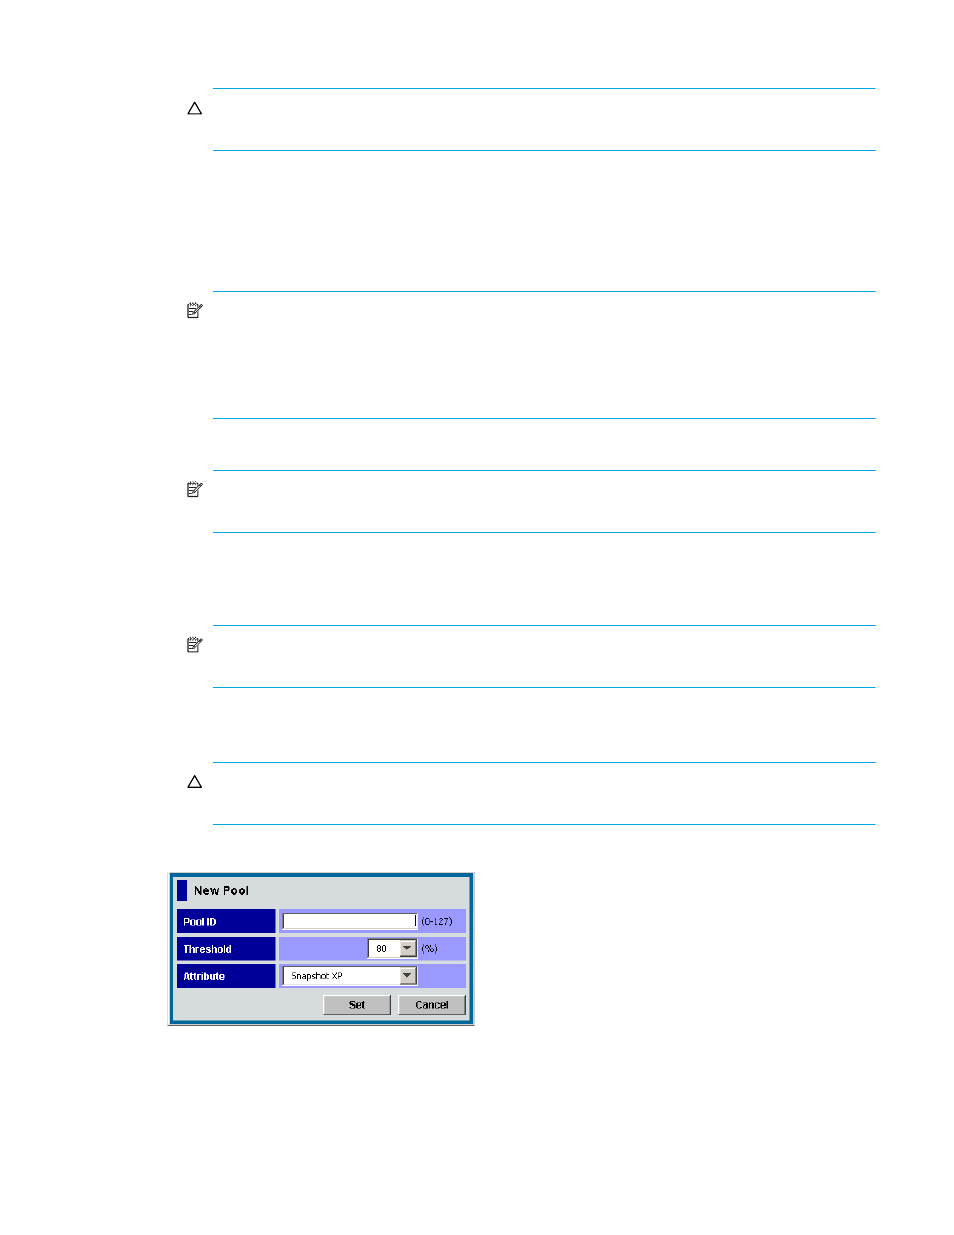
Figure 10
New Pool pane
The New Pool pane displays the following items:
•
Pool ID
Pool ID. Enter a number from 0 to 127.