0 installation, 1 general safety notes and warnings, 2 mechanical installation – Sterlco SF1000 Gravimetric Additive Feeder User Manual
Page 7
7
3.0 Installation
3.1 General safety notes and warnings
This manual contains all information required for installation. Subjects include mounting,
connection, assignment of parameters, and a description of the interface and indicator
elements.
Adherence to these safety notes is mandatory. Non-compliance will invalidate your warranty.
When you receive the equipment, check whether any damages were incurred during
transport. If this is the case, please consult your agent before installation.
Warning
Persons who are not qualified should not be allowed to handle this equipment/system. Non-
compliance with the installation and operation instructions can result in severe personal
injury or substantial property damage. Only qualified personnel should be allowed to work on
this equipment/system.
In order to avoid an electric shock, make sure that you first make all necessary connections,
before connecting the equipment to the mains. Also, make sure that the line is protected by
effective short-circuit and over-voltage devices, and any other means required to protect the
operator, and that there is an effective earth (ground) connection to the device.
Caution: The motor has a permanent magnetic field. Never exceed Imax (6A).
Any installation, maintenance and repair intervention must be performed only by skilled
personnel, and only when the equipment/system is disconnected from the power supply
mains.
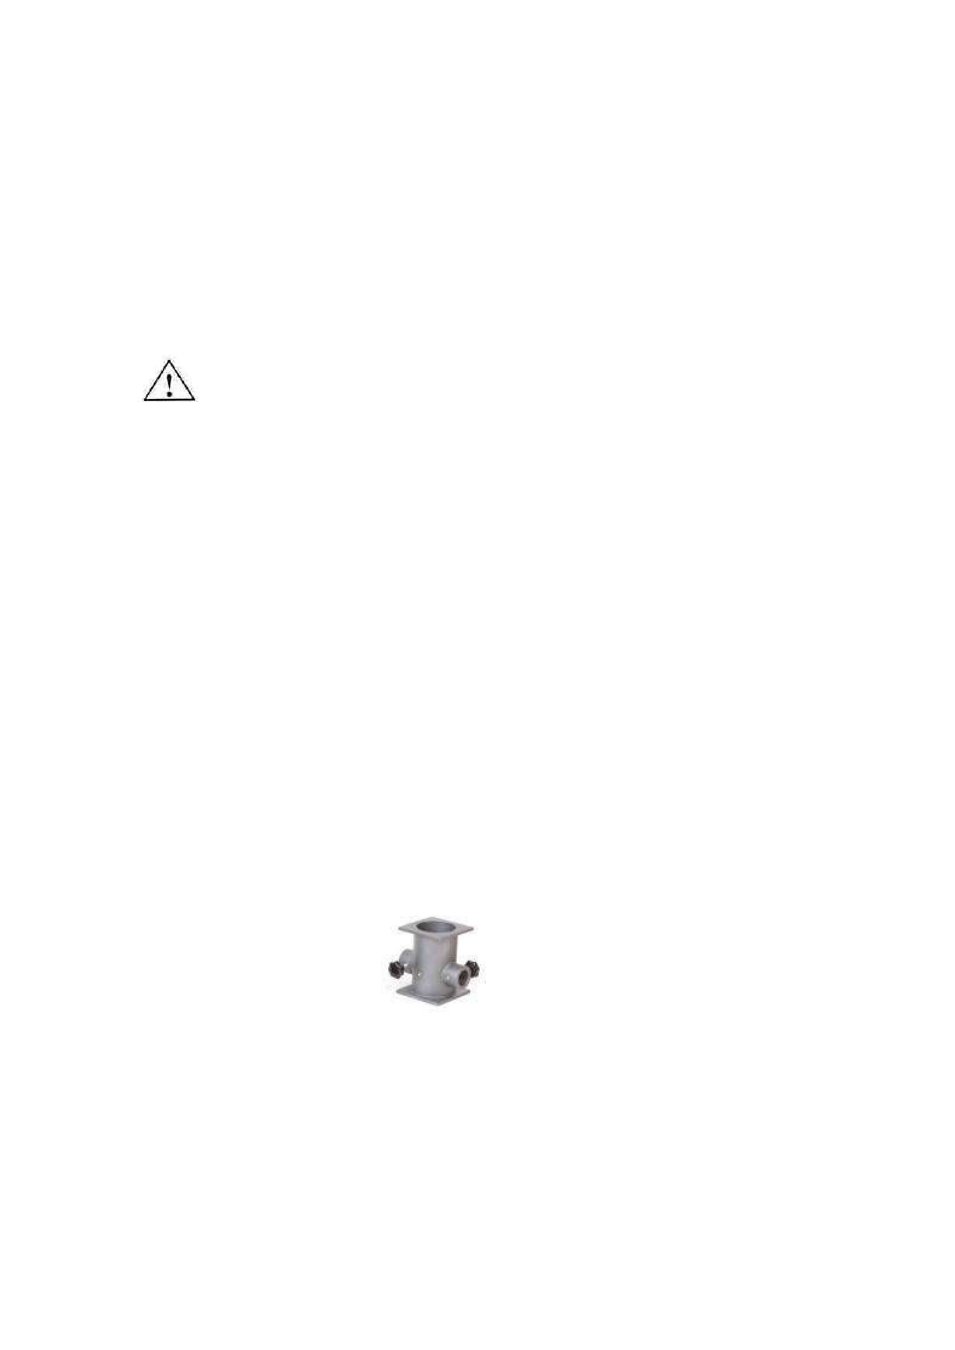
3.2 Mechanical installation
3.2.1 Mounting to the injection-molding machine throat (see Fig. 2)
a) Drill the top (2) and bottom (6) flanges of the neckpiece (3) to fit the flanges of the main
hopper (1) and the feeding throat (7) of the injection machine.
b) Install the neckpiece in its place, between the main hopper and the injection machine
’s
feeding throat and fasten it with its screws.
c) Connect the feeder to the mounting flange (8) and fasten it with the quick-release star
knob.