Maintenance - gas – Prochem Apex User Manual
Page 34
MAINTENANCE - GAS
APEX 86037630
4-6
WATER PUMP
Refer to the Water Pump Operation and Service
Manual for specific instructions.
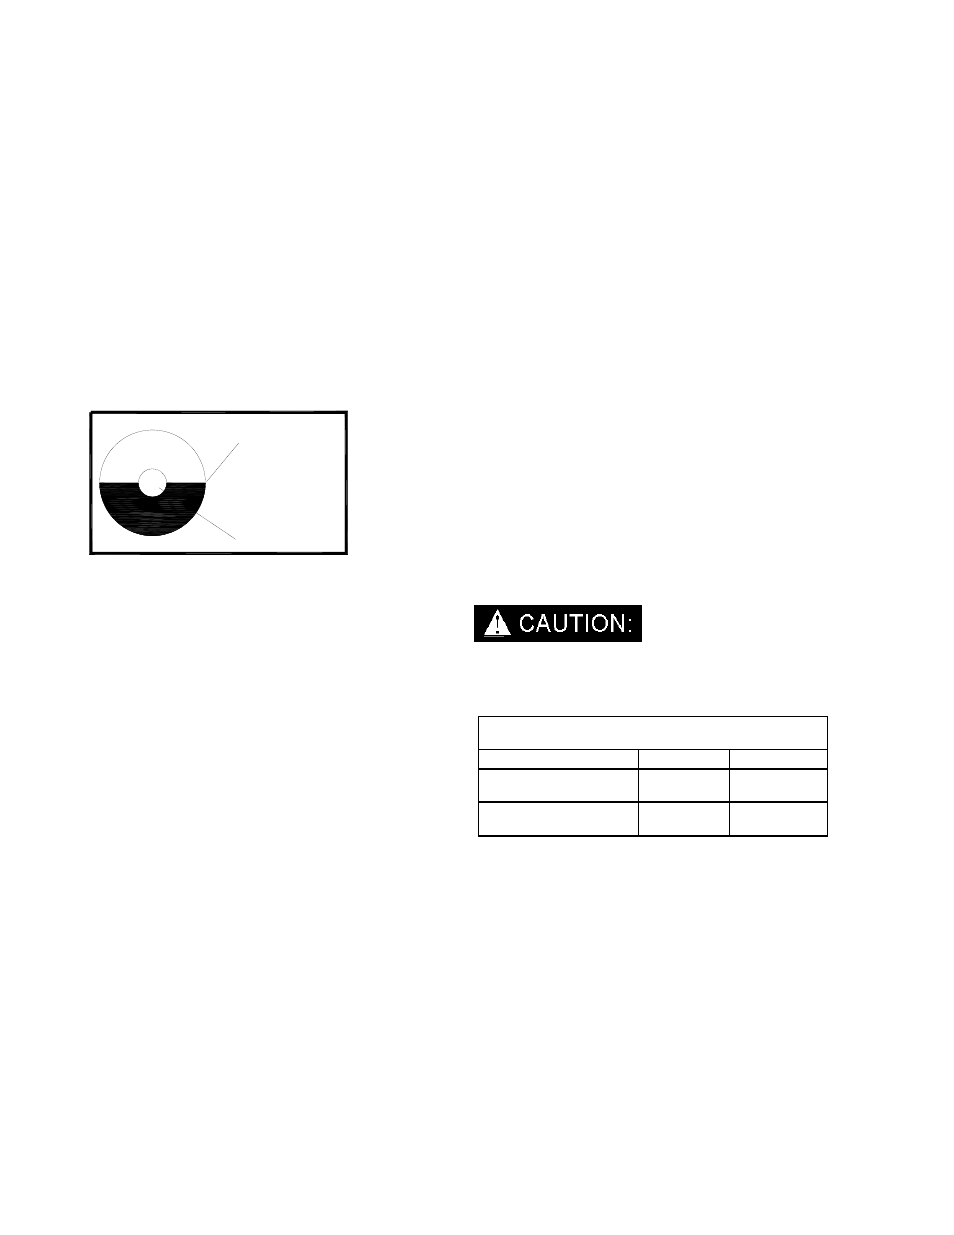
1. Check the crankcase oil level daily to assure the
proper level. Use the illustration as a guide
when checking the oil level. If the level has
dropped, check for the source of leakage and
repair.
2. Use the provided dipstick. Remove black cap
with attached dipstick. Oil level should be
between marks on the dipstick. You may also
use the site glass located on the non-shaft side
of the pump.
3. Change the crankcase oil with Interpump oil
(P/N 791106) after the first 50 hours of
operation. Drain and refill the crankcase oil
every 500 hours thereafter.
4. Other approved oil SAE 15W-40 equivalents
are: Mobil and Shell Super, Castrol CWX, and
Helix Super.
VACUUM INLET FILTER
(IN WASTE TANK)
1. The vacuum filter in the waste tank should be
removed and cleaned daily. If this is done, the
filter will last for a long period of time.
VACUUM RELIEF VALVE
While the unit is running at full RPM, block the air
flow at the vacuum inlet connection and read the
vacuum gauge. If adjustment is required, shut the
unit down and adjust the vacuum relief valve locking
nut tension. Start your unit and read the vacuum
gauge. Repeat this process until the relief valve
opens at 13" Hg.
VACUUM PUMP DRIVE BELTS
To tighten the vacuum pump belts:
1. Loosen the four screws which hold the vacuum
pump mount in place.
2. Loosen the 6 nuts at the vacuum muffler outlet
to heat exchanger box and loosen the bolt at the
back of the machine connecting the muffler
bracket to the frame.
3. Turn the adjusting bolts until the proper belt
tension is achieved (1/2” deflection in the center
of the belt, halfway between the pulleys).
4. Retighten all bolts previously loosened at the
vacuum muffler.
NOTE: When adjusting belt tension, make certain
that the engine shaft and vacuum pump shaft
remain parallel, and the belt tension is equal
throughout the belt width.
5. After adjusting, re-tighten the four screws which
hold the vacuum pump mount in position. Check
belt alignment with straight-edge.
Make certain that when you re-torque these
screws, that you use a clockwise pattern and
continue until proper torque is achieved.
Torque values
Component Inch/lbs
Foot/lbs
Rear Engine Pulley
480
40
Front Engine Pulley
300
25
6. Check for pulley groove wear, clean belts and
pulley grooves, check for worn belts, proper belt
tension, and pulley alignment after the first 25
hours and then again at 100 hours.
Check for belt ride in the groove.
OIL LEVEL
WITH UNIT
STOPPED &
ON LEVEL
GROUND
RED DOT