SHIMPO DAG-2000 User Manual
Page 11

DIGITAL AIR MICROMETER USERS MANUAL (Second Edition)
11
CHAPTER 4
MASTER CALIBRATION
This product is a comparison measurement device therefore master calibration (correction of
measurement value) by the use of a master is necessary.
Also, precise measurements can be made possible by regularly doing master calibrations.
There are 2 selections of master calibration method for this product:
•
Master calibration (ZERO and sensitivity correction) by 2 masters (small range and big range).
•
Master calibration (ZERO correction only) by 1 master (ZERO master).
At the [Cal Mode] of the settings item, 2 masters master calibration will be performed when [MIN
& MAX] is selected. 1 master calibration will be performed when [ZERO M.] is selected.
CAUTION
•
Please perform again master calibration when ZERO and sensitivity tuning is operated after
master calibrations.
•
Master calibration is NG when the mode lamp [MAS] lights up in red.
Please perform master calibration.
4.1 Master calibration by 2 masters
Shown here is the method for performing ZERO correction by small range master and sensitivity
correction by large range master.
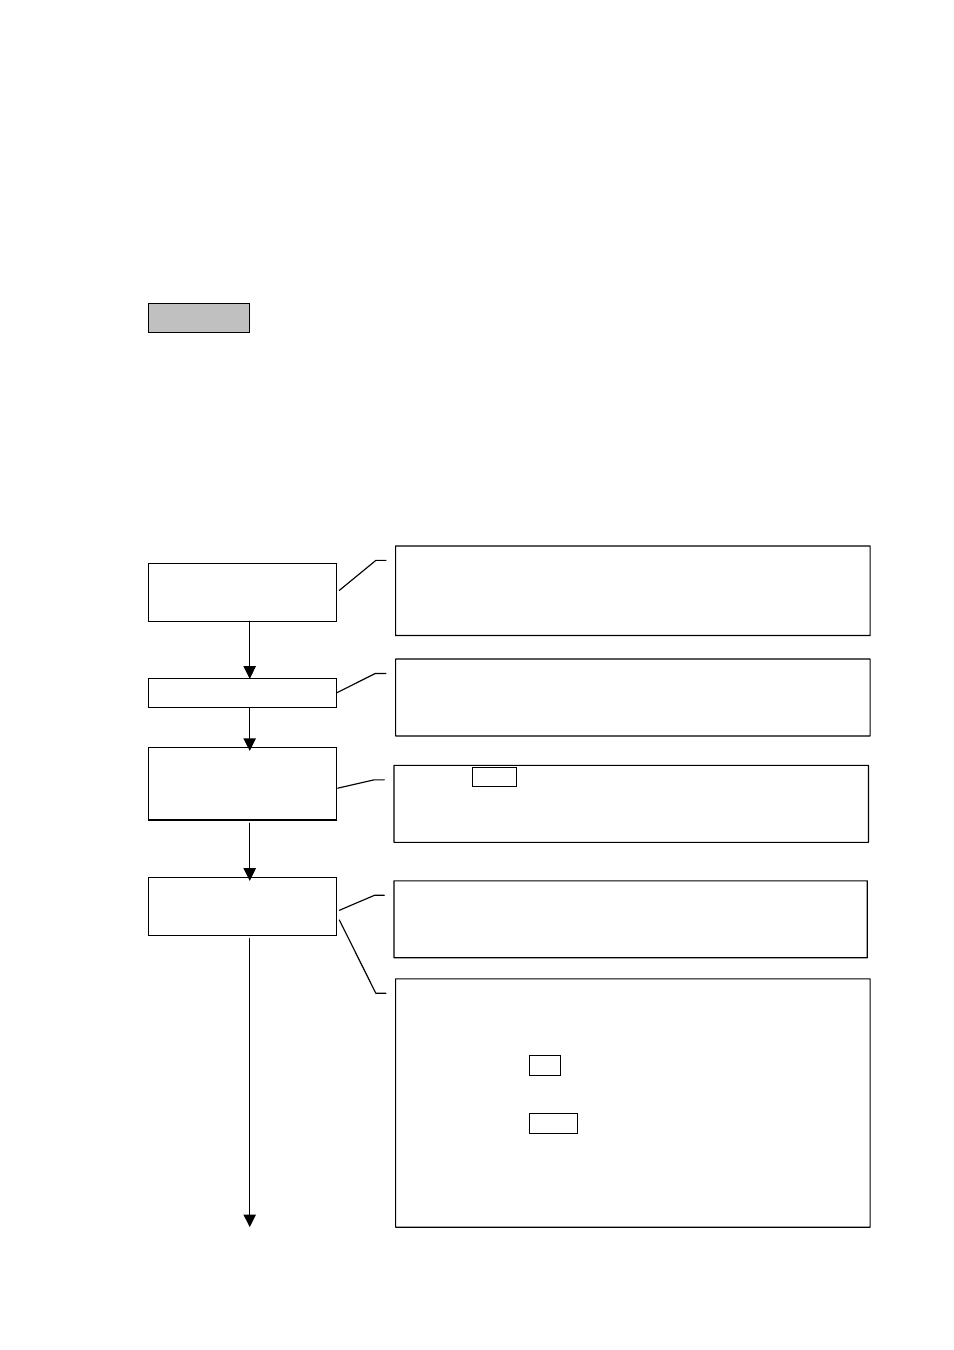
Will be activated by selecting [MIN & MAX] at settings item [CalMode]
Confirmation of master
and measurement tool
Measurement mode
Switch to master
calibration mode (master
calibration)
Small range master
calibration (ZERO
correction)
① Please confirm that there are no foreign objects sticking on the
master or measurement tool. In case there are foreign objects,
this will have bad effect on the master calibration and
measurement cannot be performed correctly.
Please confirm that it is in measurement mode (mode lamp
[MEAS] will light up).
Please refer to [Chapter 5 Measurement] for details
After “MIN M.” in the English numbers display has been
displayed for 2 seconds, raw data will be displayed.
Mode lamp [MAS] with orange color with light up.
Press /
MAS
continuously for 2 seconds.
Will switche from measurement mode to master calibration mode
(master calibration)
Please set the small range master to the measurement tool.
Raw data (without correction) is displayed in the main display.
Raw data display colors are:
• When color is green, ZERO master calibration is possible.
Please press ENT. ZERO correction will be performed.
• When color is red, ZERO master calibration is not possible.
Detector adjustment will be performed.
Please press /
MAS
.
“ADJ.” will be shown in the English figures display and will
switch to detector adjustment.
Please refer to [Chapter 6, 6.5 Detector Adjustment] for details.
