3 installation, 1 quick installation guide, Installation – Pyromation Series 642 User Manual
Page 7: Quick installation guide, 3installation
Series 642
Installation
Pyromation, Inc.
7
3
Installation
3.1
Quick installation guide
If the sensor is fixed then the unit can be fitted directly to the sensor.
If the sensor is to be mounted at a right angle to the cable gland, swap the dummy plug and cable
gland.
The device can be mounted directly on the wall. A mounting bracket is available for pipe mounting
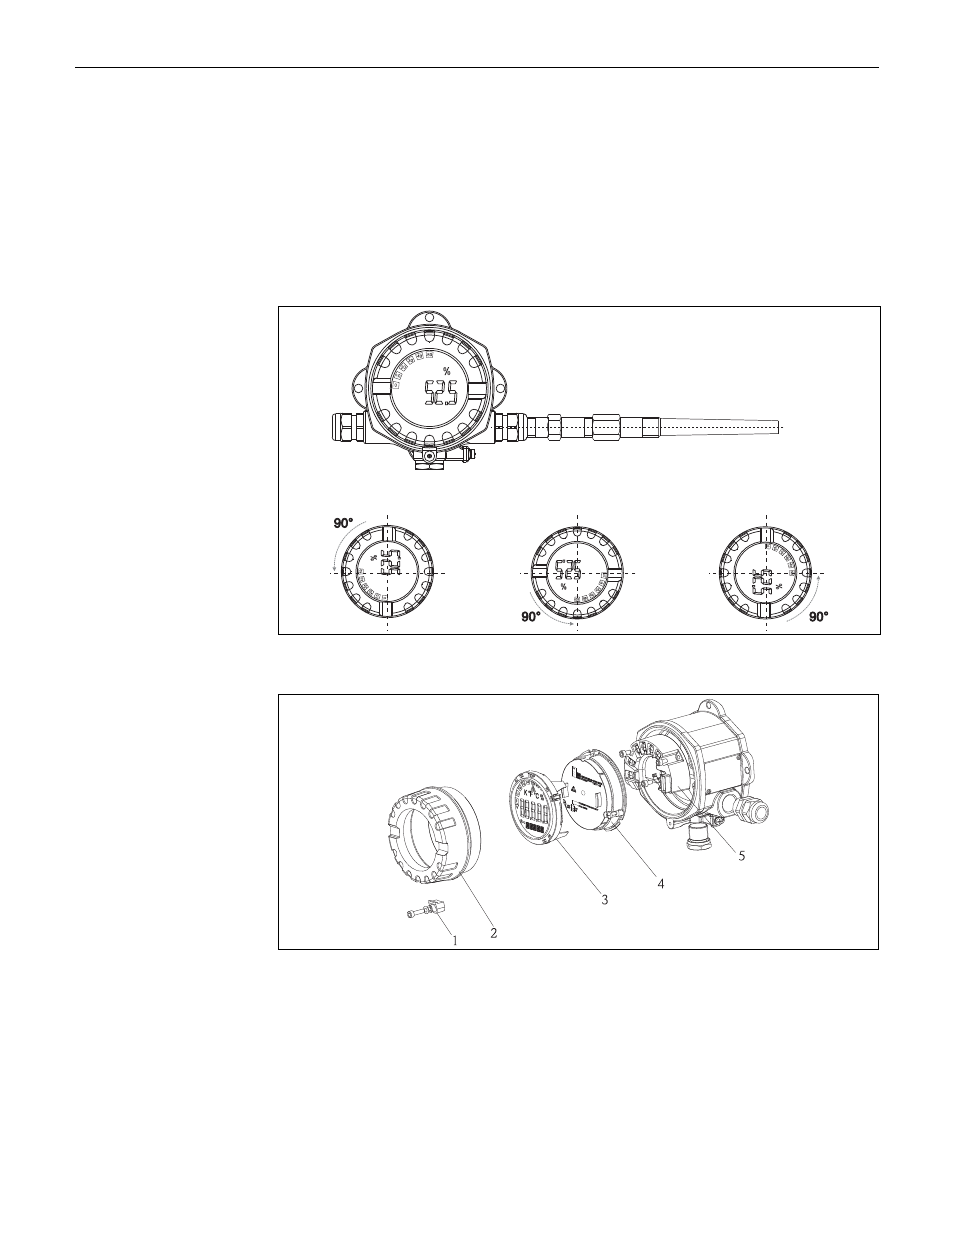
(see Fig. 4). The illuminated display can be mounted in four different positions (
Fig. 2:
Temperature field transmitter with sensor, 4 display positions, can be plugged-in in 90° steps
Fig. 3:
Turning the display
1.
Remove the cover clamp (Pos. 1).
2.
Unscrew the housing cover together with the O-ring (Pos. 2).
3.
Remove the display with retainer (Pos. 3) from the electronics module (Pos. 4). Adjust the
display with retainer in 90°stages to your desired position and rearrange it on the particular
slot in the electronics module.
4.
Then screw on the housing cover together with the O-ring. Mount the cover clamp.