6 firmware upgrade – Detcon 1600A-N4X User Manual
Page 30
1600A-N4X
1600A-N4X Instruction Manual
Rev. 0.2
Page 26 of 38
Bit 7
1 = Channel 8 Cal
0 = Channel 8 no Cal
Bit 6
1 = Channel 7 Cal
0 = Channel 7 no Cal
Bit 5
1 = Channel 6 Cal
0 = Channel 6 no Cal
Bit 4
1 = Channel 5 Cal
0 = Channel 5 no Cal
Bit 3
1 = Channel 4 Cal
0 = Channel 4 no Cal
Bit 2
1 = Channel 3 Cal
0 = Channel 3 no Cal
Bit 1
1 = Channel 2 Cal
0 = Channel 2 no Cal
Bit 0
1 = Channel 1 Cal
0 = Channel 1 no Cal
5.6 Firmware Upgrade
The 1600A-N4X is capable of firmware upgrades for both the PLC and touch screen device. Upgrades will be
performed by the user. The following components are needed to perform firmware upgrades:
o
ProSave Software (Download free from
http://www.siemens.com
)
o
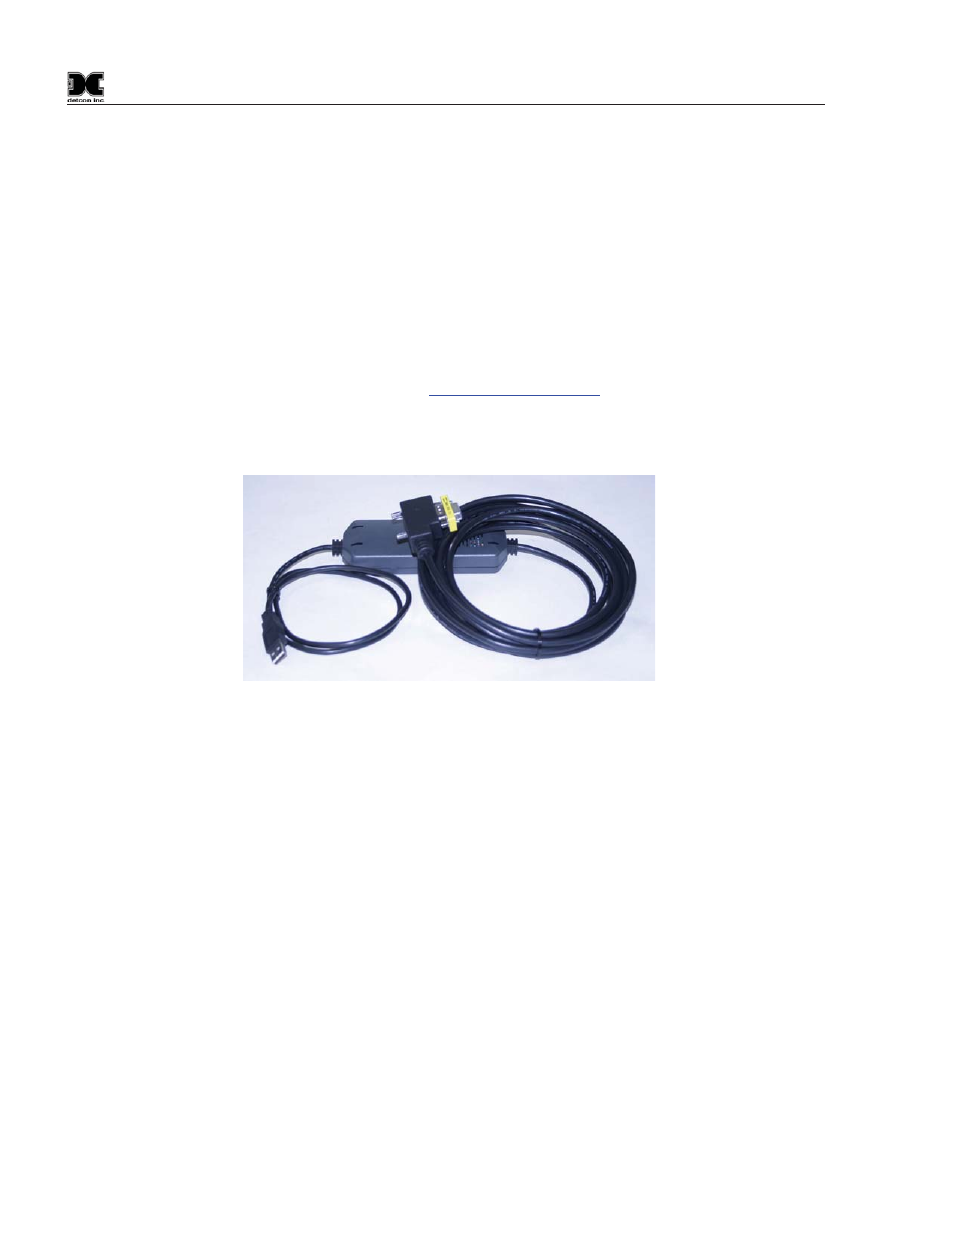
S7-200 USB PPI cable
o
S7-200 Memory cartridge
o
DB9 Gender Changer
Figure 33 S7-200 USB/PPI Cable
5.6.1 Touch Screen Upgrade
1. Disconnect blue DB9 cable from PLC Communications Module (Figure 34).
2. Using a Gender Changer, connect the USB/PPI cable to the DB9 Cable disconnected from the PLC
Communications Module, and connect the USB end of the USB/PPI cable to a PC or laptop.
3. From the touch screen display, switch to transfer mode by selecting:
Program Menu Ź Screen Utilities Ź Transfer
4. Open ProSave software on PC or laptop:
Start Ź All Programs Ź Simatic Ź ProSave Ź ProSave
5. Click on the “General” tab.
6. Under "Device Type", select TP 177A 6”.
7. Under "Connection", select Serial (via USB-PPI cable) for connection.
8. Click on the “Restore” tab.
9. Select the firmware file named “Detcon_1600AN1P_HMI_vXX.psb”.
XX represent current version.
10. Ensure that “Booting” check box is unchecked.
11. Press “Star Restore” to start the firmware upgrade.
NOTE: This operation may take some time, depending on the type of connection selected.
NOTE: Before entering Program Menu, an appropriate username and password may be required.