1 reset map, To reset the map, 2 correct image – LumaSense Technologies Pearl Control User Manual
Page 28: To correct the image, 3 set low point, To set the low point
Pearl Control Software Manual
Using Calibrate Tab Features 28
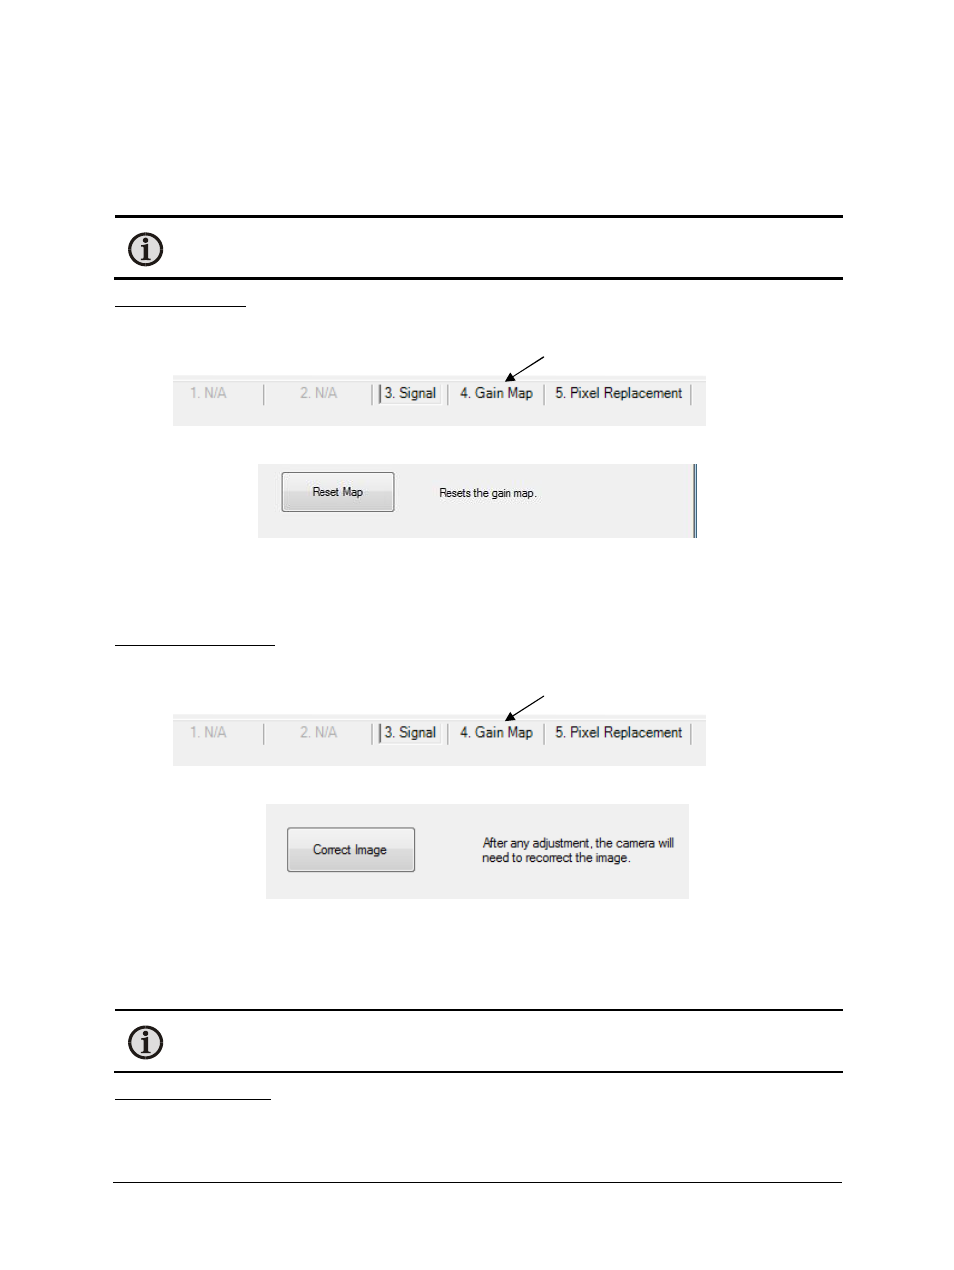
4.3.1 Reset Map
Reset Map sets the gain map to its default state (blank). Use this button to reset an undesirable
gain map back to the factory map. If additional pixels have been replaced, Reset Map will stop
these pixels from being replaced. Pixel replacement will have to be repeated.
Note: To keep this default state, the map will need to be saved once more to
overwrite the saved gain map.
To reset the map:
1. Click on the Calibrate Tab.
2. Click on Gain Map.
3. Click Reset Map.
4.3.2 Correct Image
The image should be corrected before attempting to create a gain map. This has the same
operation as using the menu: Shortcuts > Correct Image.
To correct the image:
1. Click on the Calibrate Tab.
2. Click on Gain Map.
3. Click Correct Image.
4.3.3 Set Low Point
The Set Low Point performs an open offset (also known as image subtraction). This function
should be used along with High Point to create an accurate gain calculation for the specific
optical system or lens used.
Note: Set Low Point is only recommended for setups with an external lens.
To set the low point:
1. To properly set a low point, cover the front of the lens with a blackbody (or flat surface)
at the lowest temperature to be viewed.